In one of my previous posts, I created a Home Kubernetes Cluster. The experience from that event gave me valuable insights to try something different from the most popular distributions like Ubuntu. My goal remains simple: ease of operation, high performance, and stability without many problems. After considering various options, I decided to switch to Debian.
In this article, I will walk you through a full, fresh installation and preparation of Debian on my HP EliteDesk 800 G3, which I’ll refer to as Elitedesk or PC interchangeably. This groundwork will provide a solid foundation for our home Kubernetes cluster Home Kubernetes Cluster
Prerequisites
Hardware:
- USB stick with minimum 4GB or more
- PC (I used one from spec below):
- Model: HP Elitedesk 800 G3 DM 35W
- CPU: Intel(R) Core(TM) i5-6500T CPU @ 2.50GHz
- Mem: 16384 MB
- Additional screen
- Additional keyboard
Software:
- Etcher (to flash the ISO image)
- Debian ISO image
Prepare the USB stick
Step 1
Download the Debian ISO image from the official Debian download page. At the time of writing this article, I used the Debian 12.11.0 Bookworm Iso-DVD image.
Choose a mirror closest to your location and download the image accordingly. Here you can select the mirror closest to your location and download image.
I consider downloading the amd64 architecture image since my Elitedesk 800 has an Intel i5 6500T chip with 64-bit instructions set.
Since my Elitedesk 800 is has chip on board and runs with 64-bit instructions set, therefore I chose image for amd64 architecture.
For reference, you can check out this sample link: debian-12.11.0-amd64-DVD-1.iso
Step 2
Using Etcher to install the downloaded ISO image on your USB stick. This process may take several minutes depending on your USB stick’s quality and speed.
If this is done, your ready for next part.
Installation
Step 1: Prepeare server for installation
Connect your server (in my case it’s Elitedesk 800) to power, add an external monitor, keyboard, and USB stick containing the Debian ISO image.
Power on the PC and while booting start constatnly pressing F10 until you will enter the BIOS menu (if you use different PC, check the manual by searching for example: “How to enter BIOS on X”).
Step 2: Configure BIOS
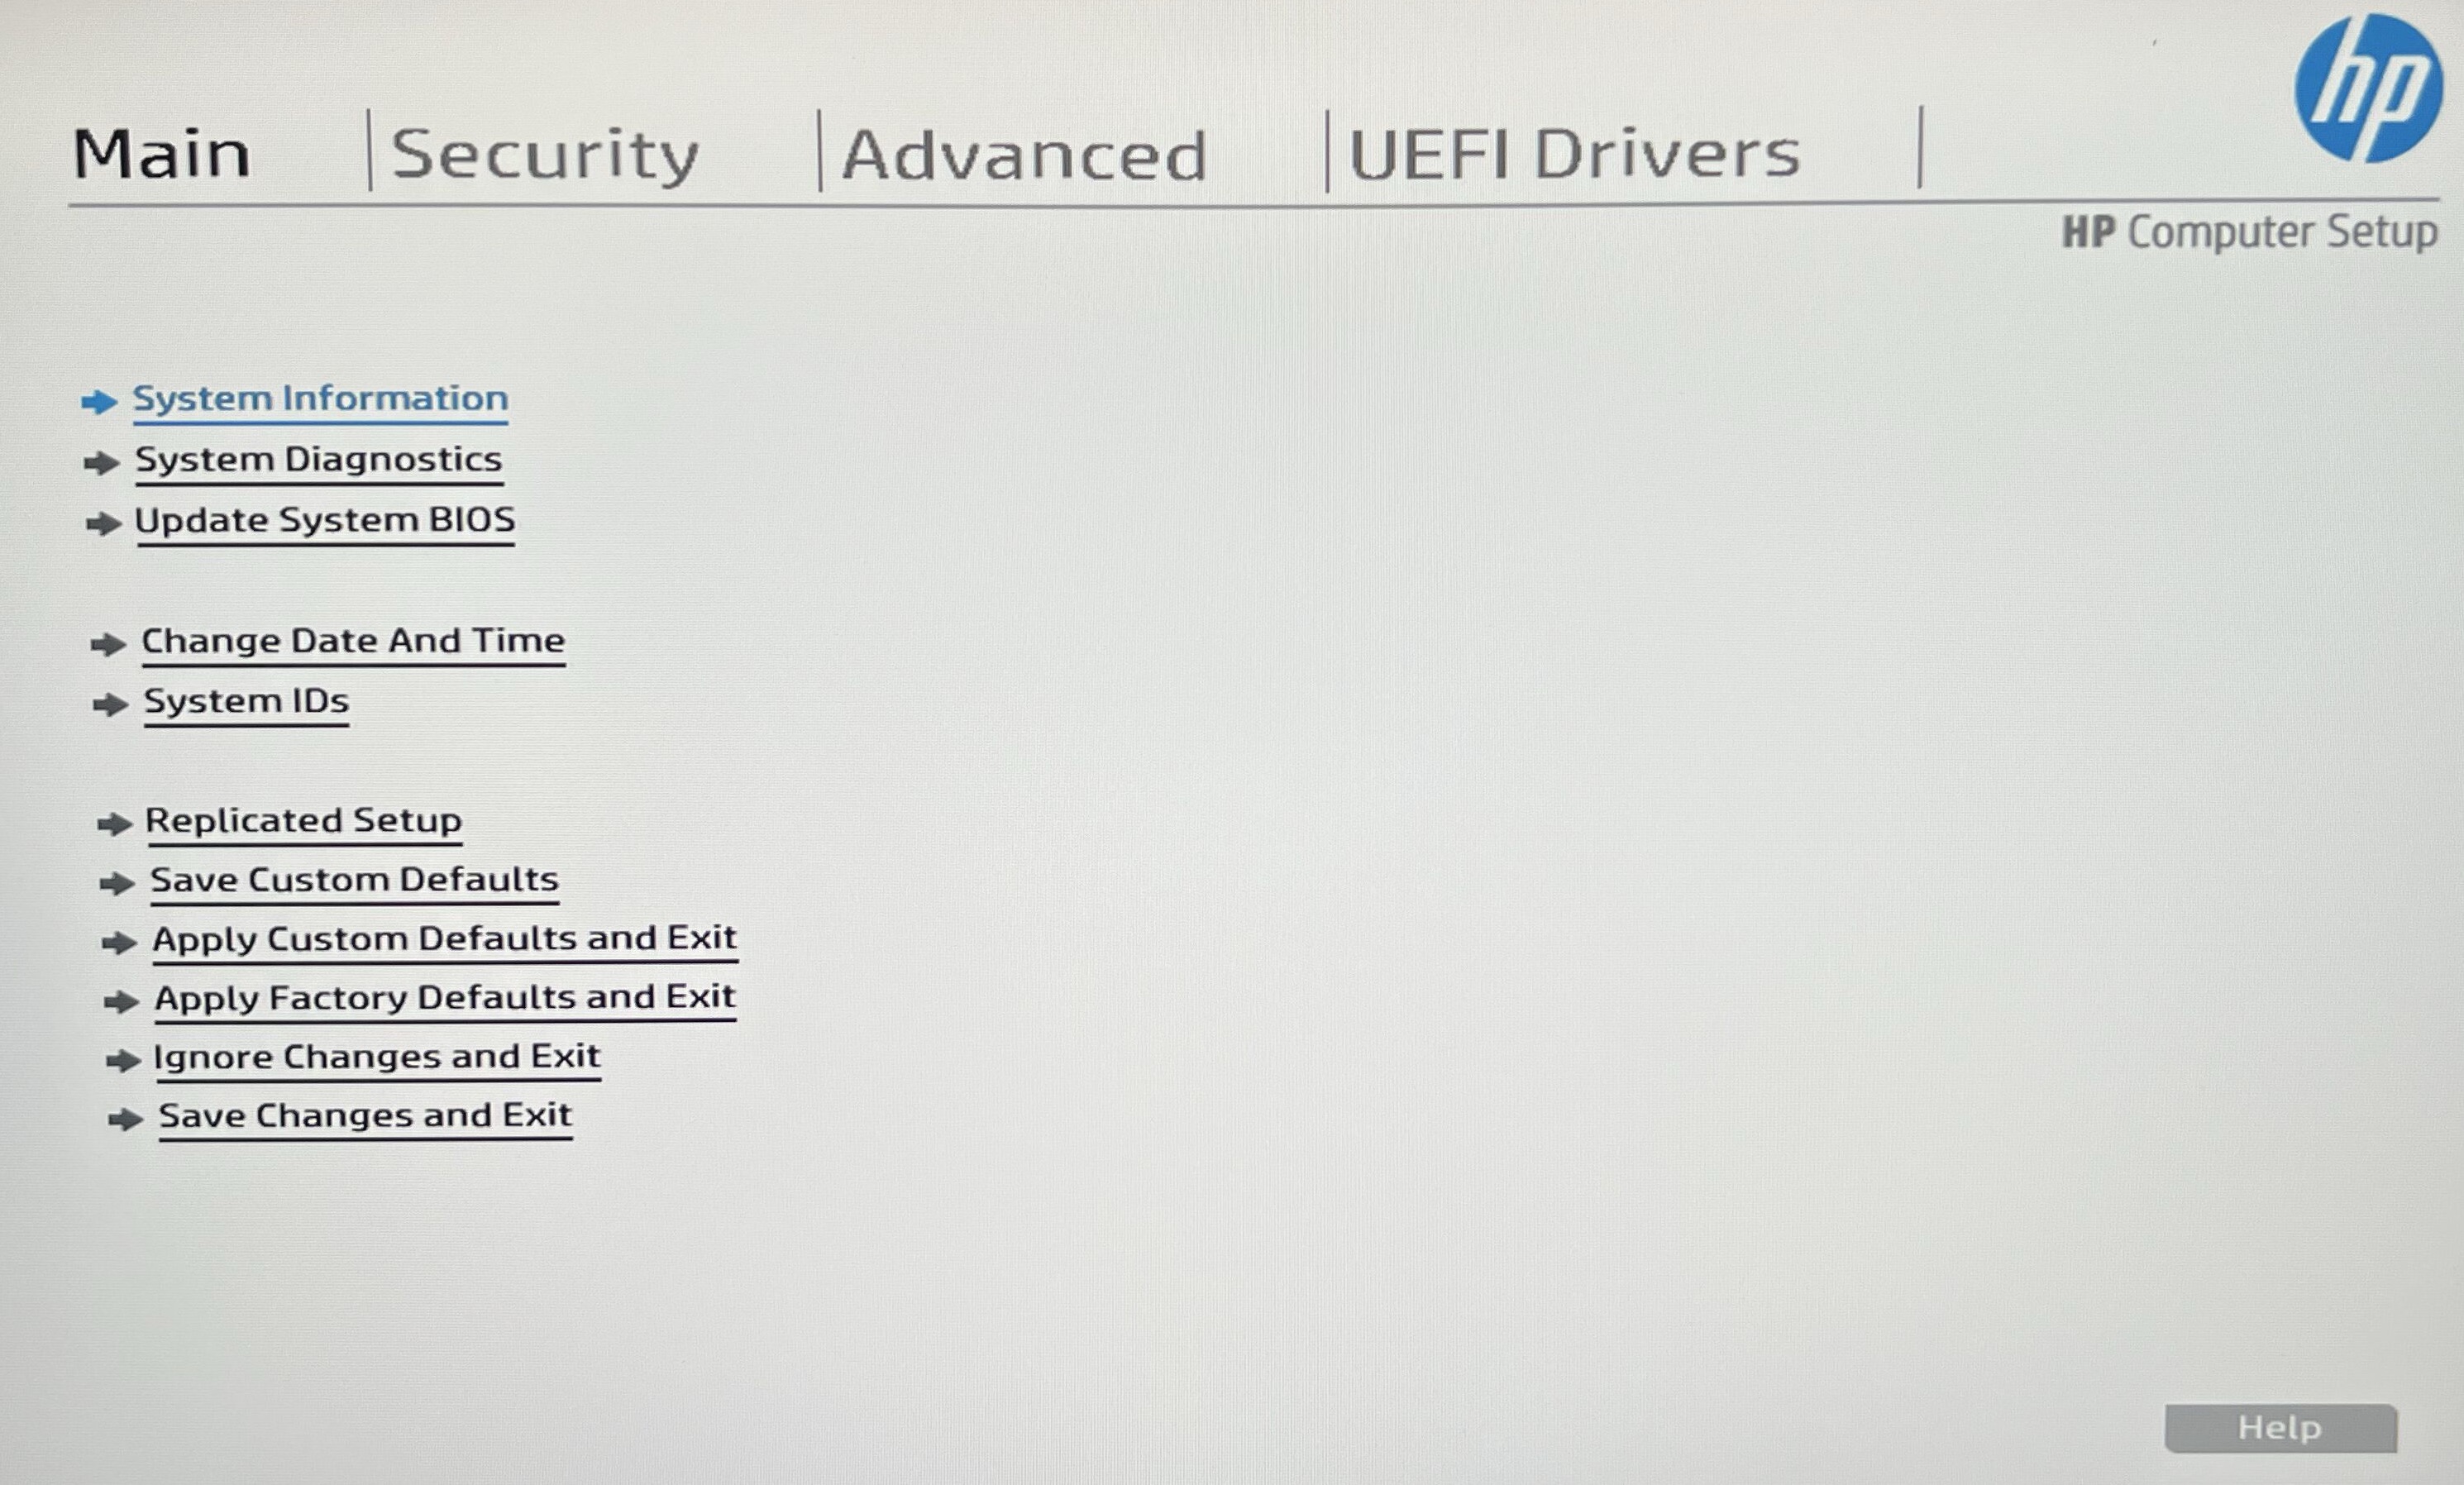
After entering BIOS you should get something like this.
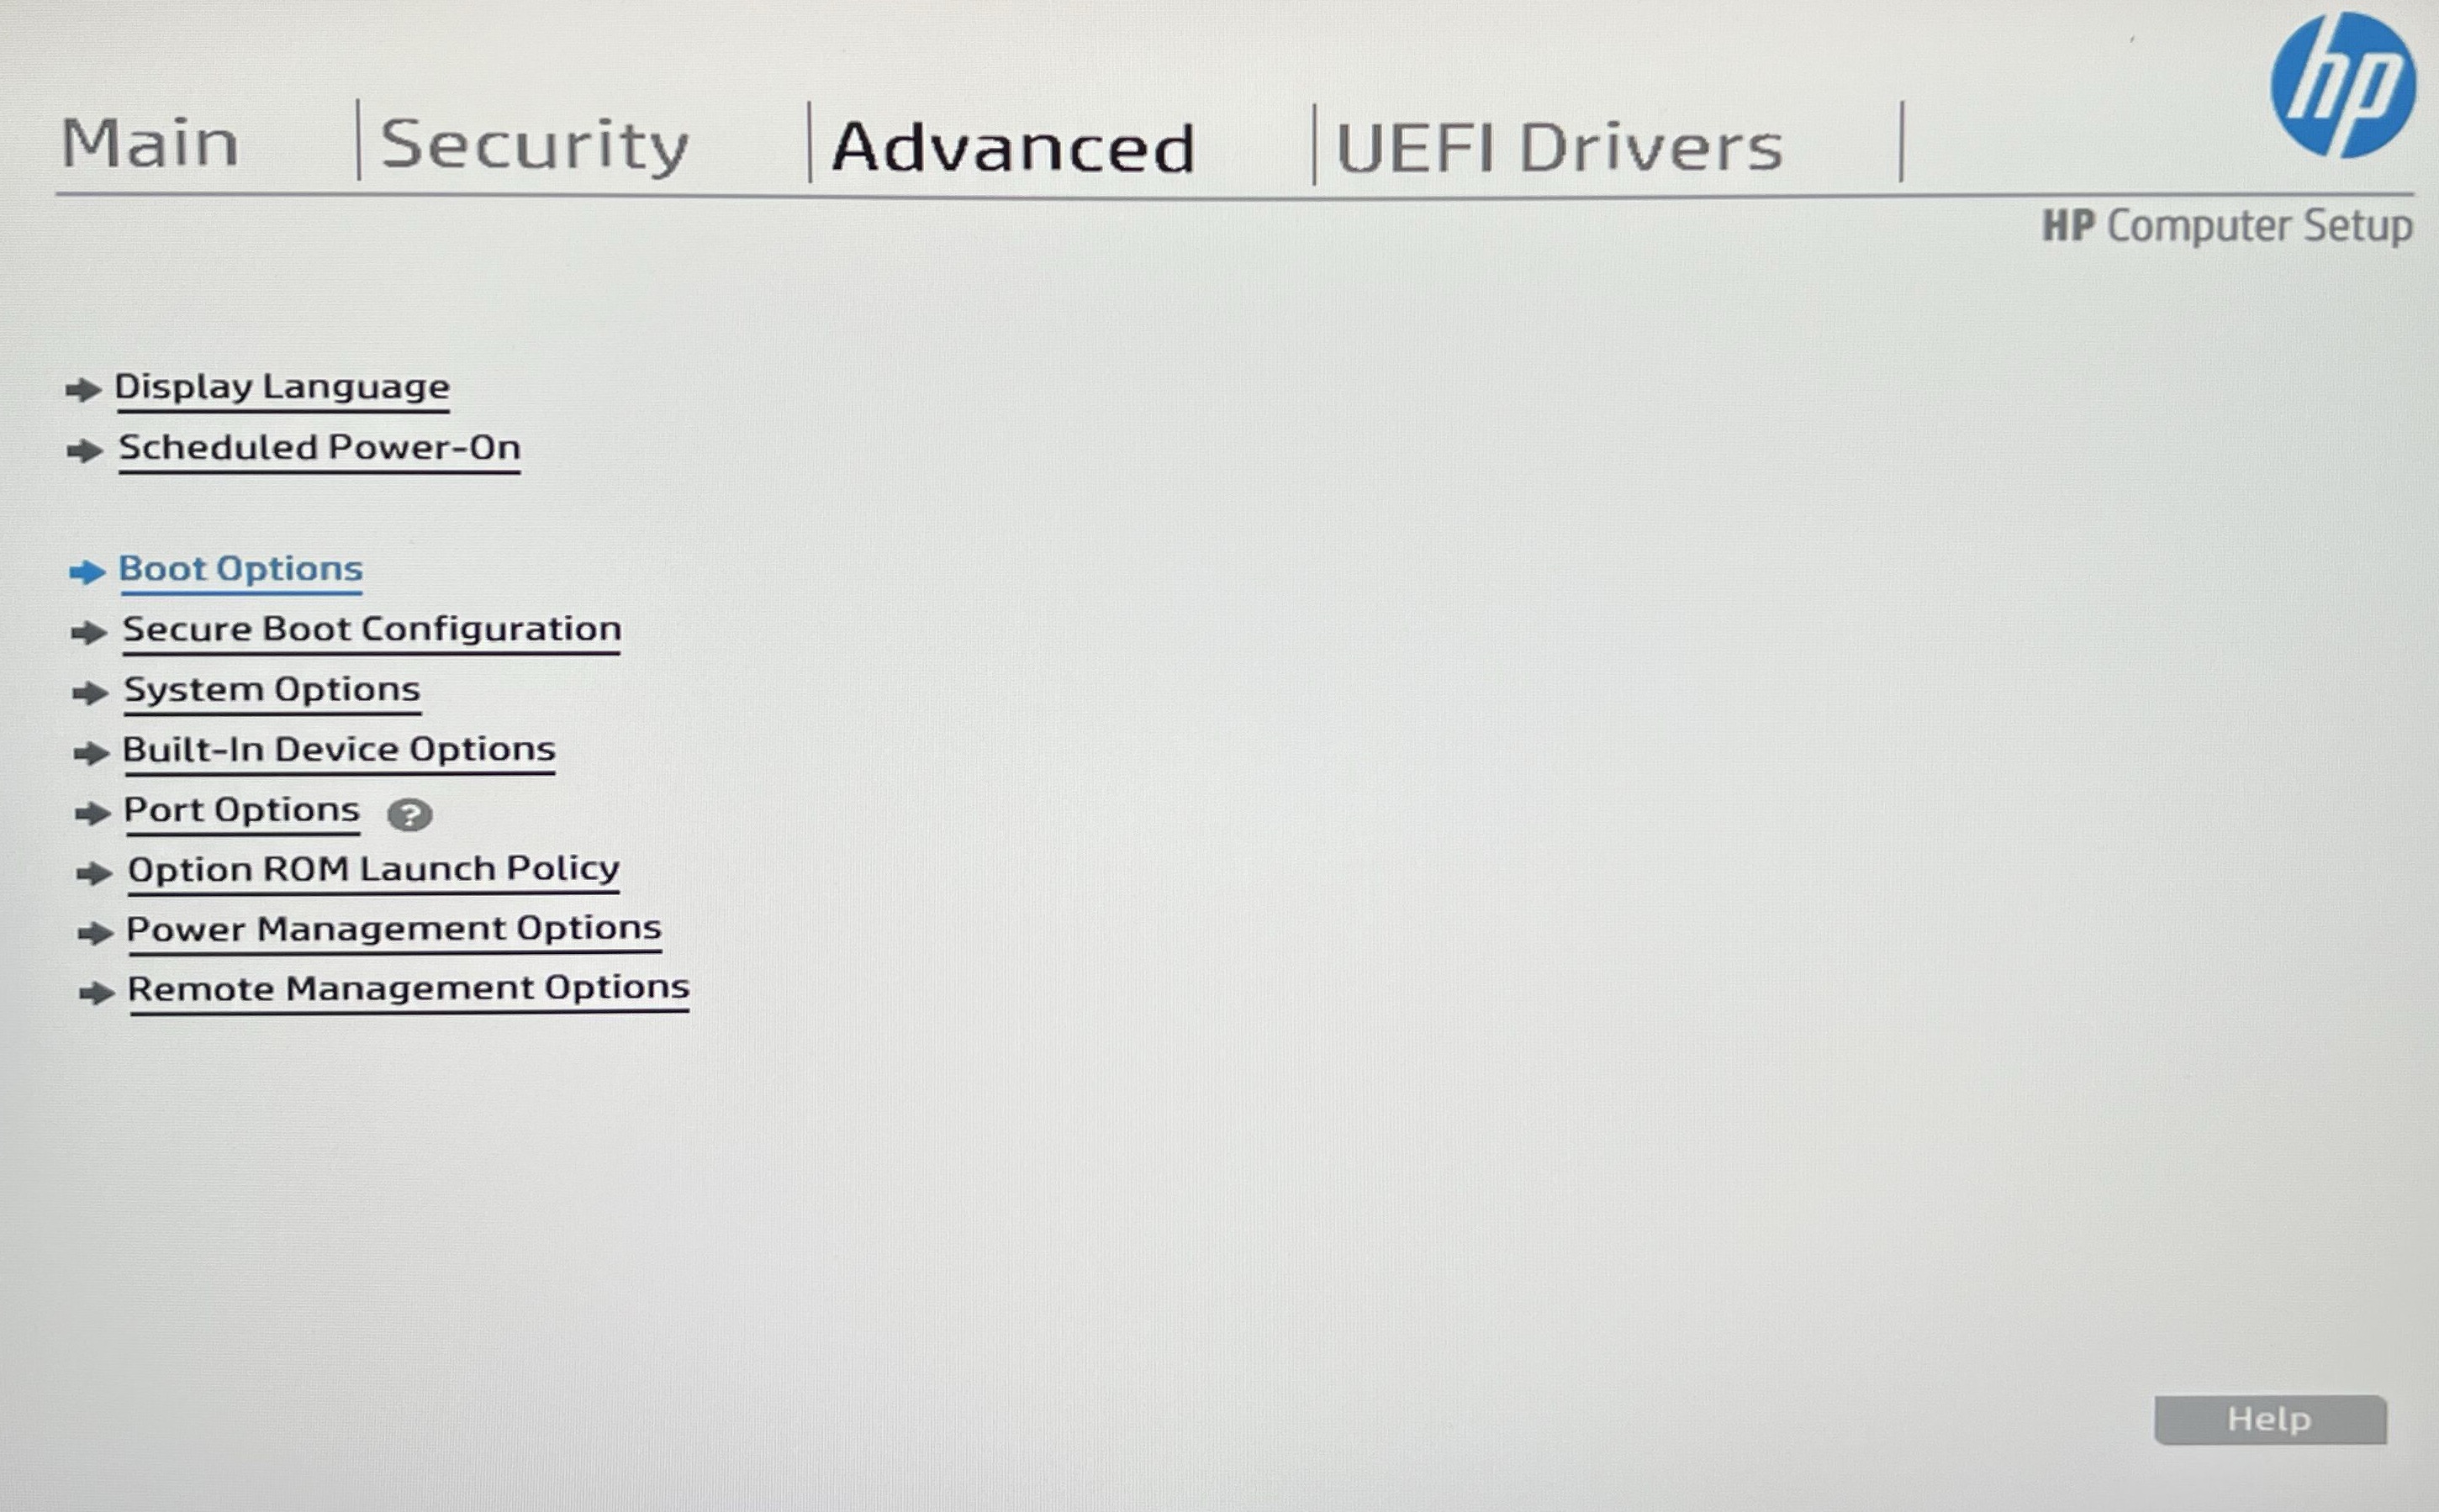
Using arrow keys on your keyboard, go to Advanced section and enter Boot Options.
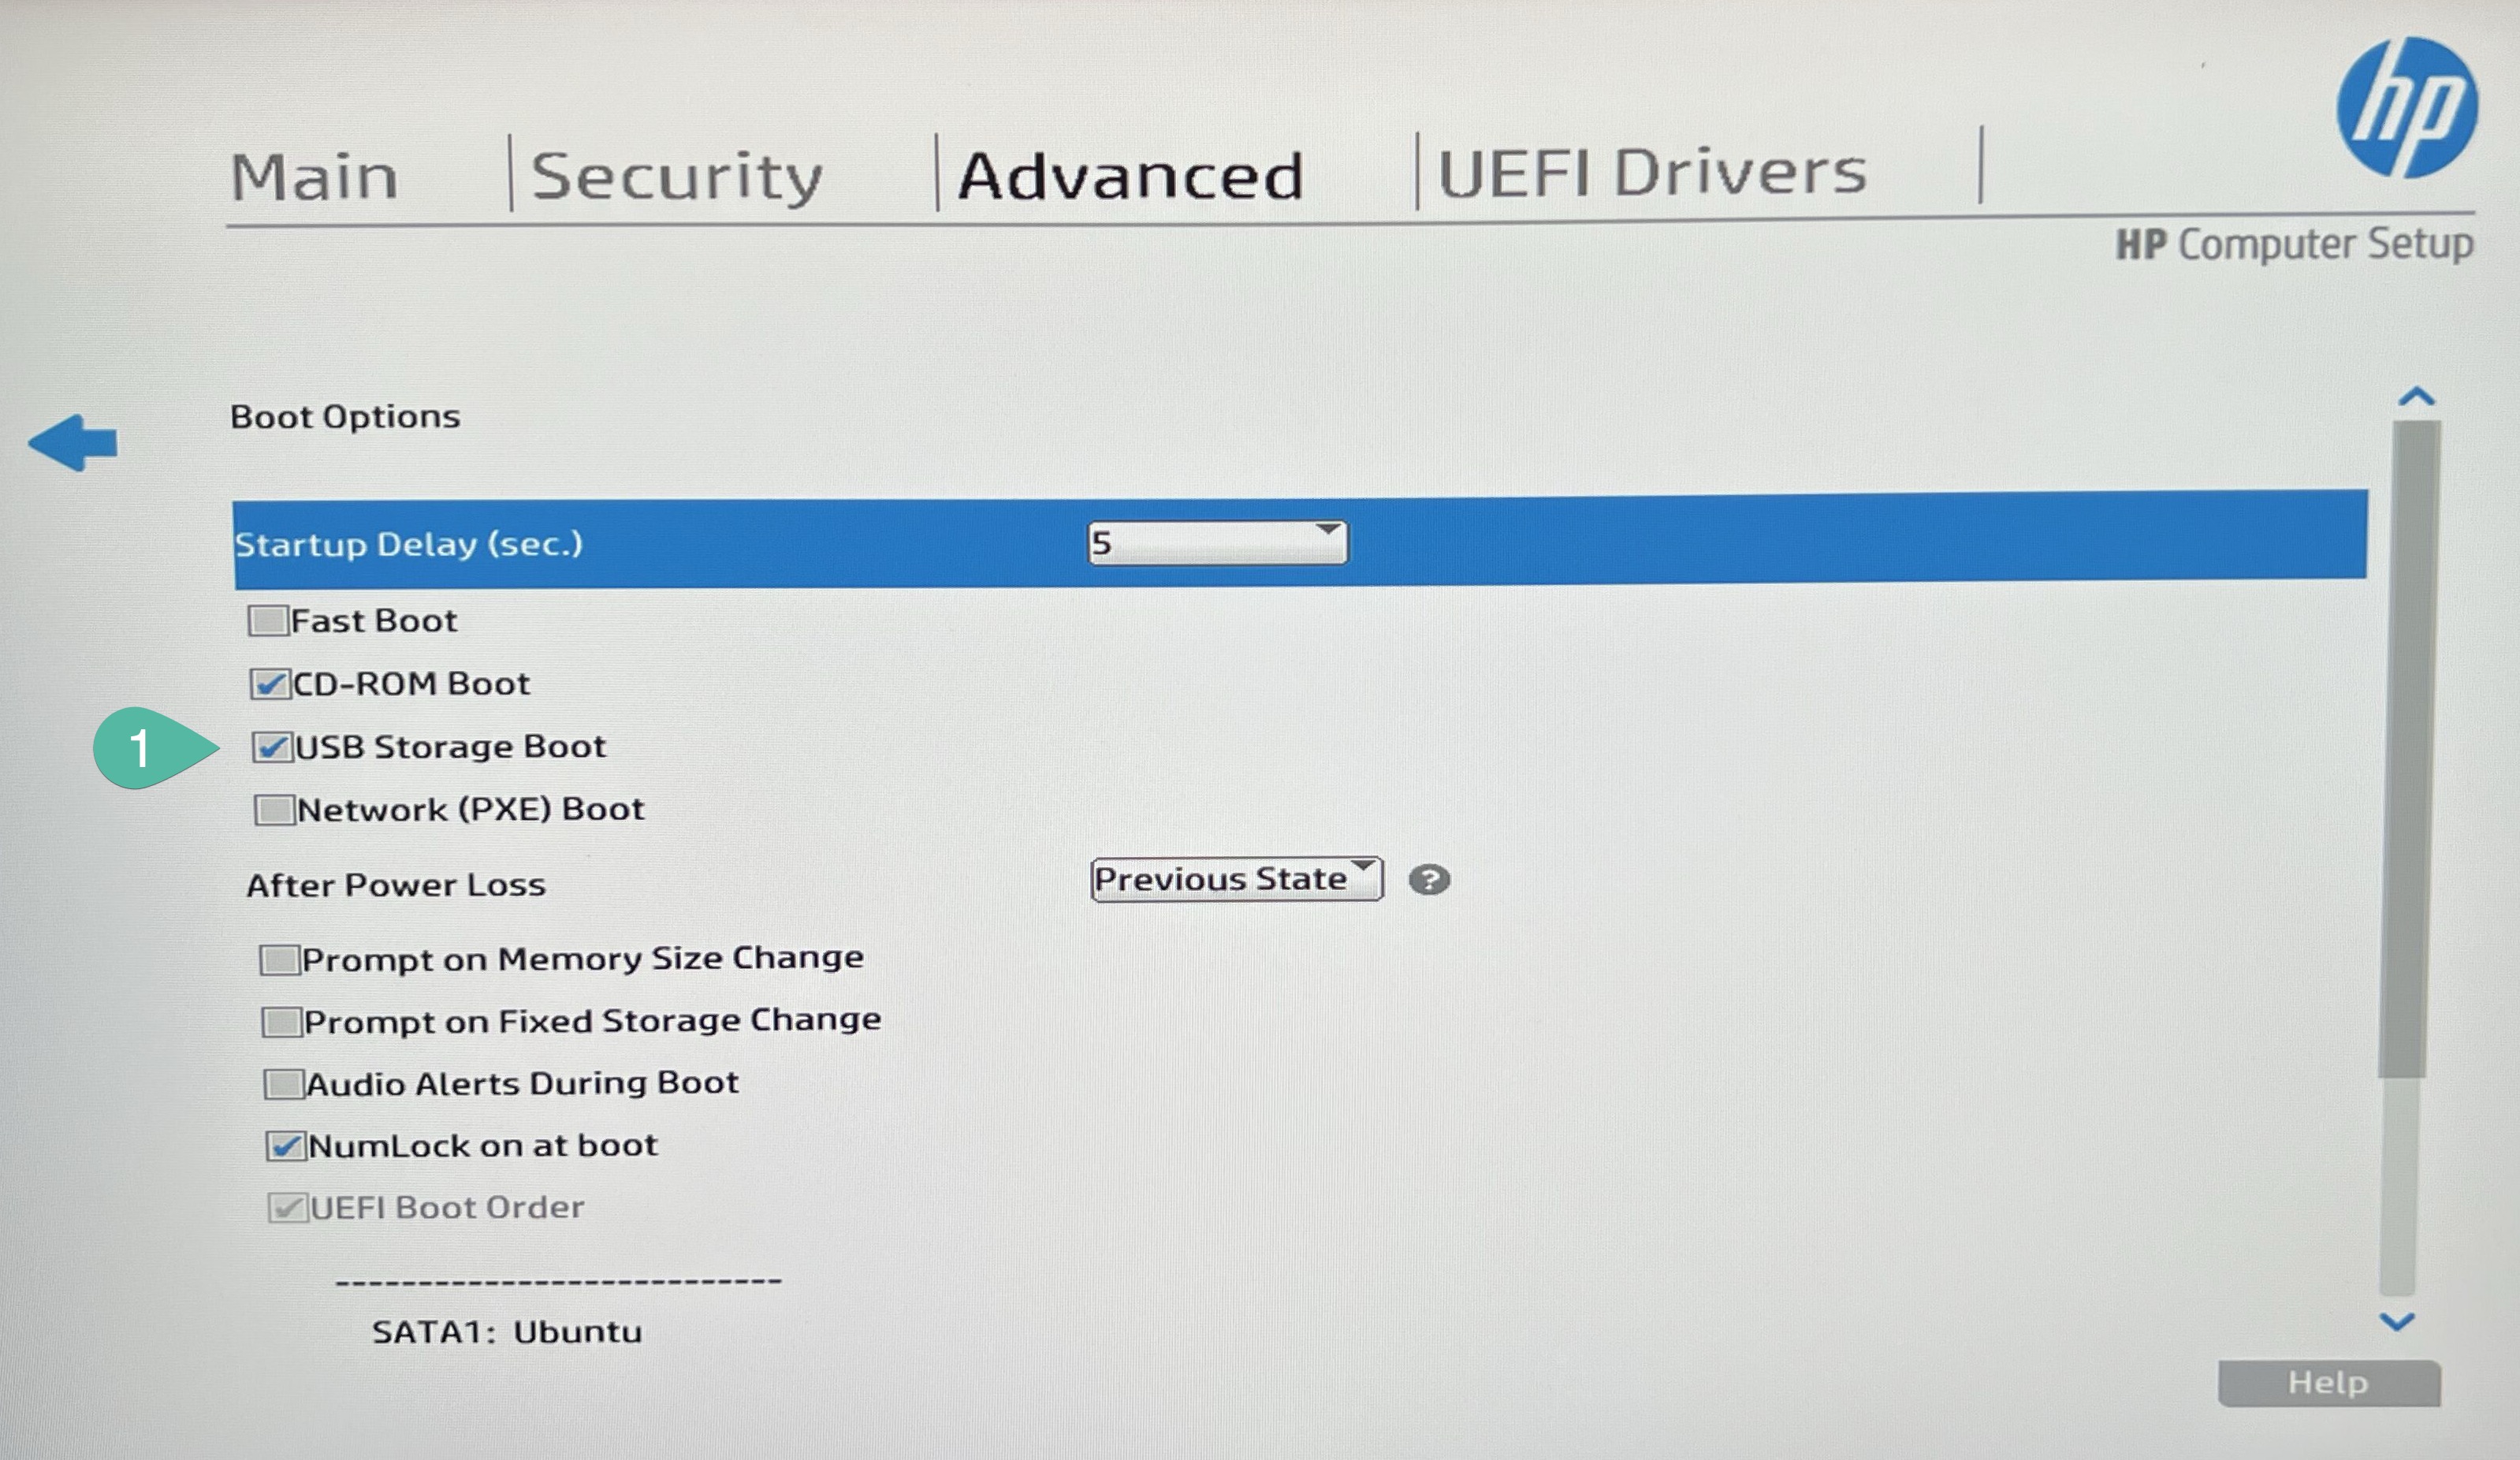
Select the USB Storage boot option, so you can boot up from the USB stick you installed.
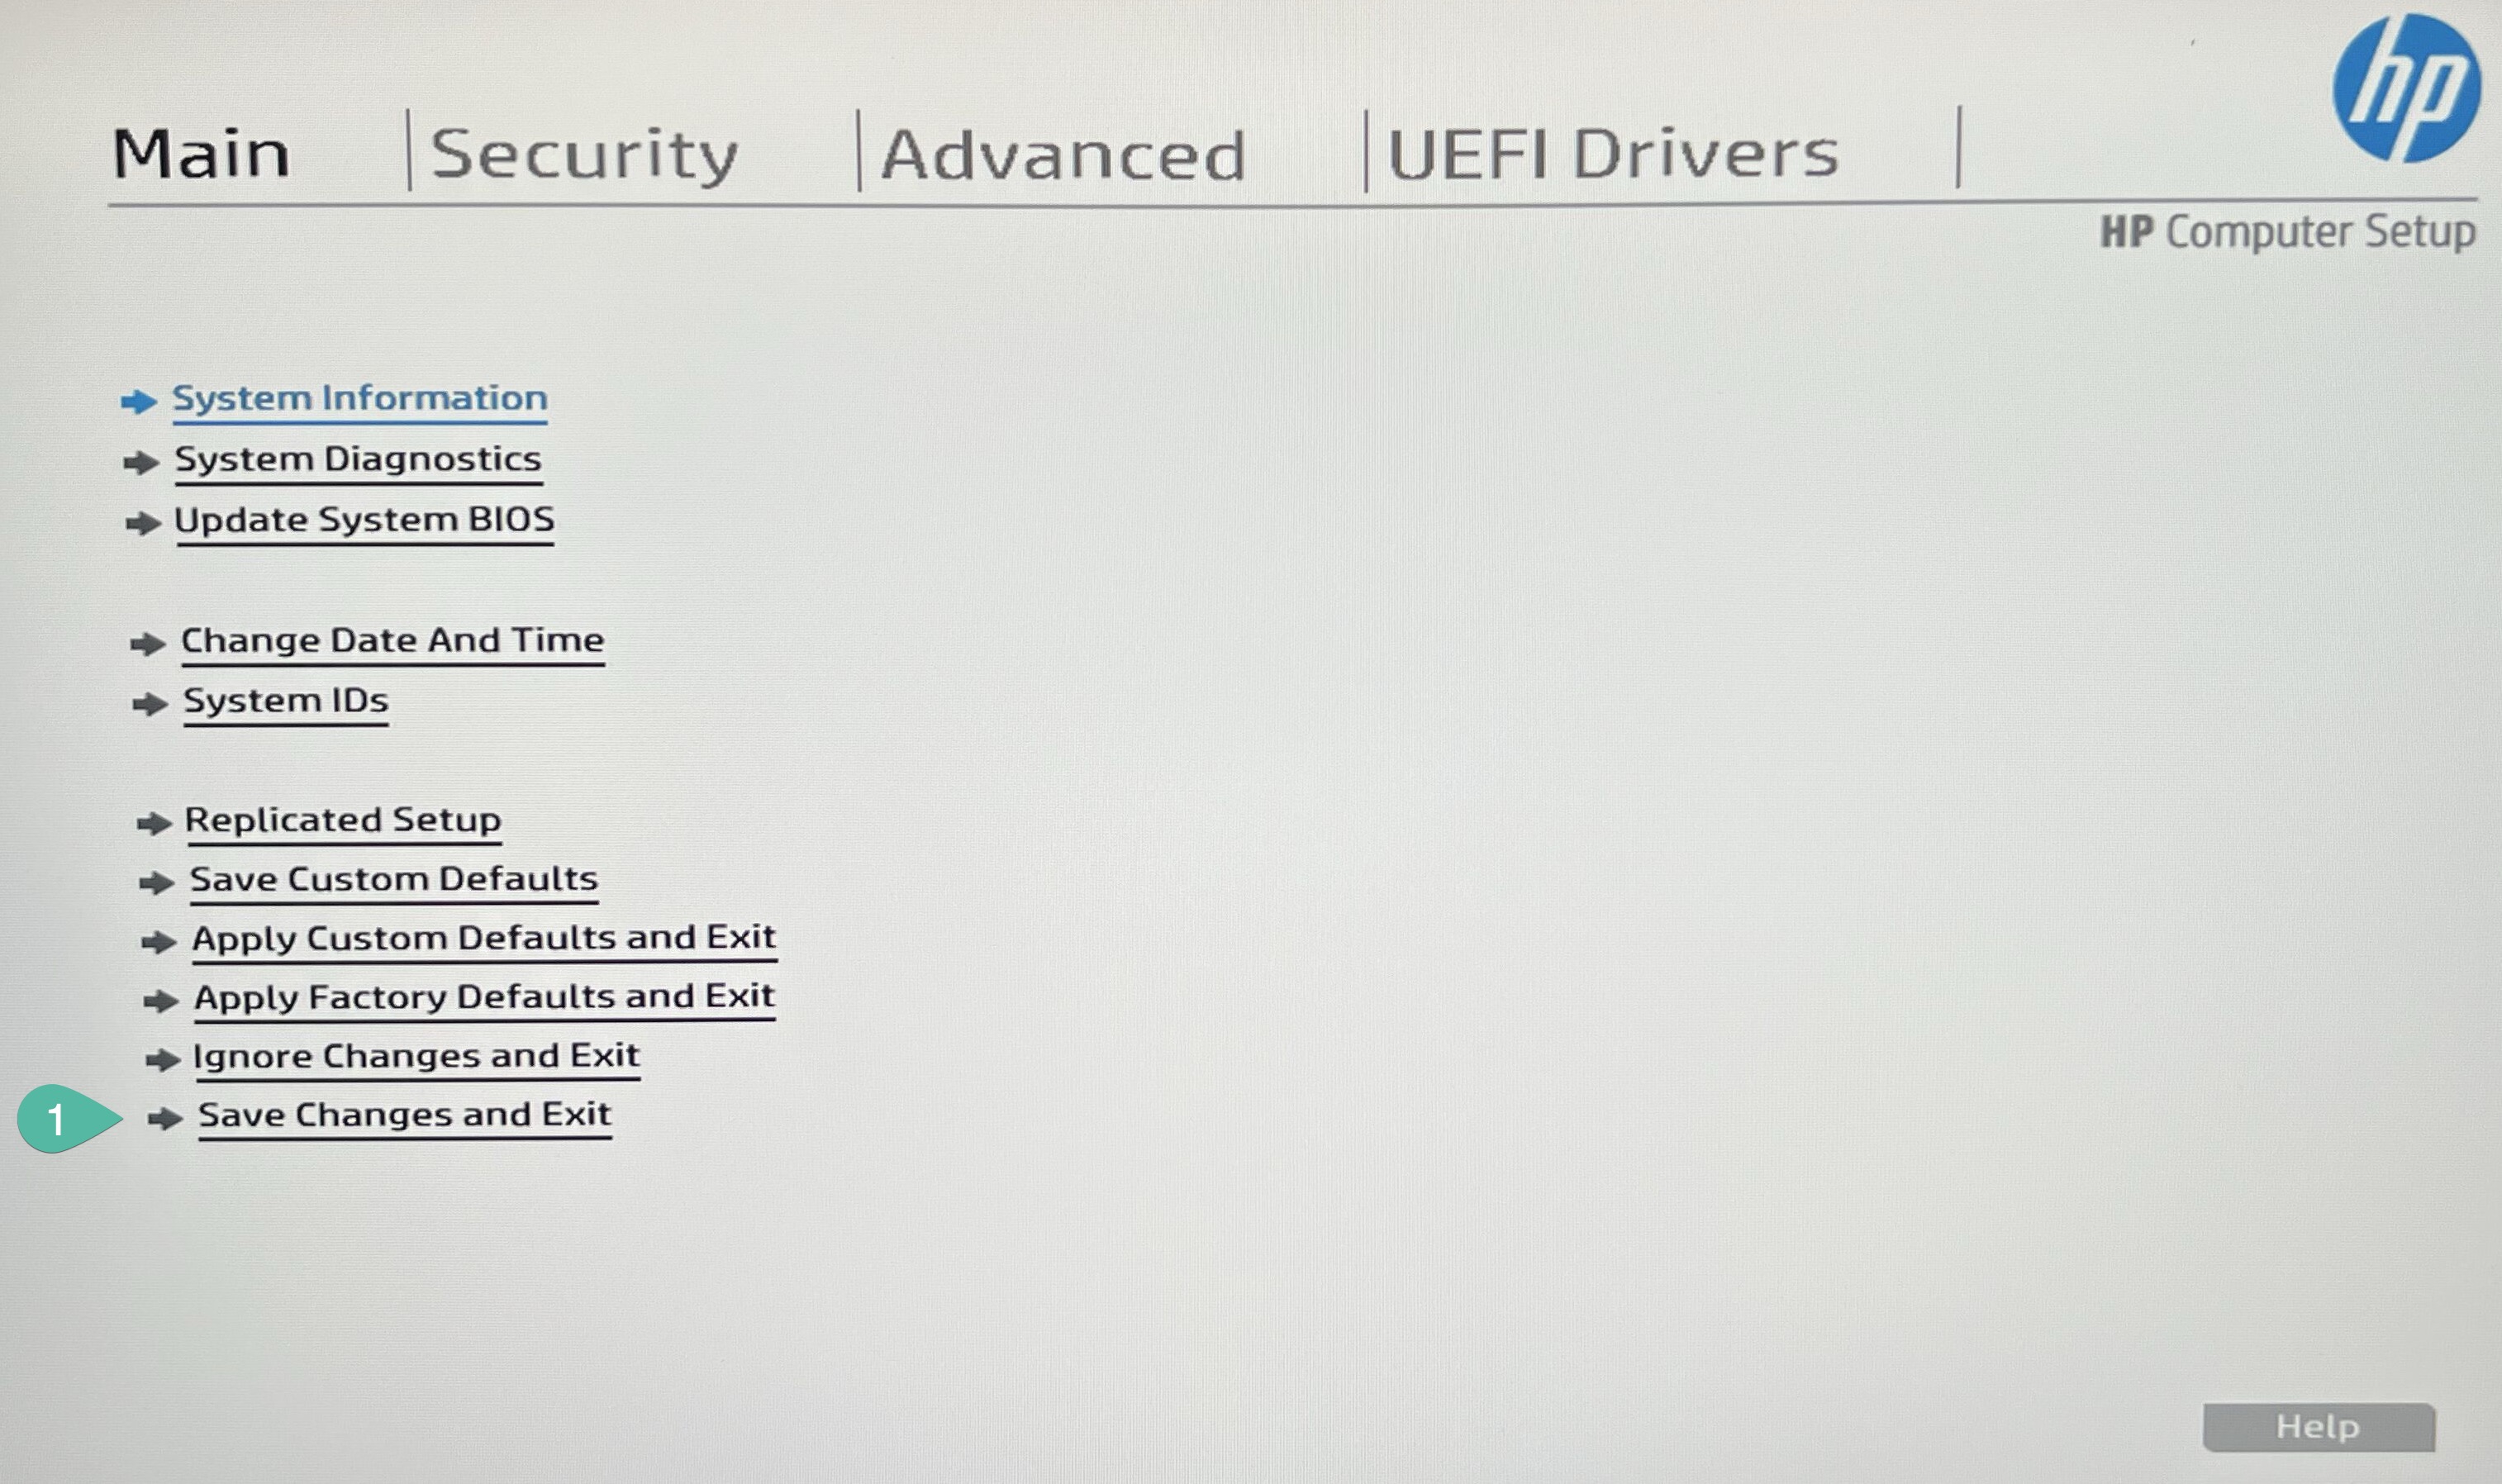
Go to back to Main and Save Changes and Exit.
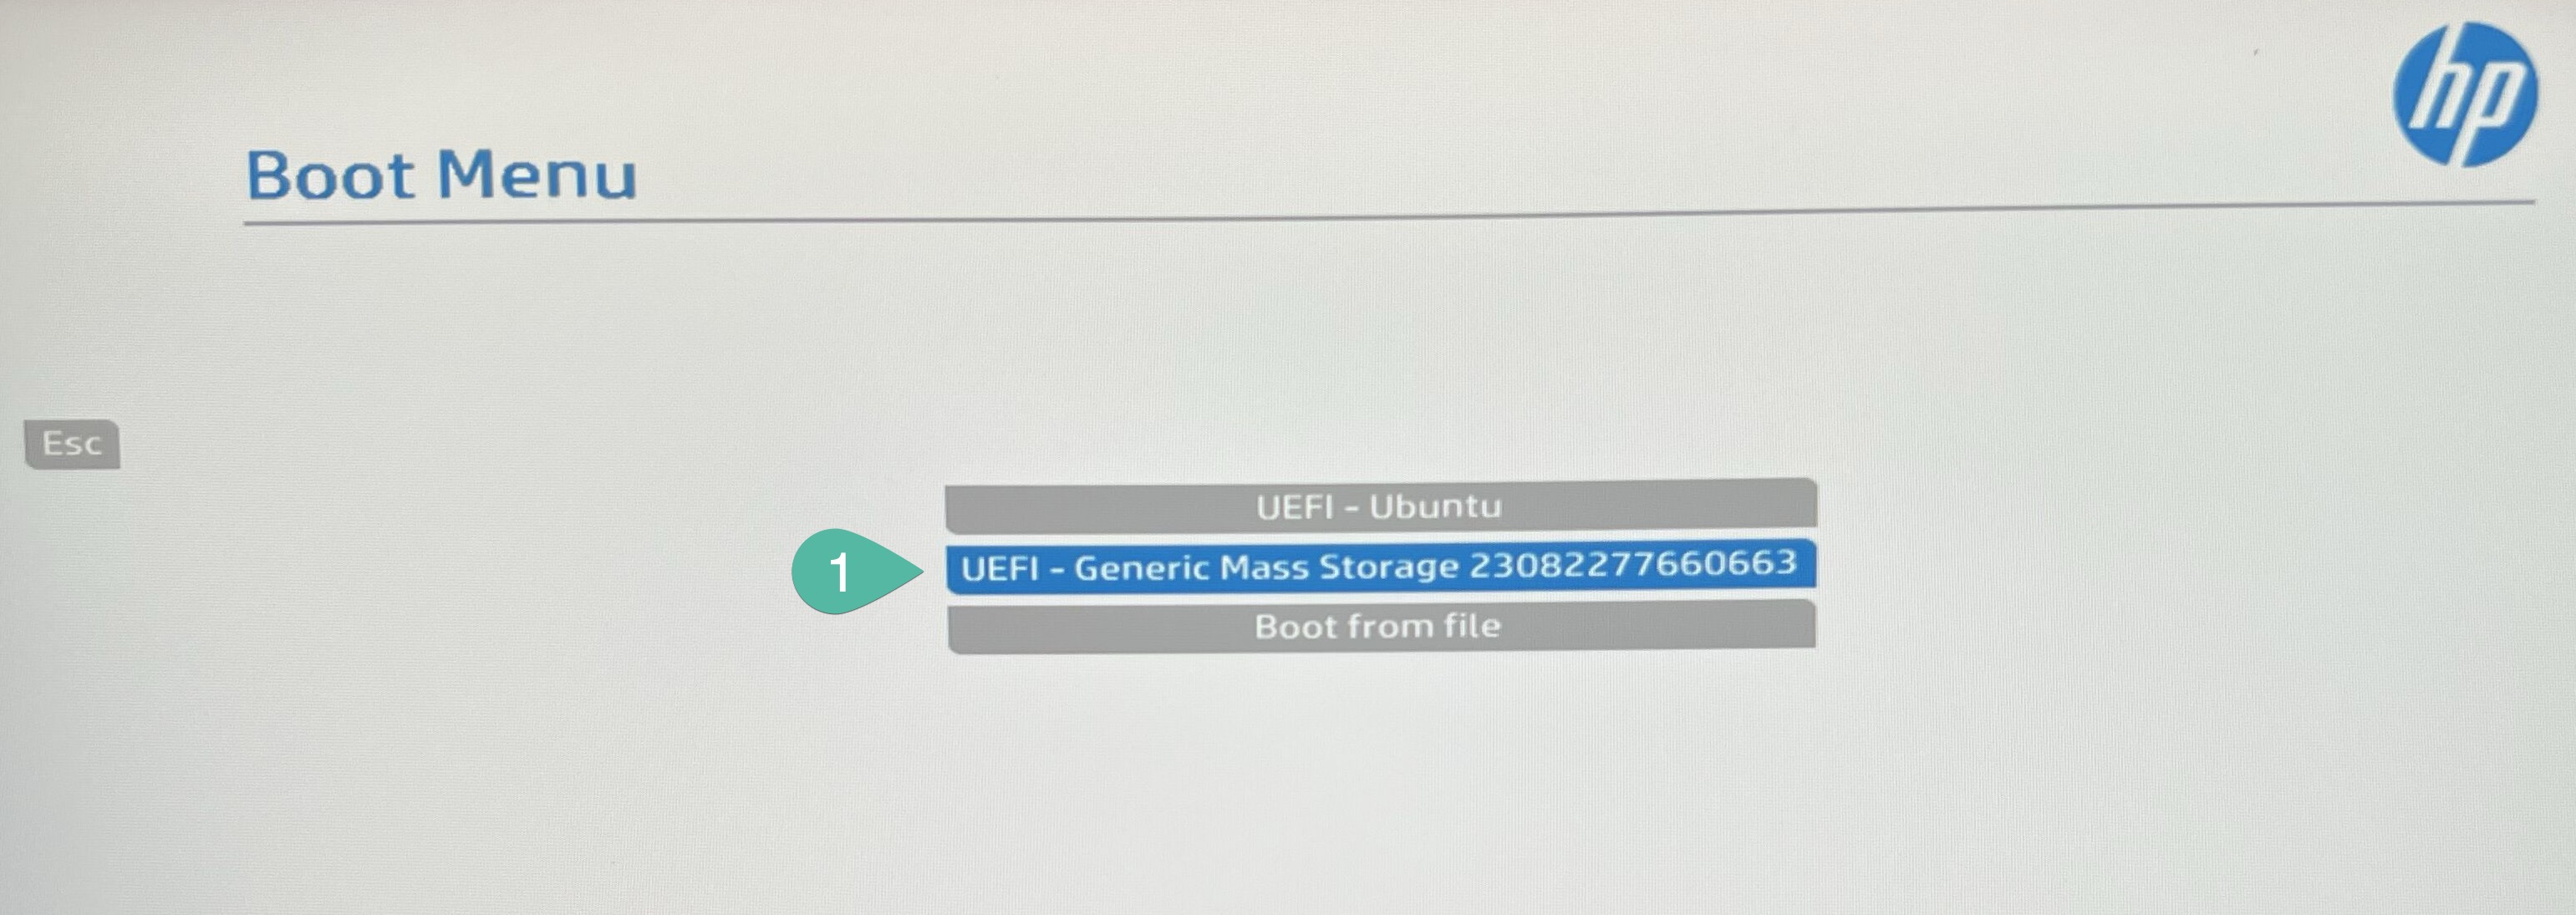
While the PC will start booting again, similar song like before, while booting start constatnly pressing F9 until you will enter to quick boot menu, then select our new stick UEFI - Generic Mass Storage (this name might be different depend on what kind of USB stick you will use).
Step 3: Debian installation
Instalator will greet us with a nice menu. I selected Install which is standard TUI (Terminal User Interface) and continue.
Although if you prefer, you can also choose more modern, Graphical install.

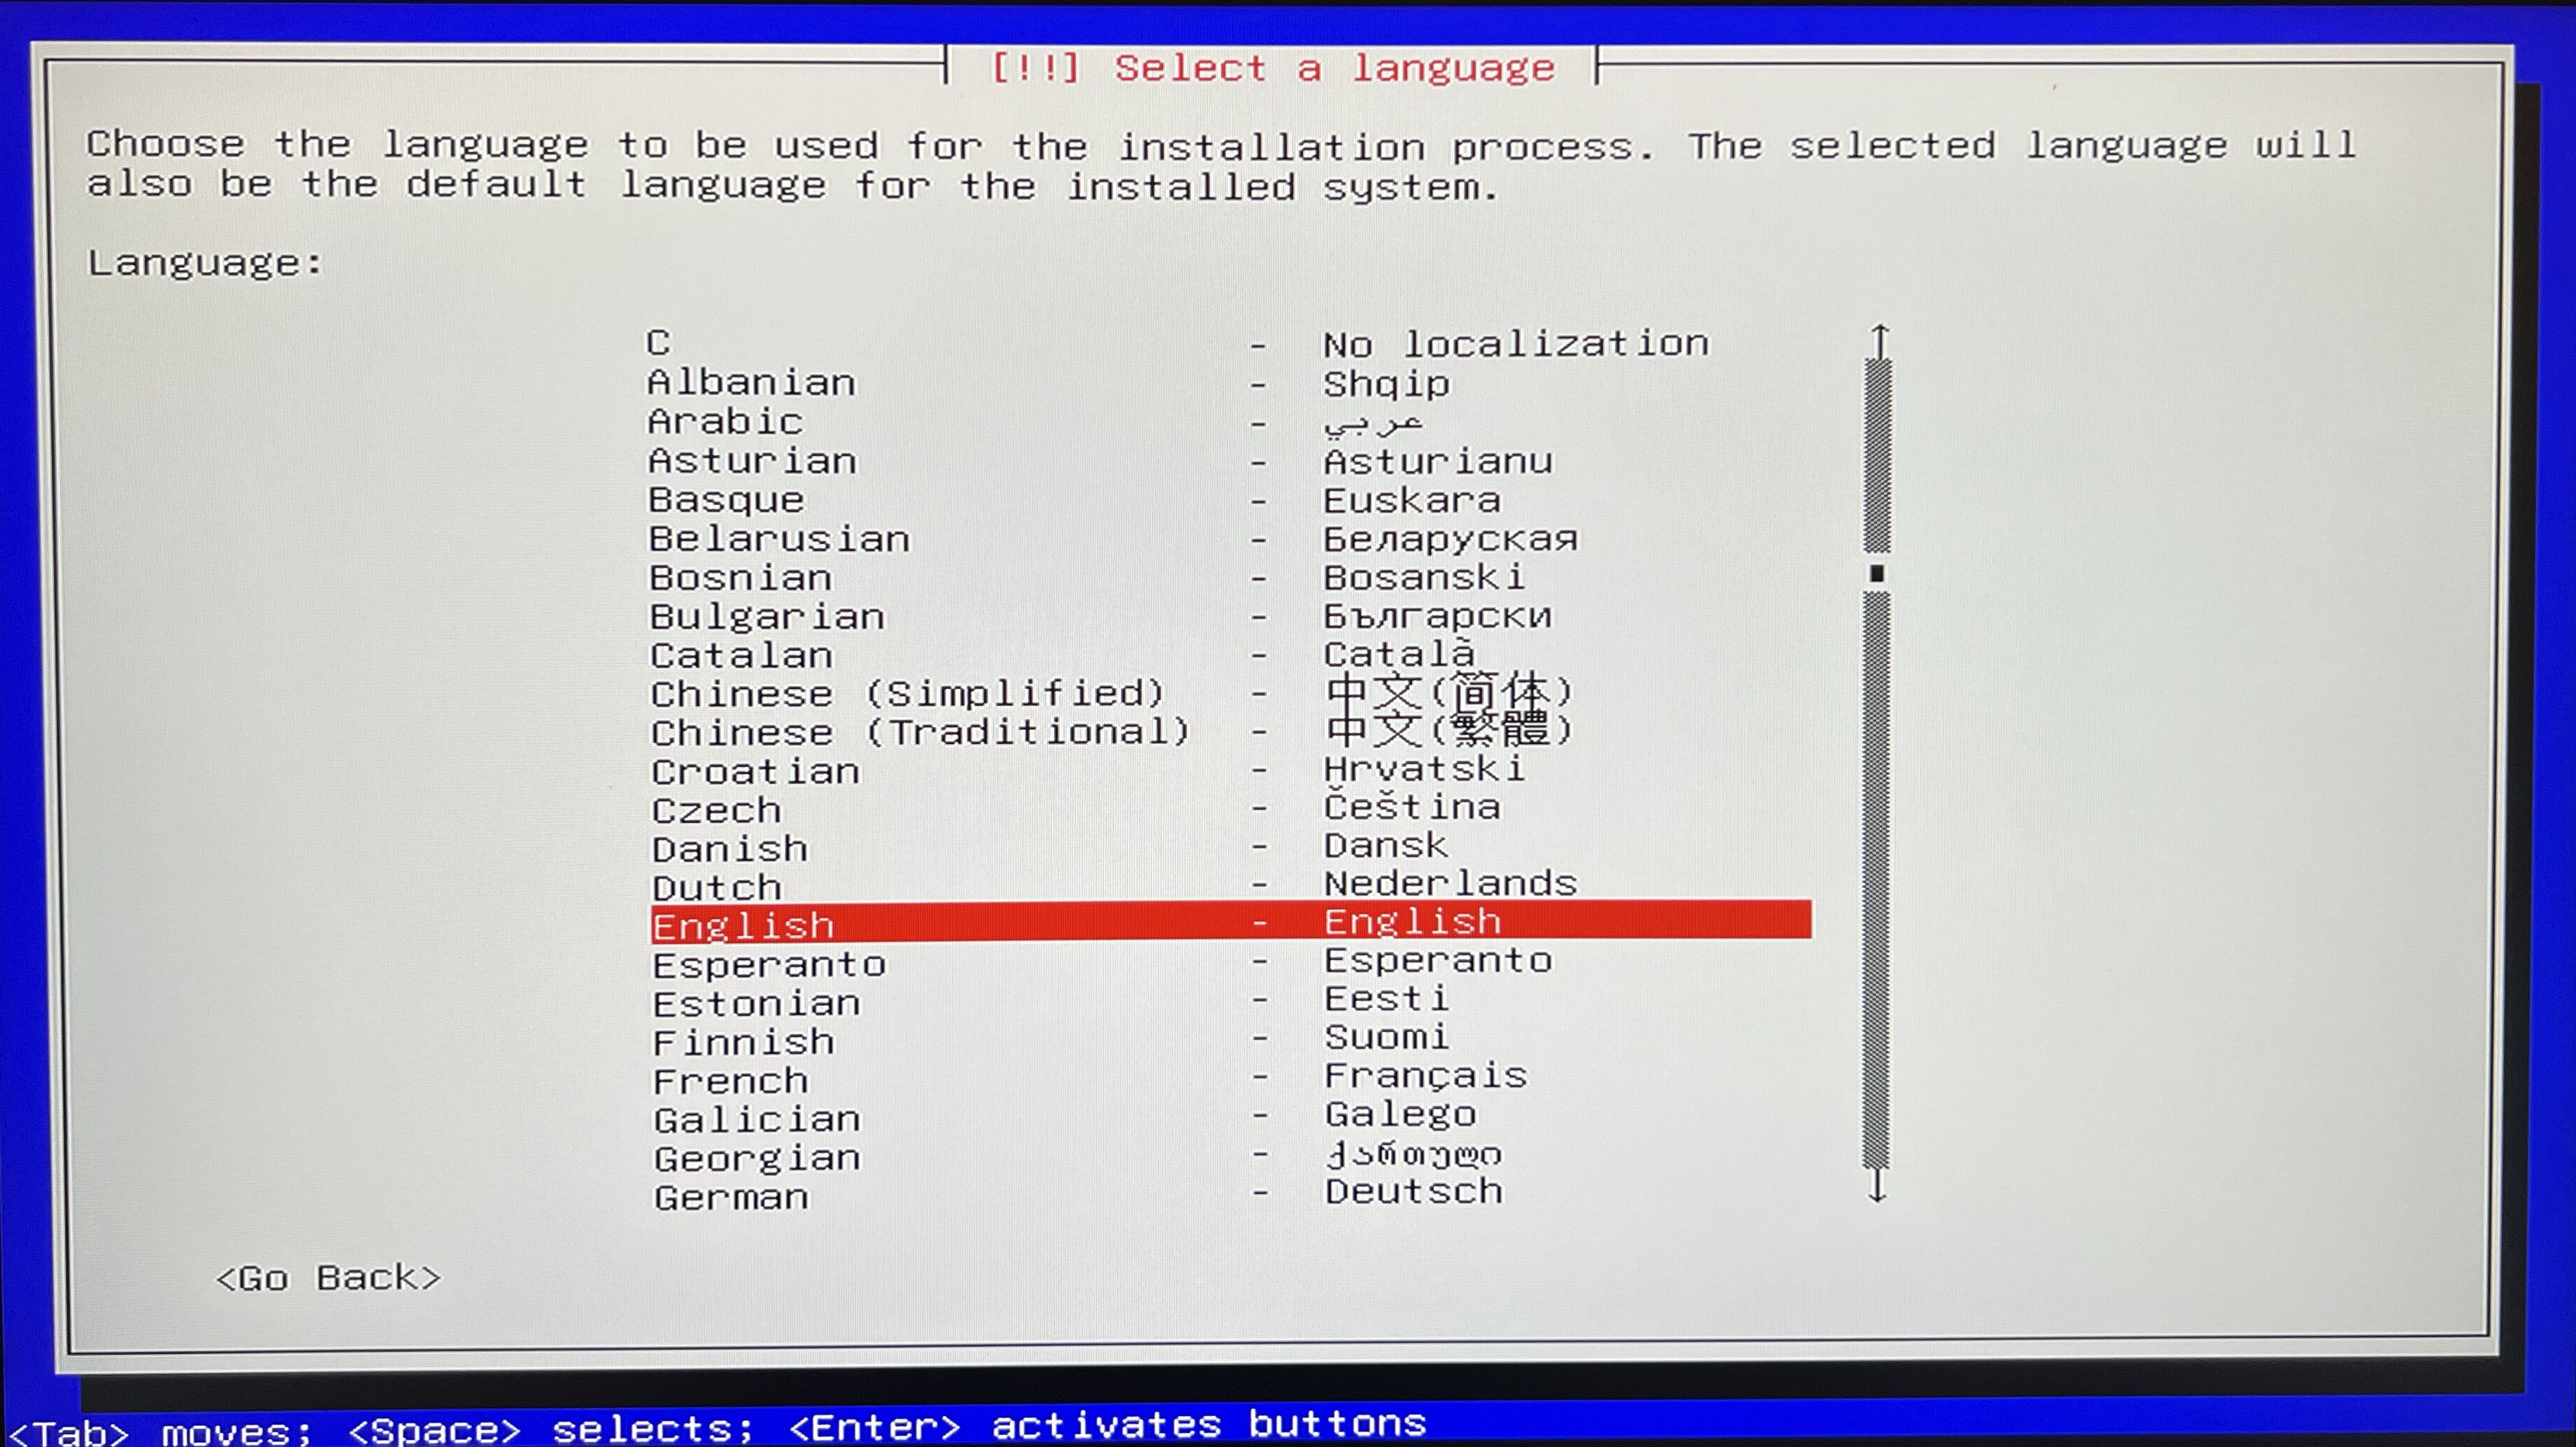
Select system language. I simply go with English.
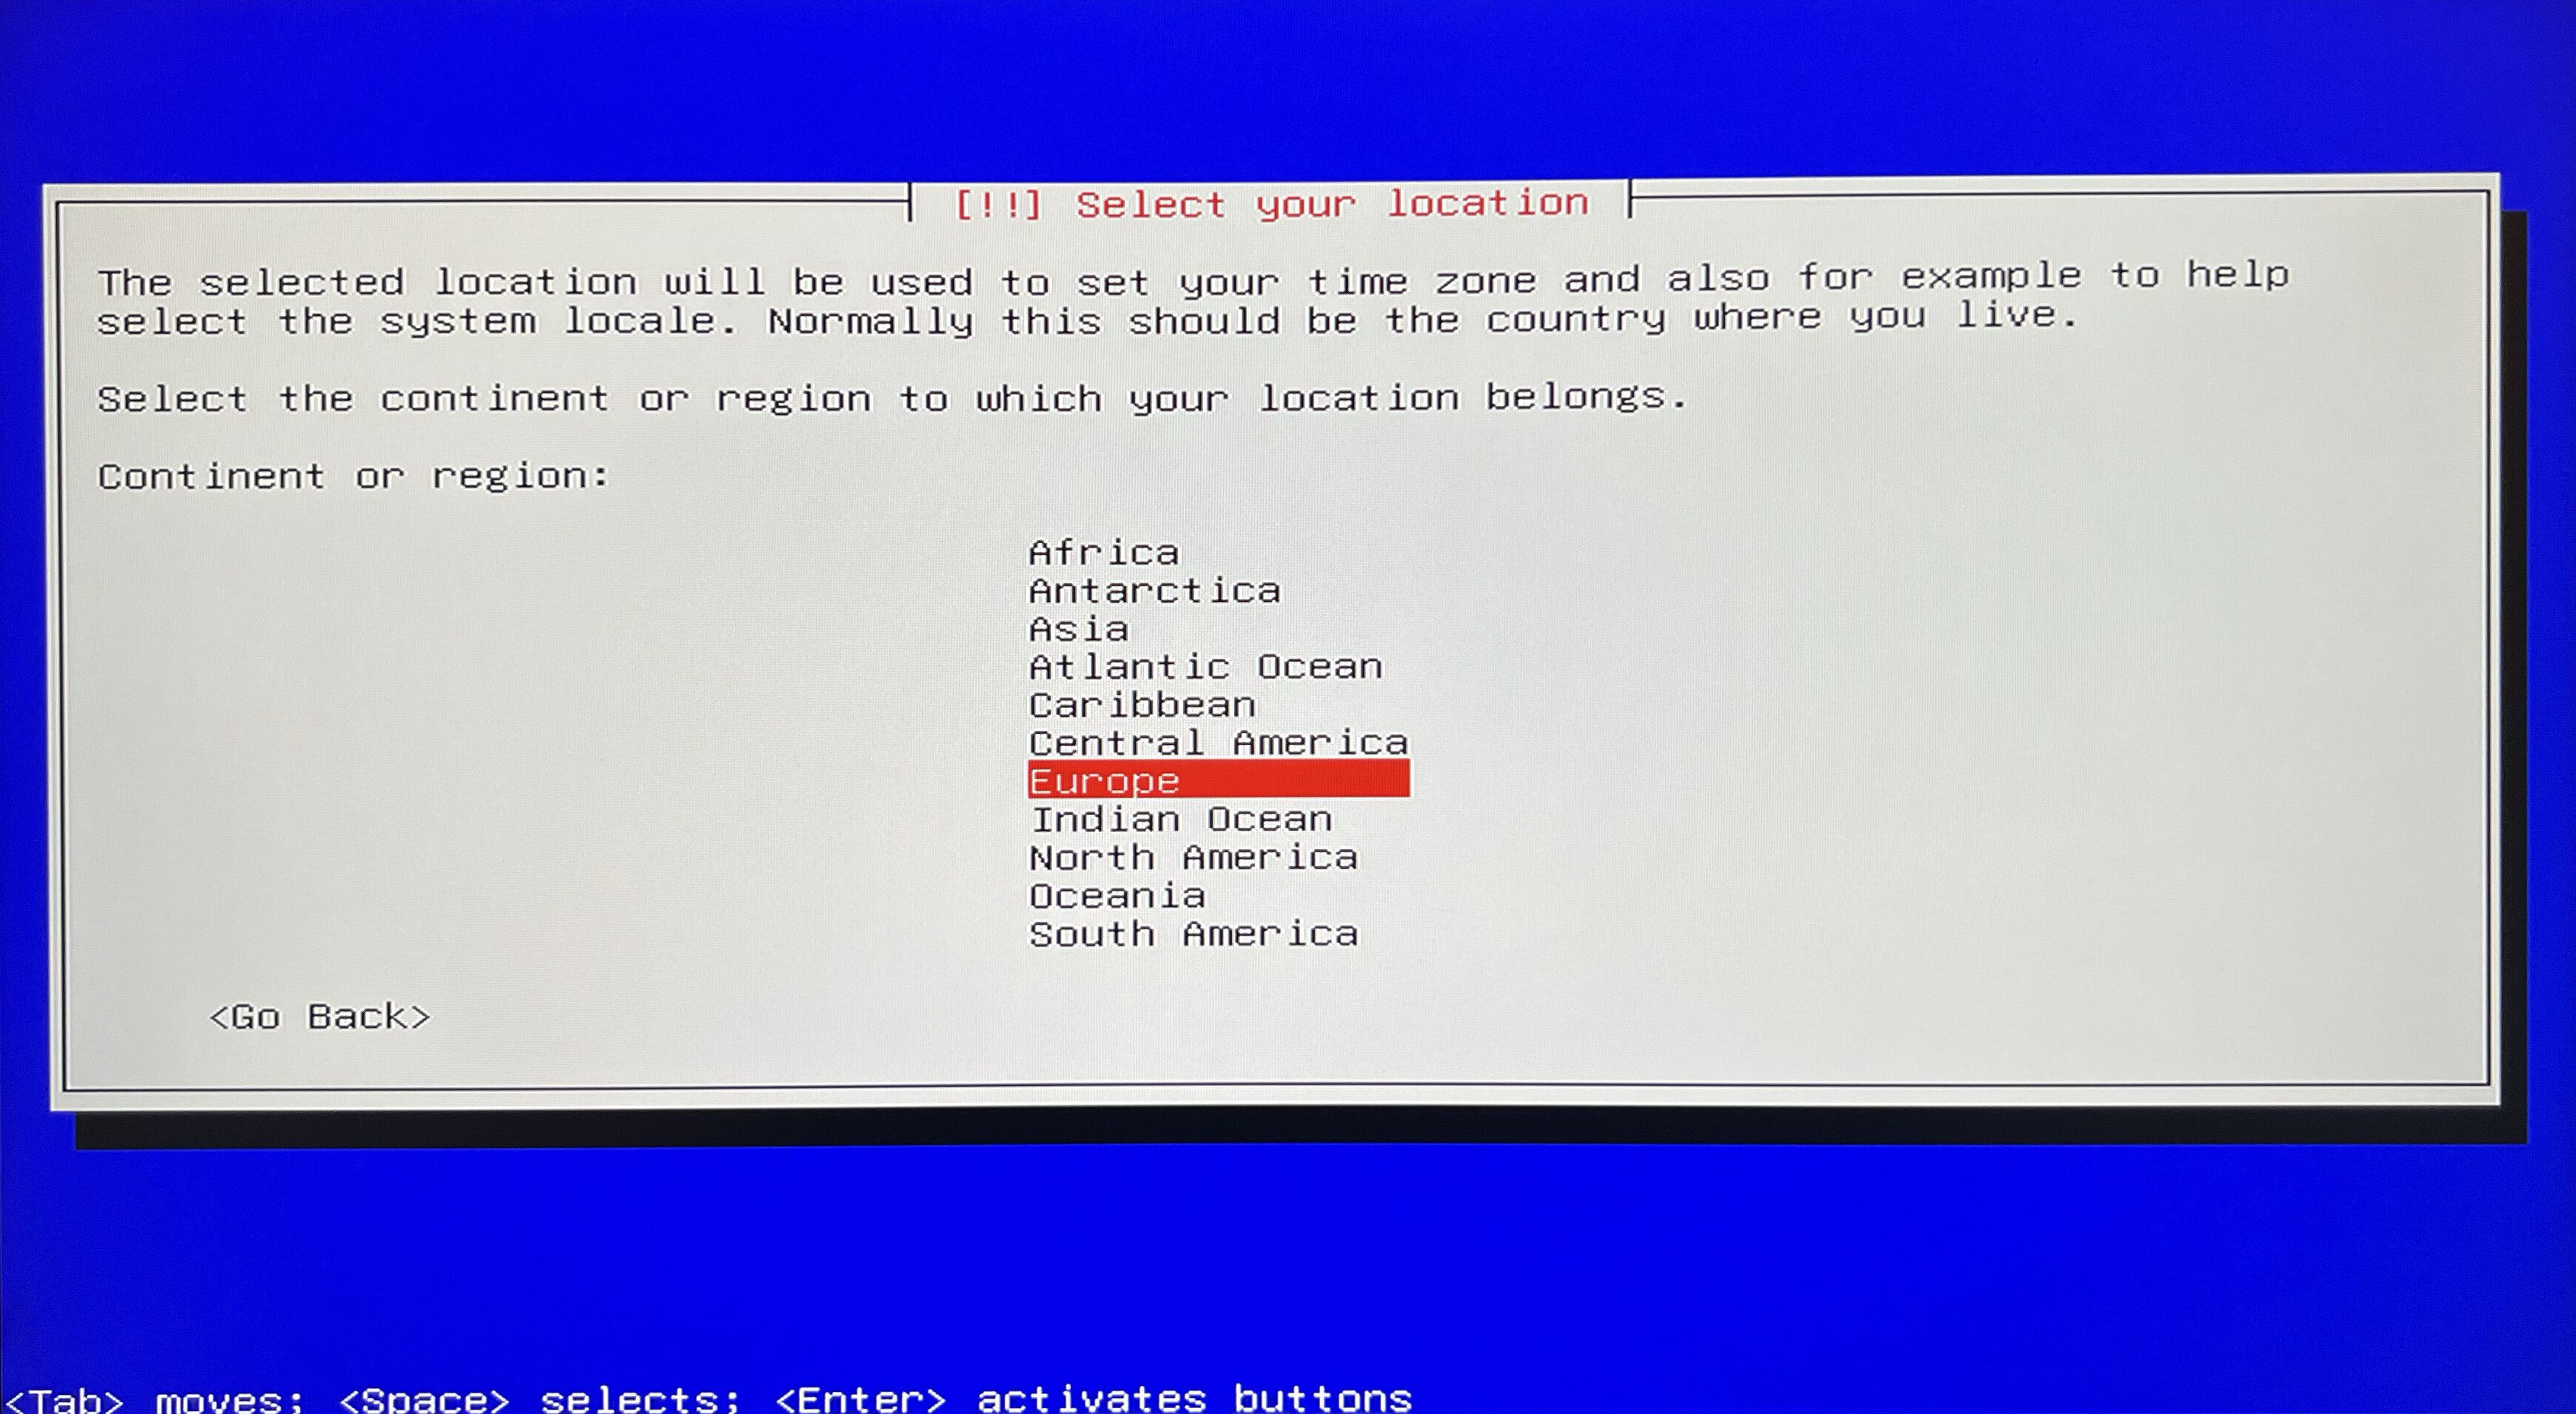
Select location. I go with Other > Europe > Germany.


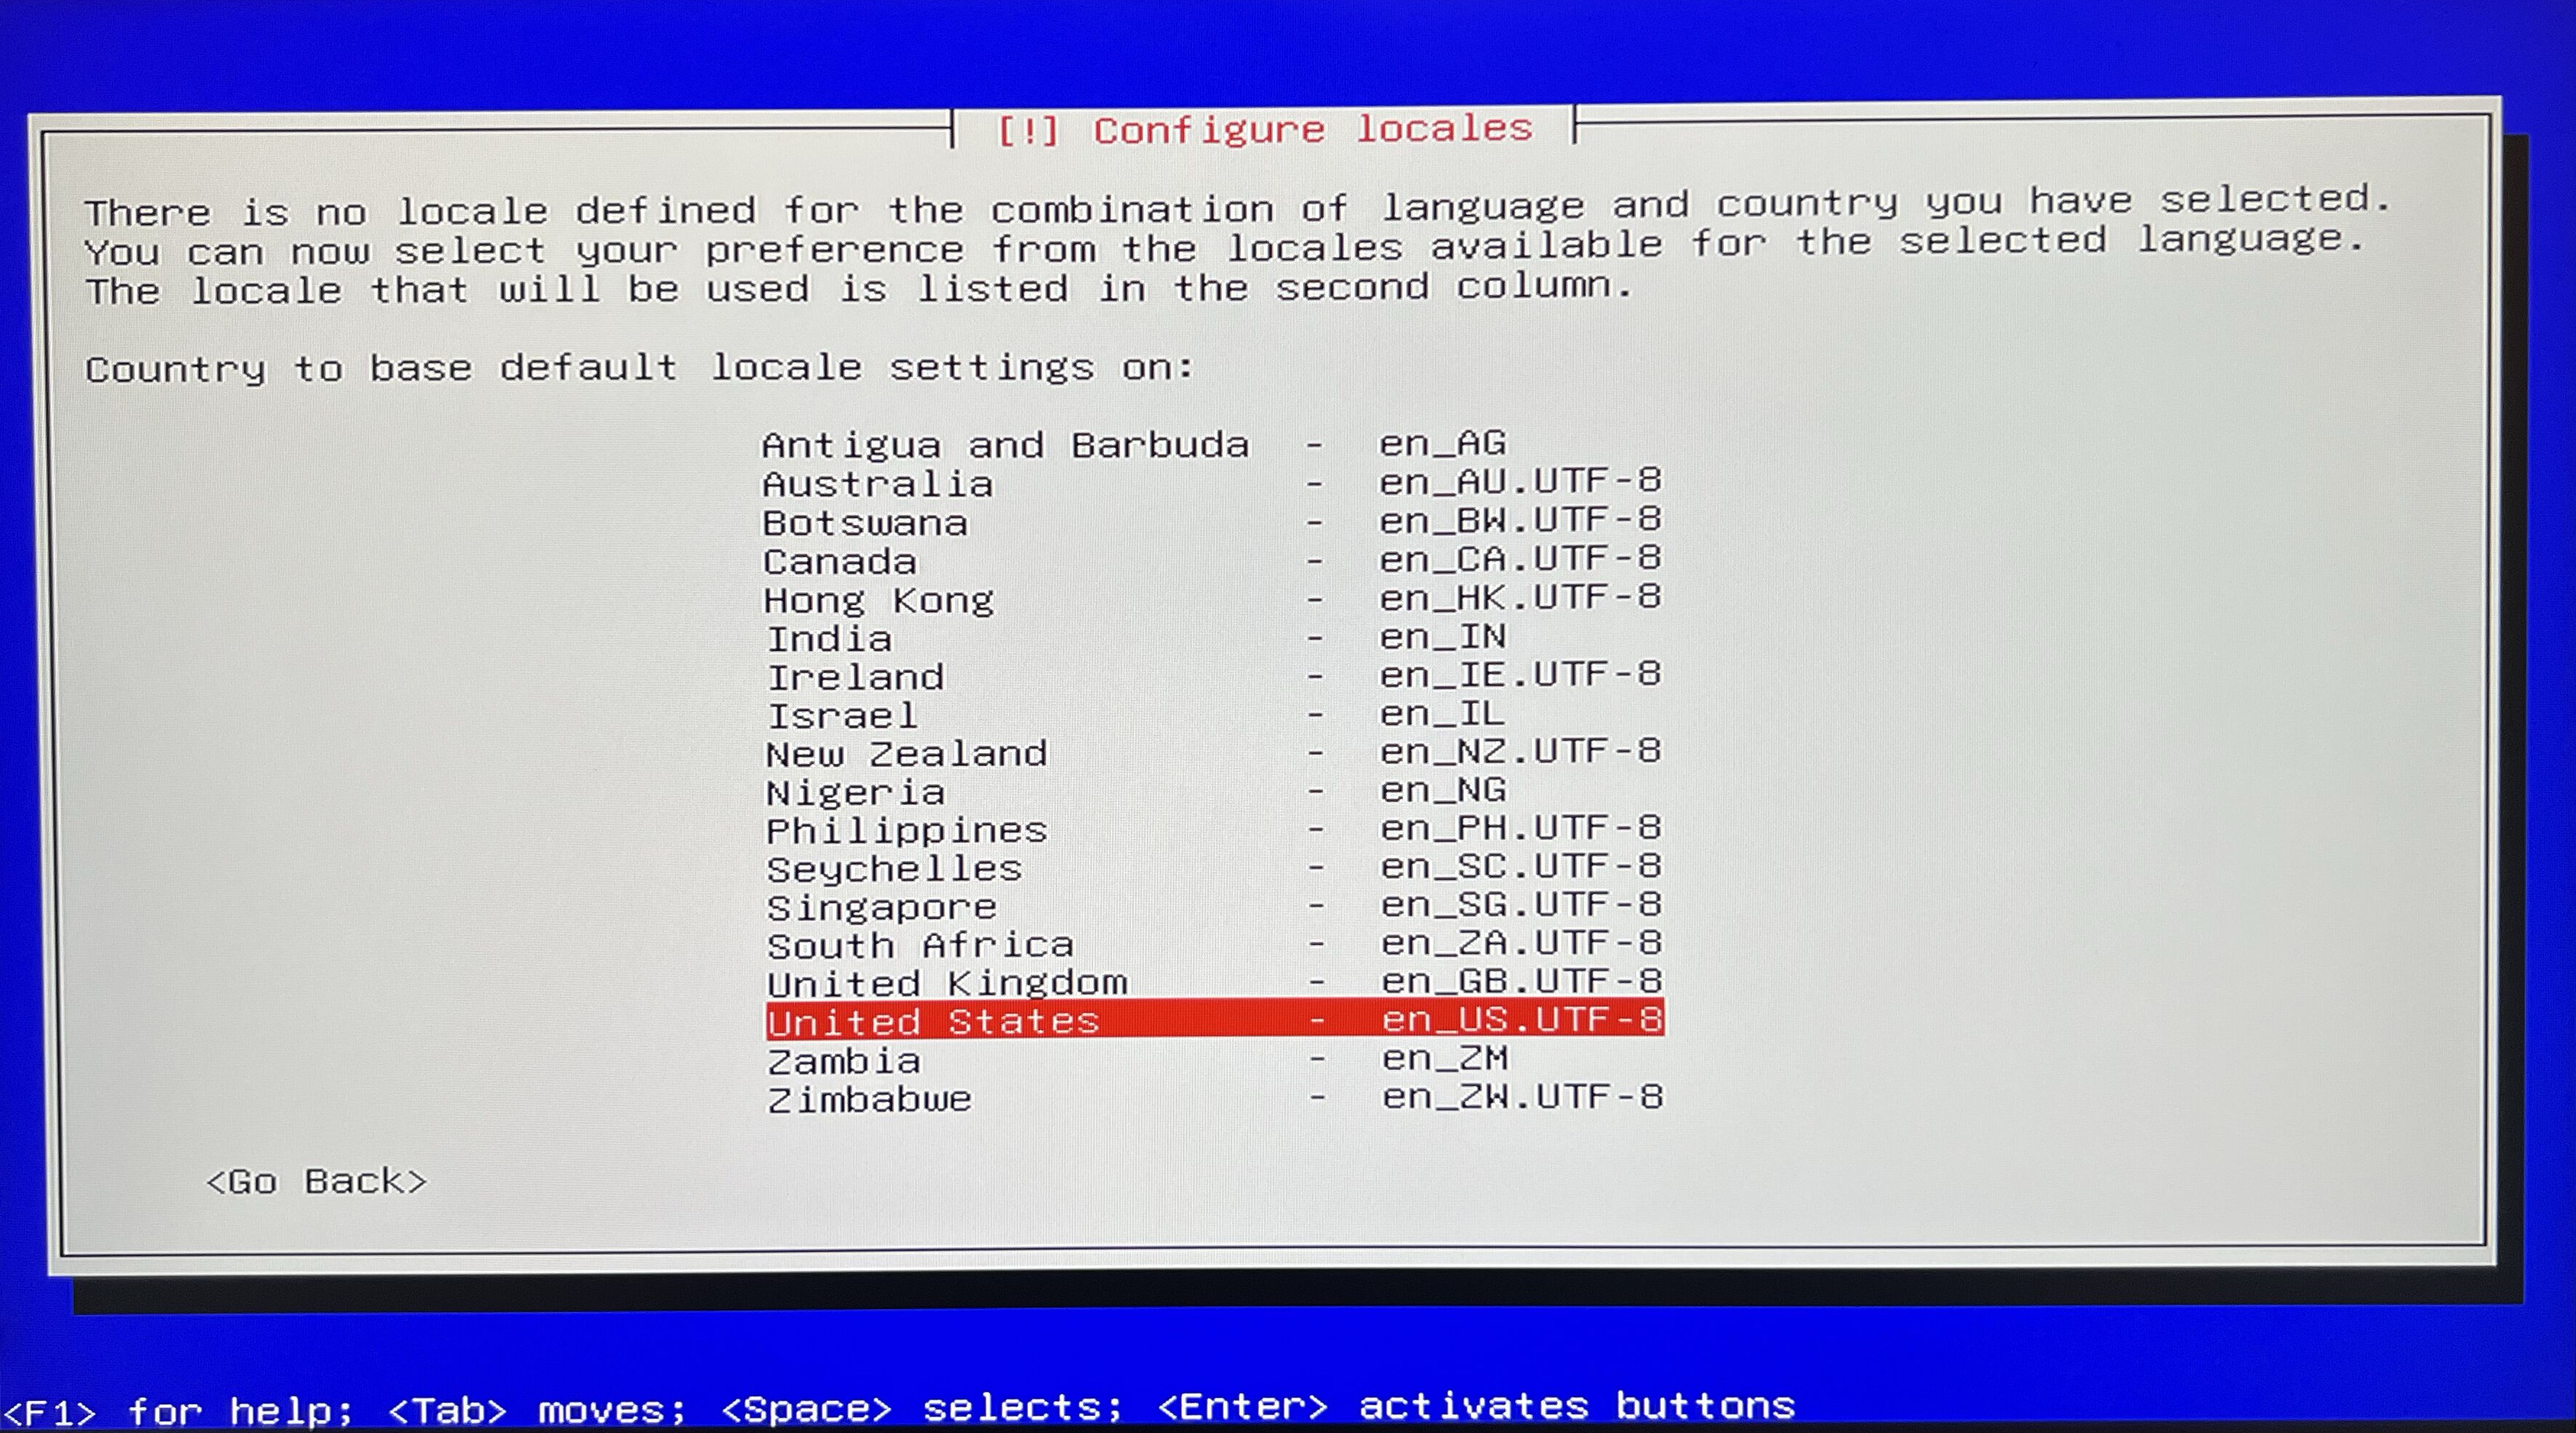
Select locales. I go with United States en_US.UTF-8.
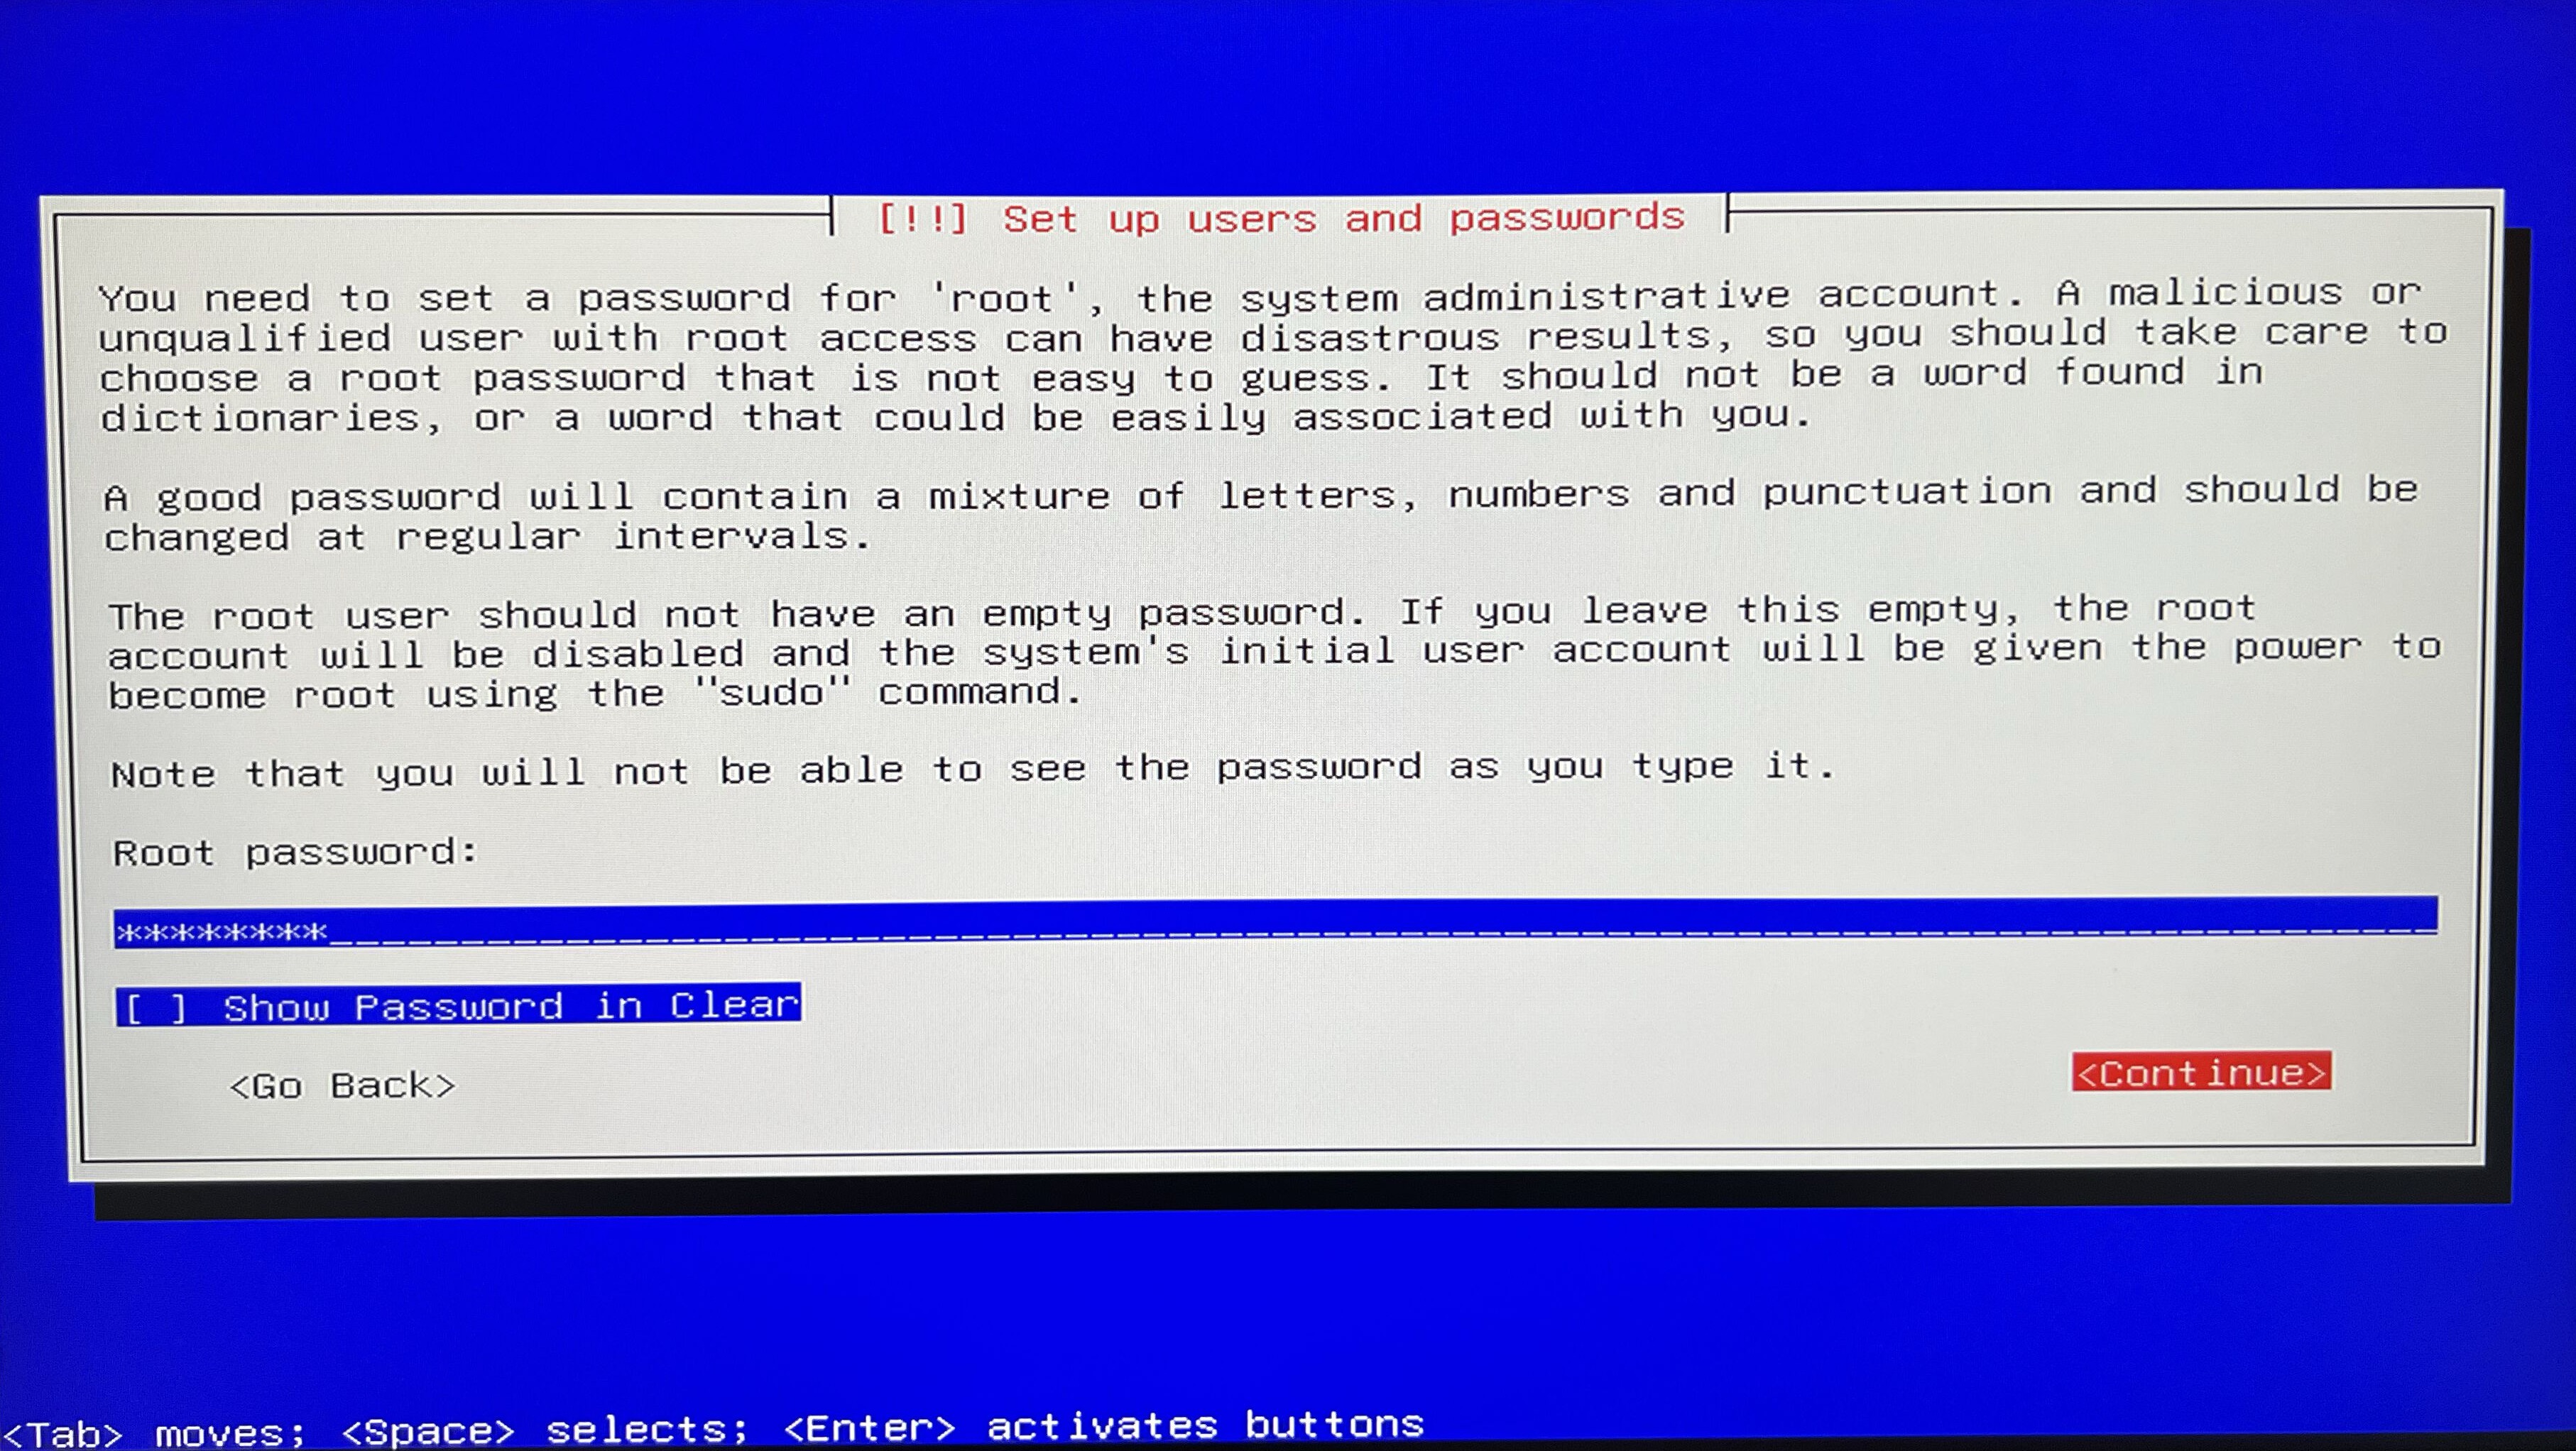
Setup root user.

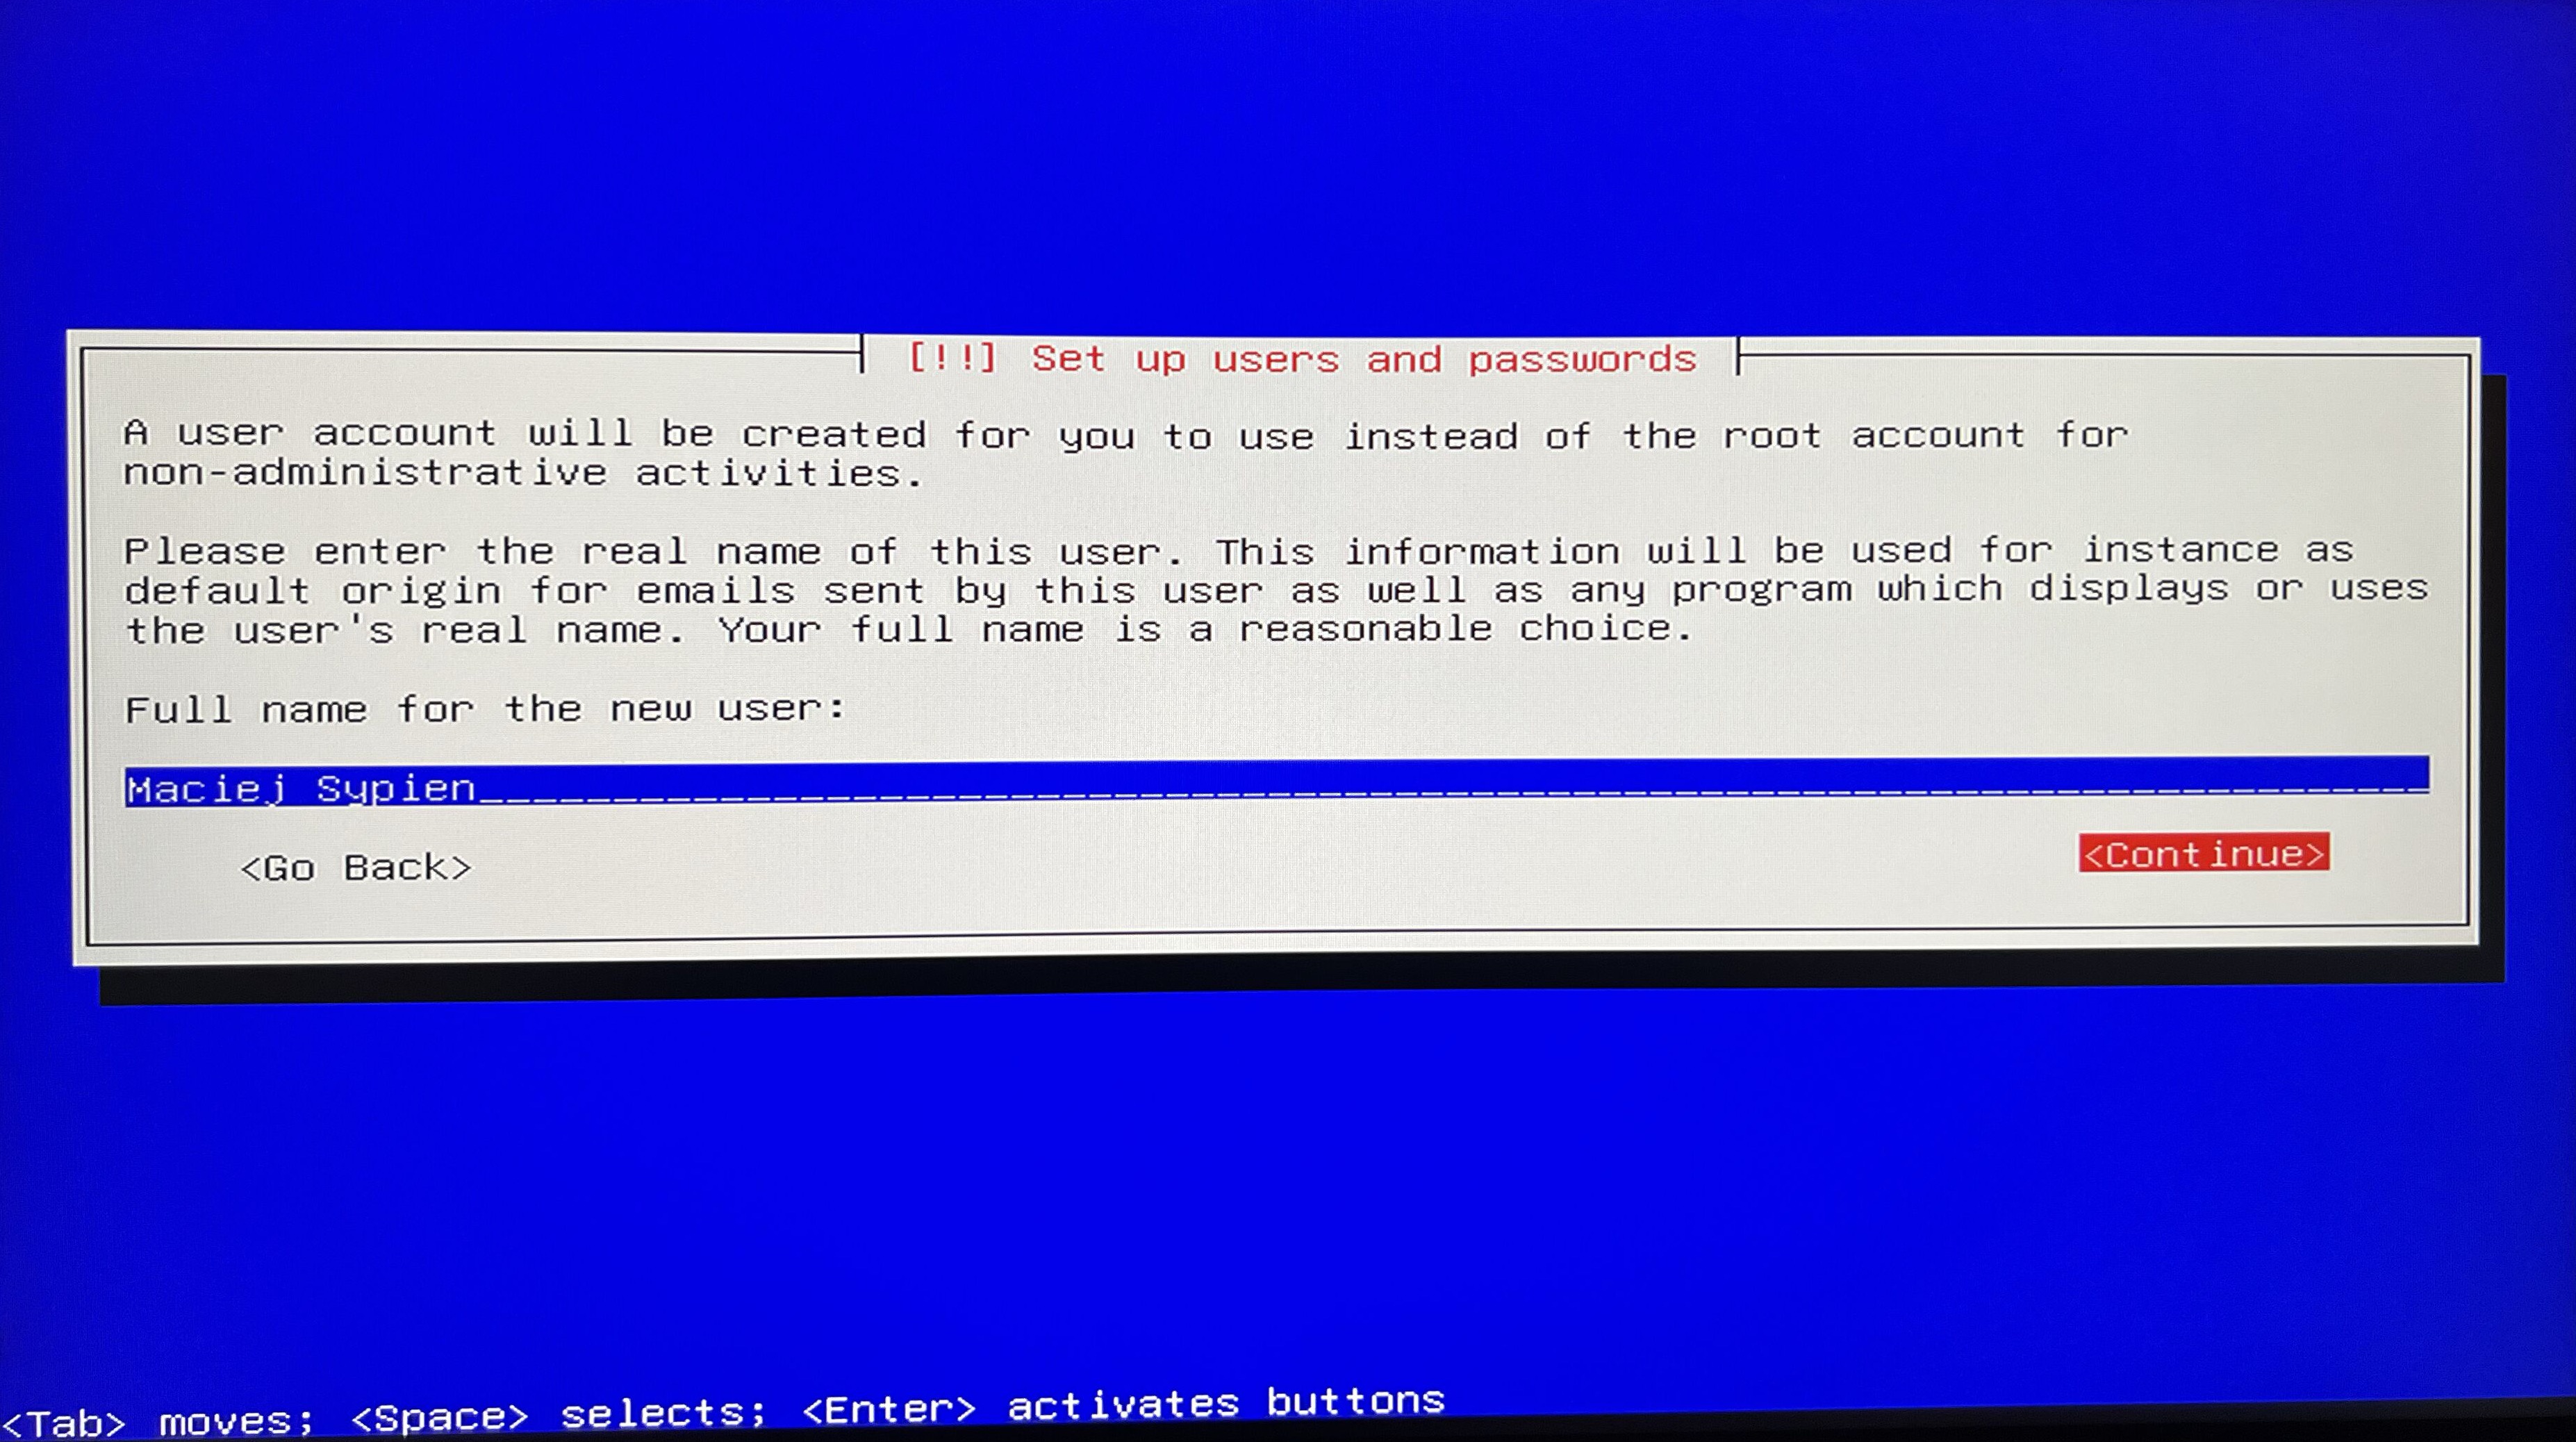
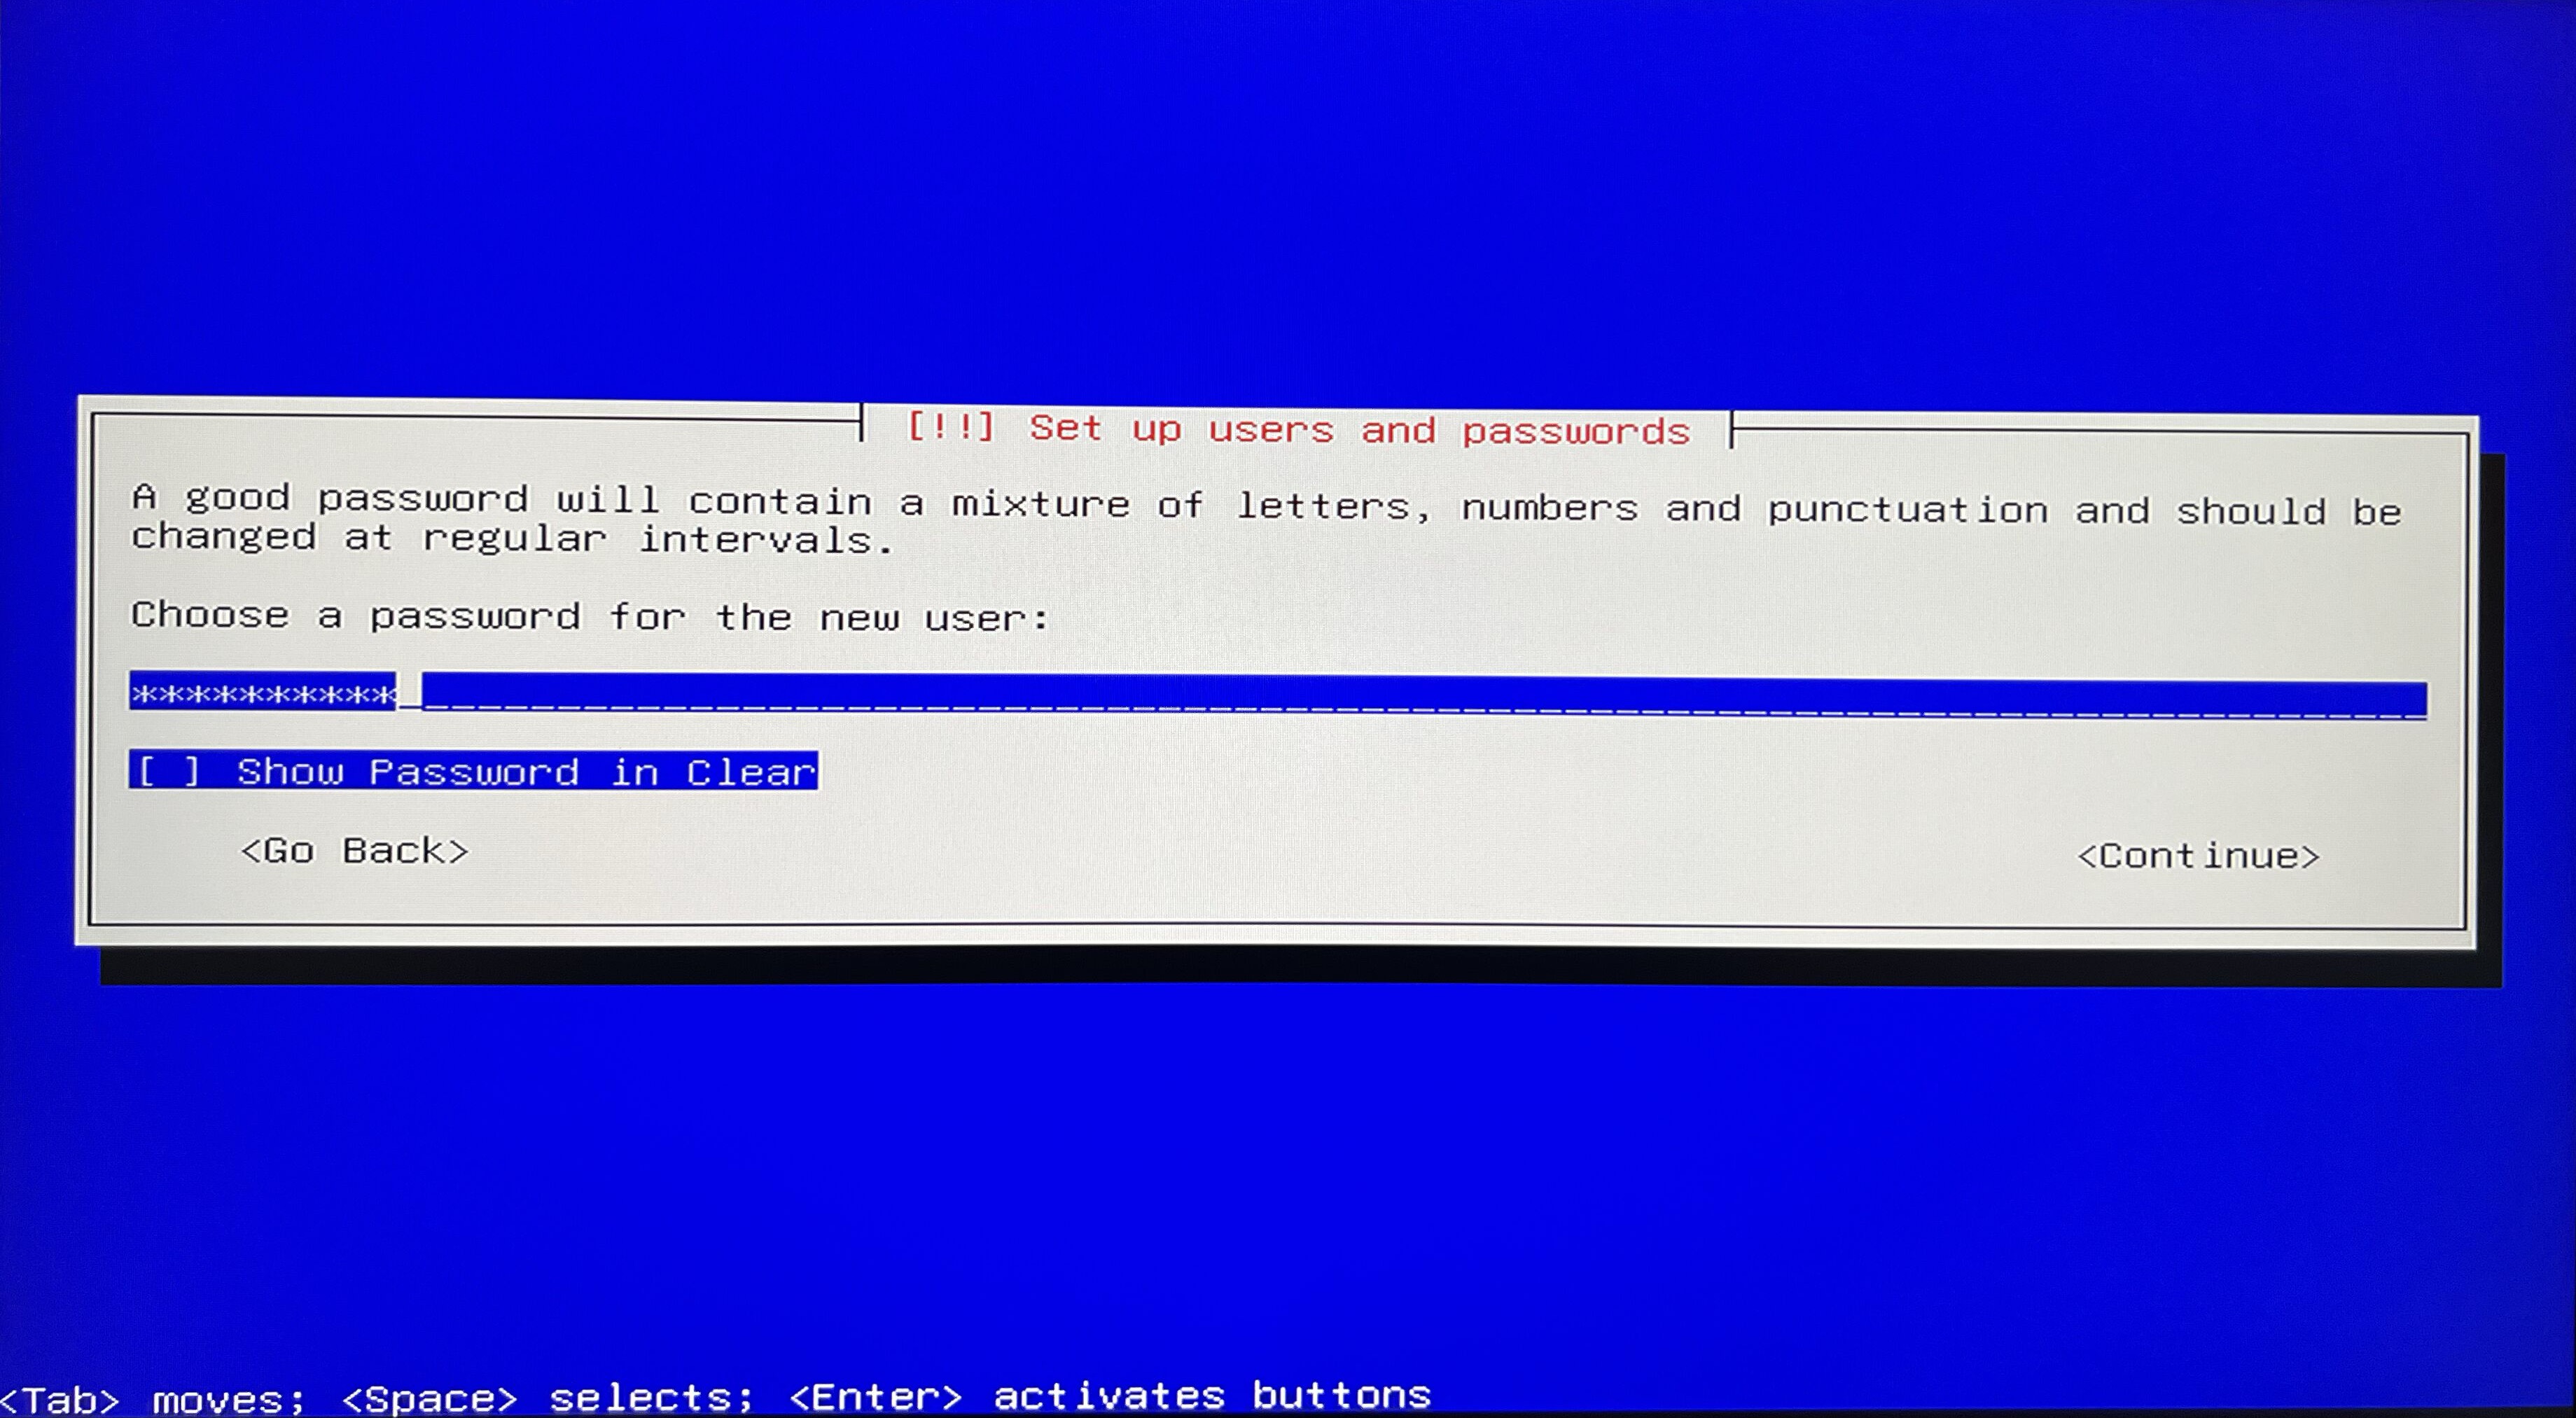
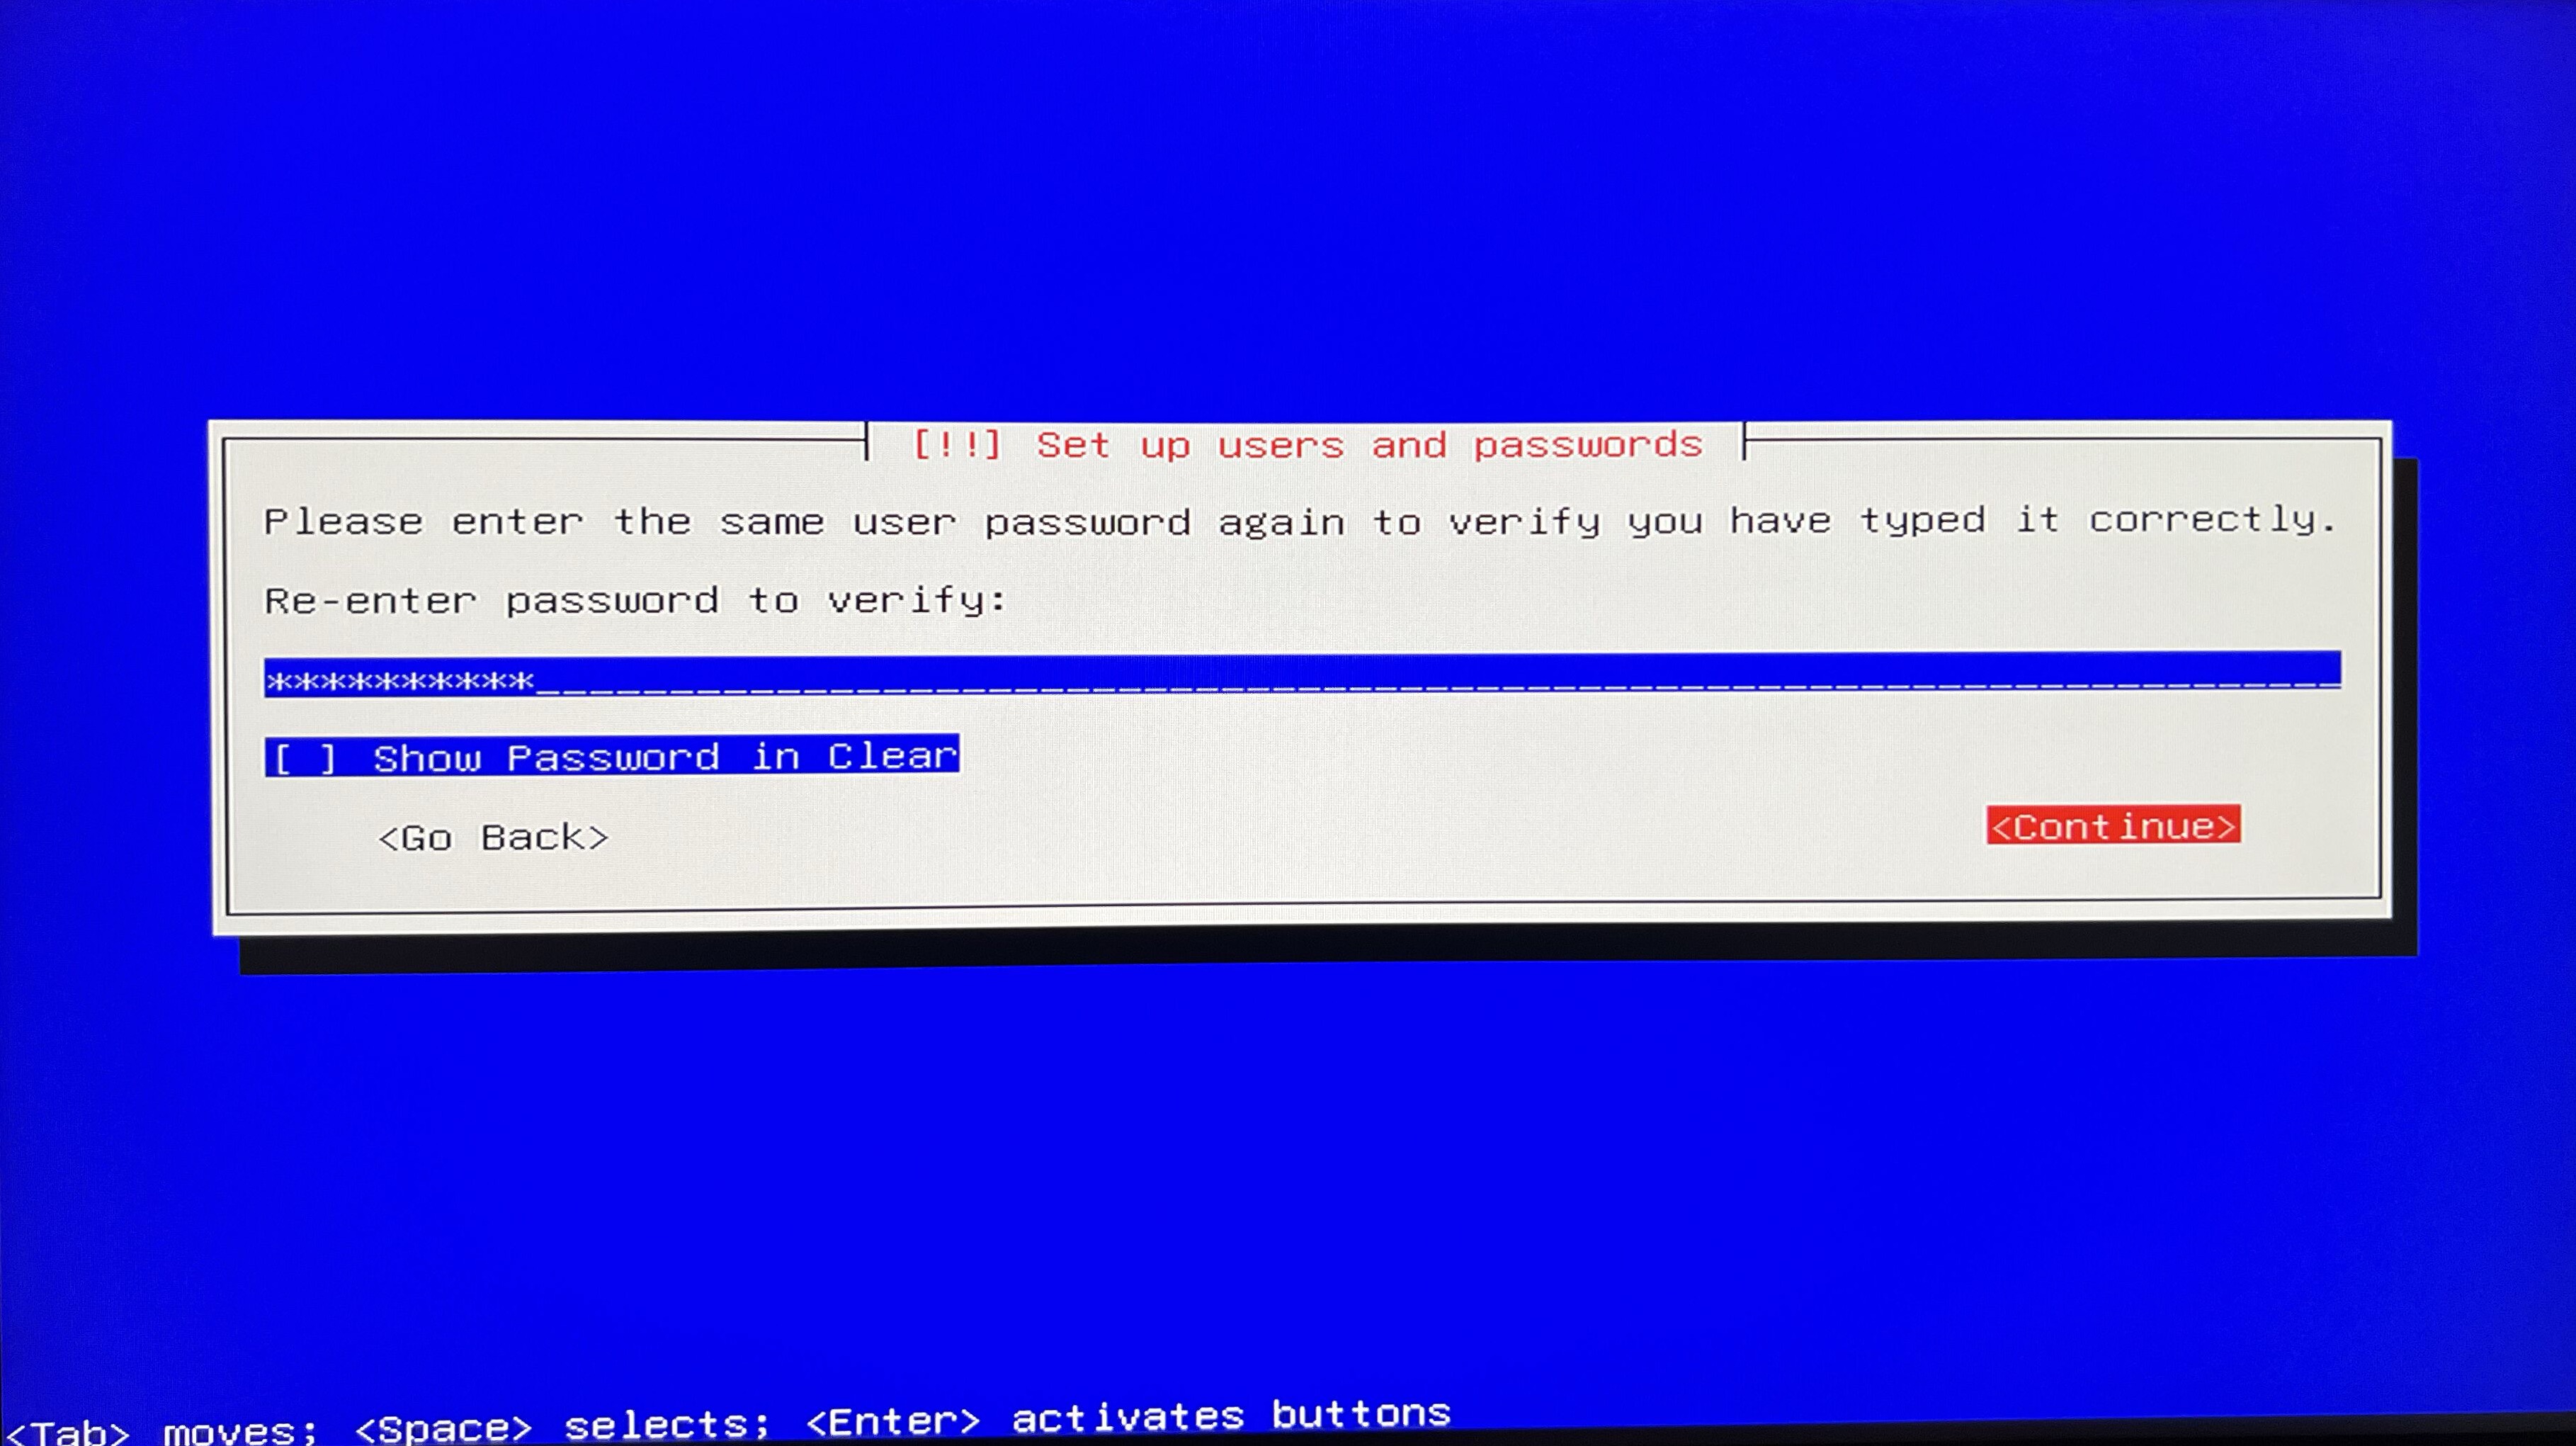
Setup regular user (in my case I will go with maciej).

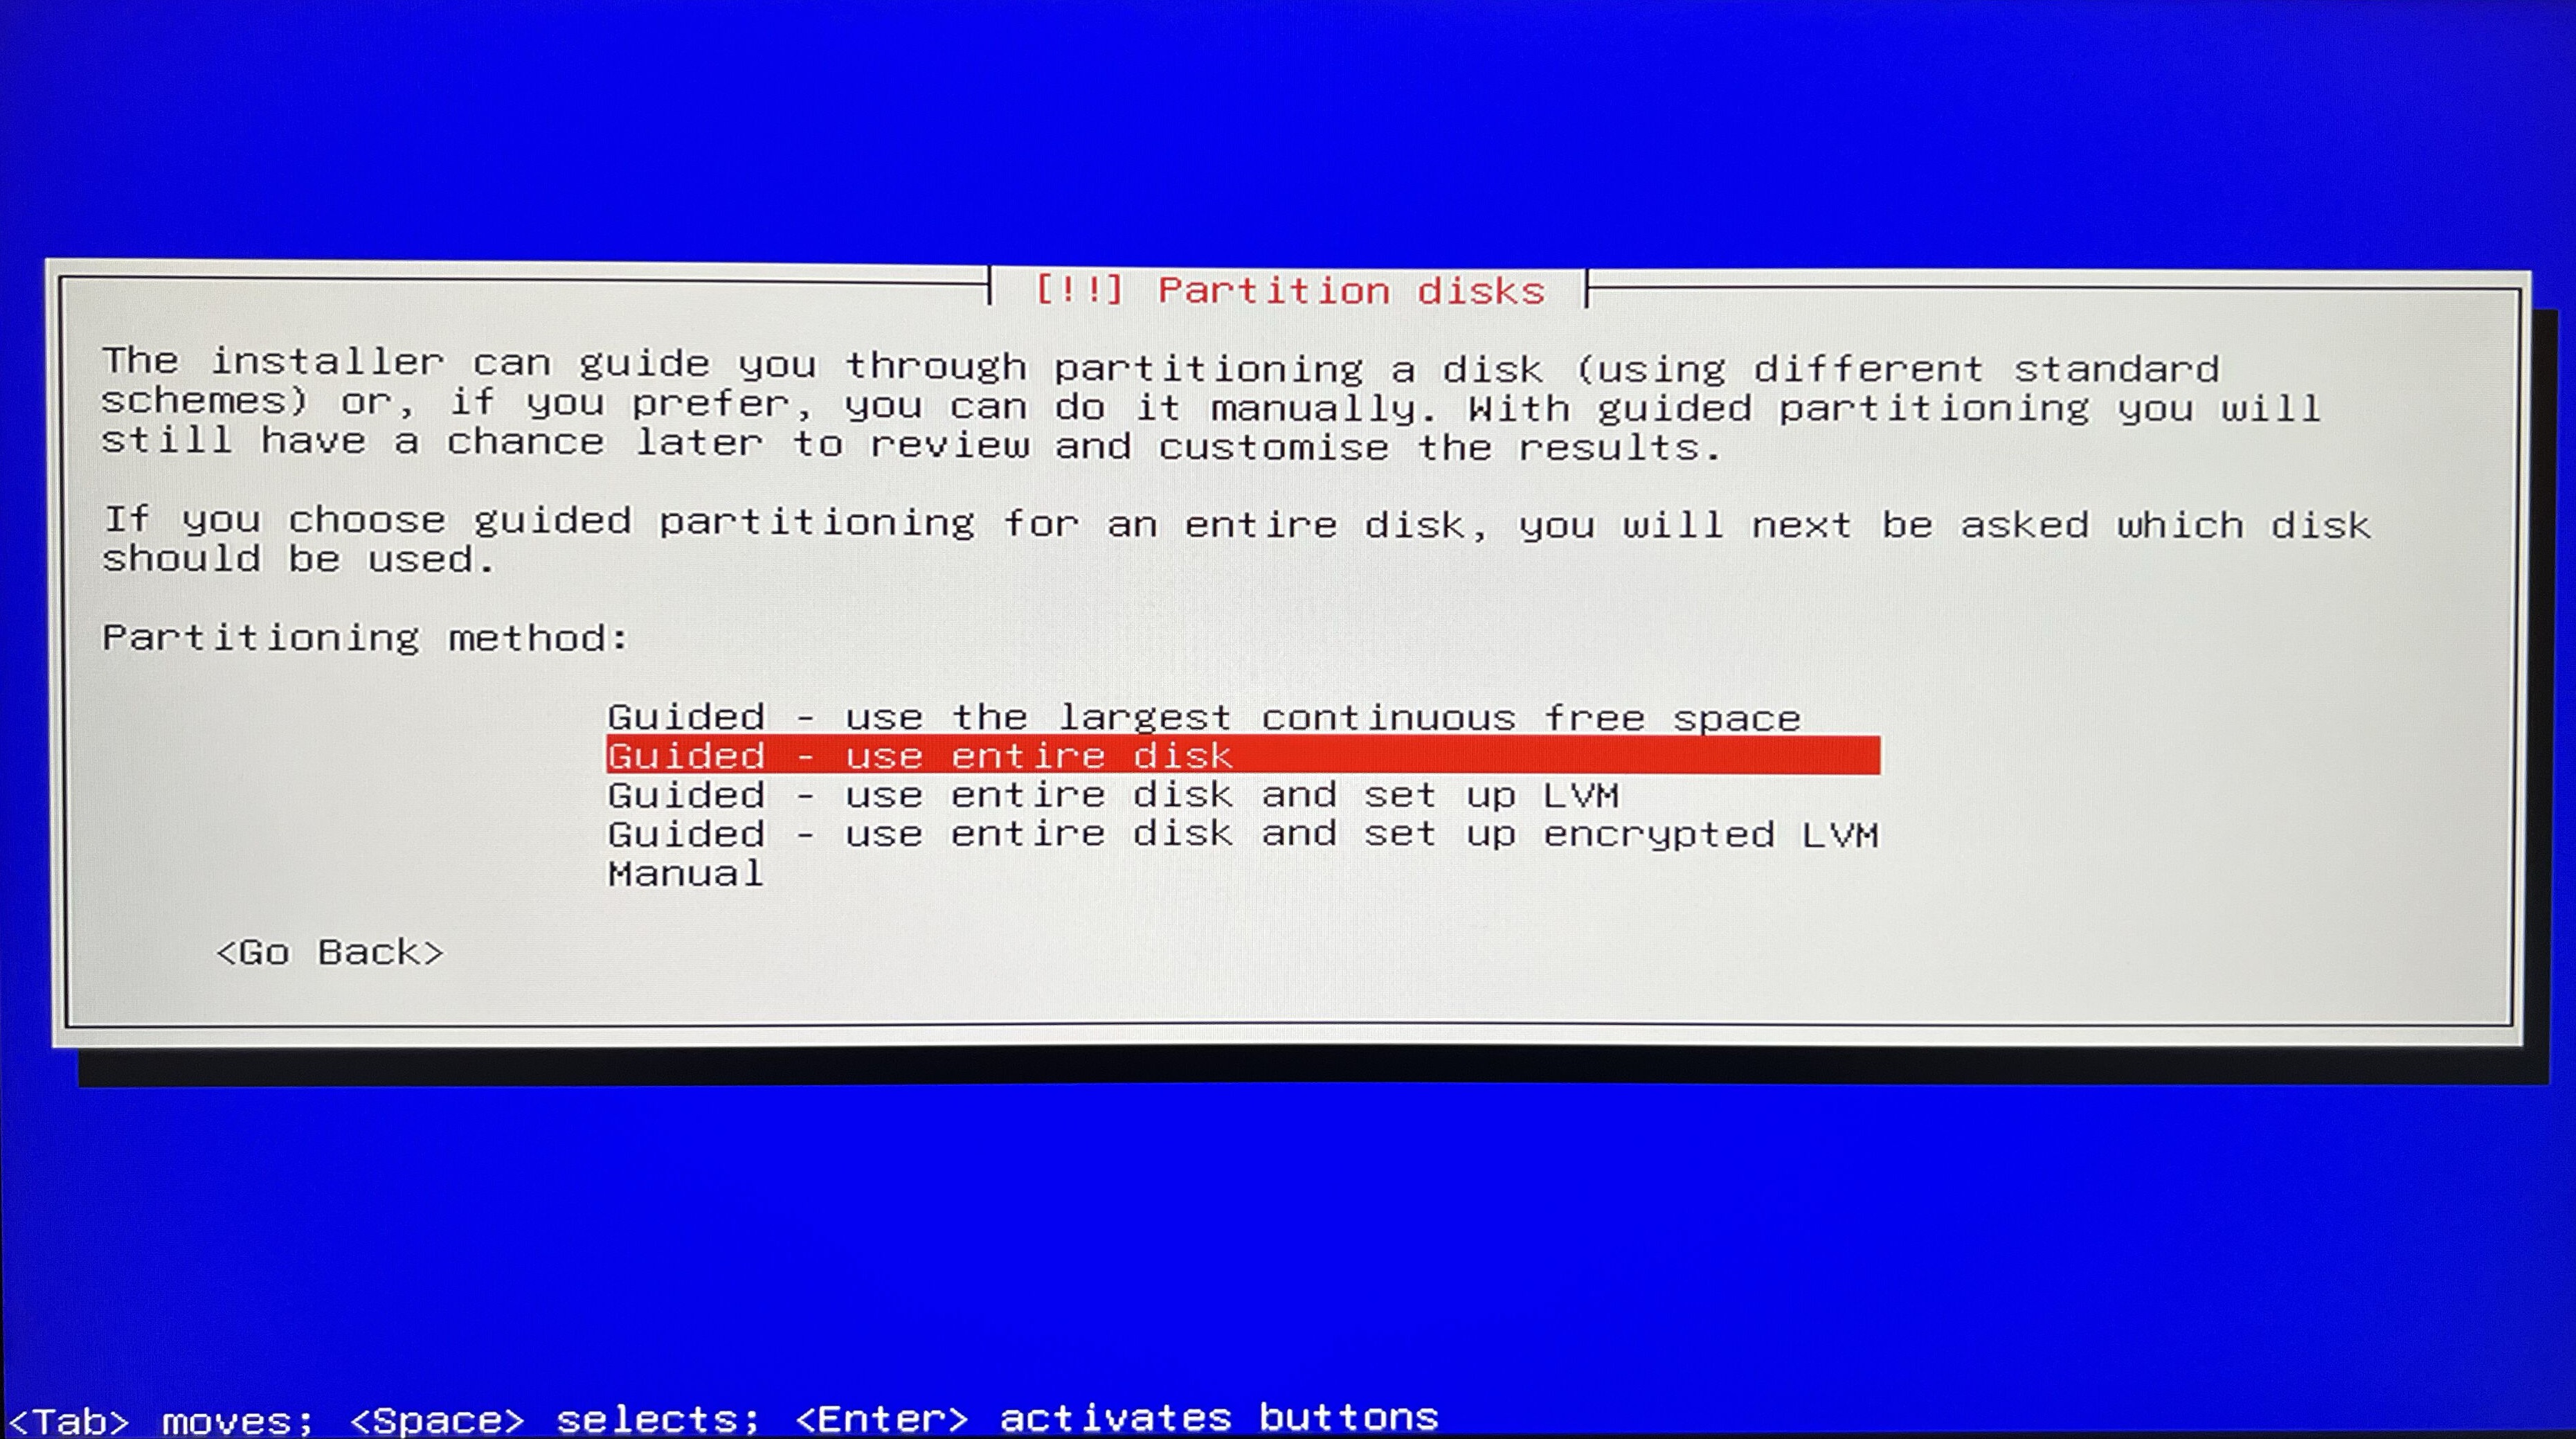
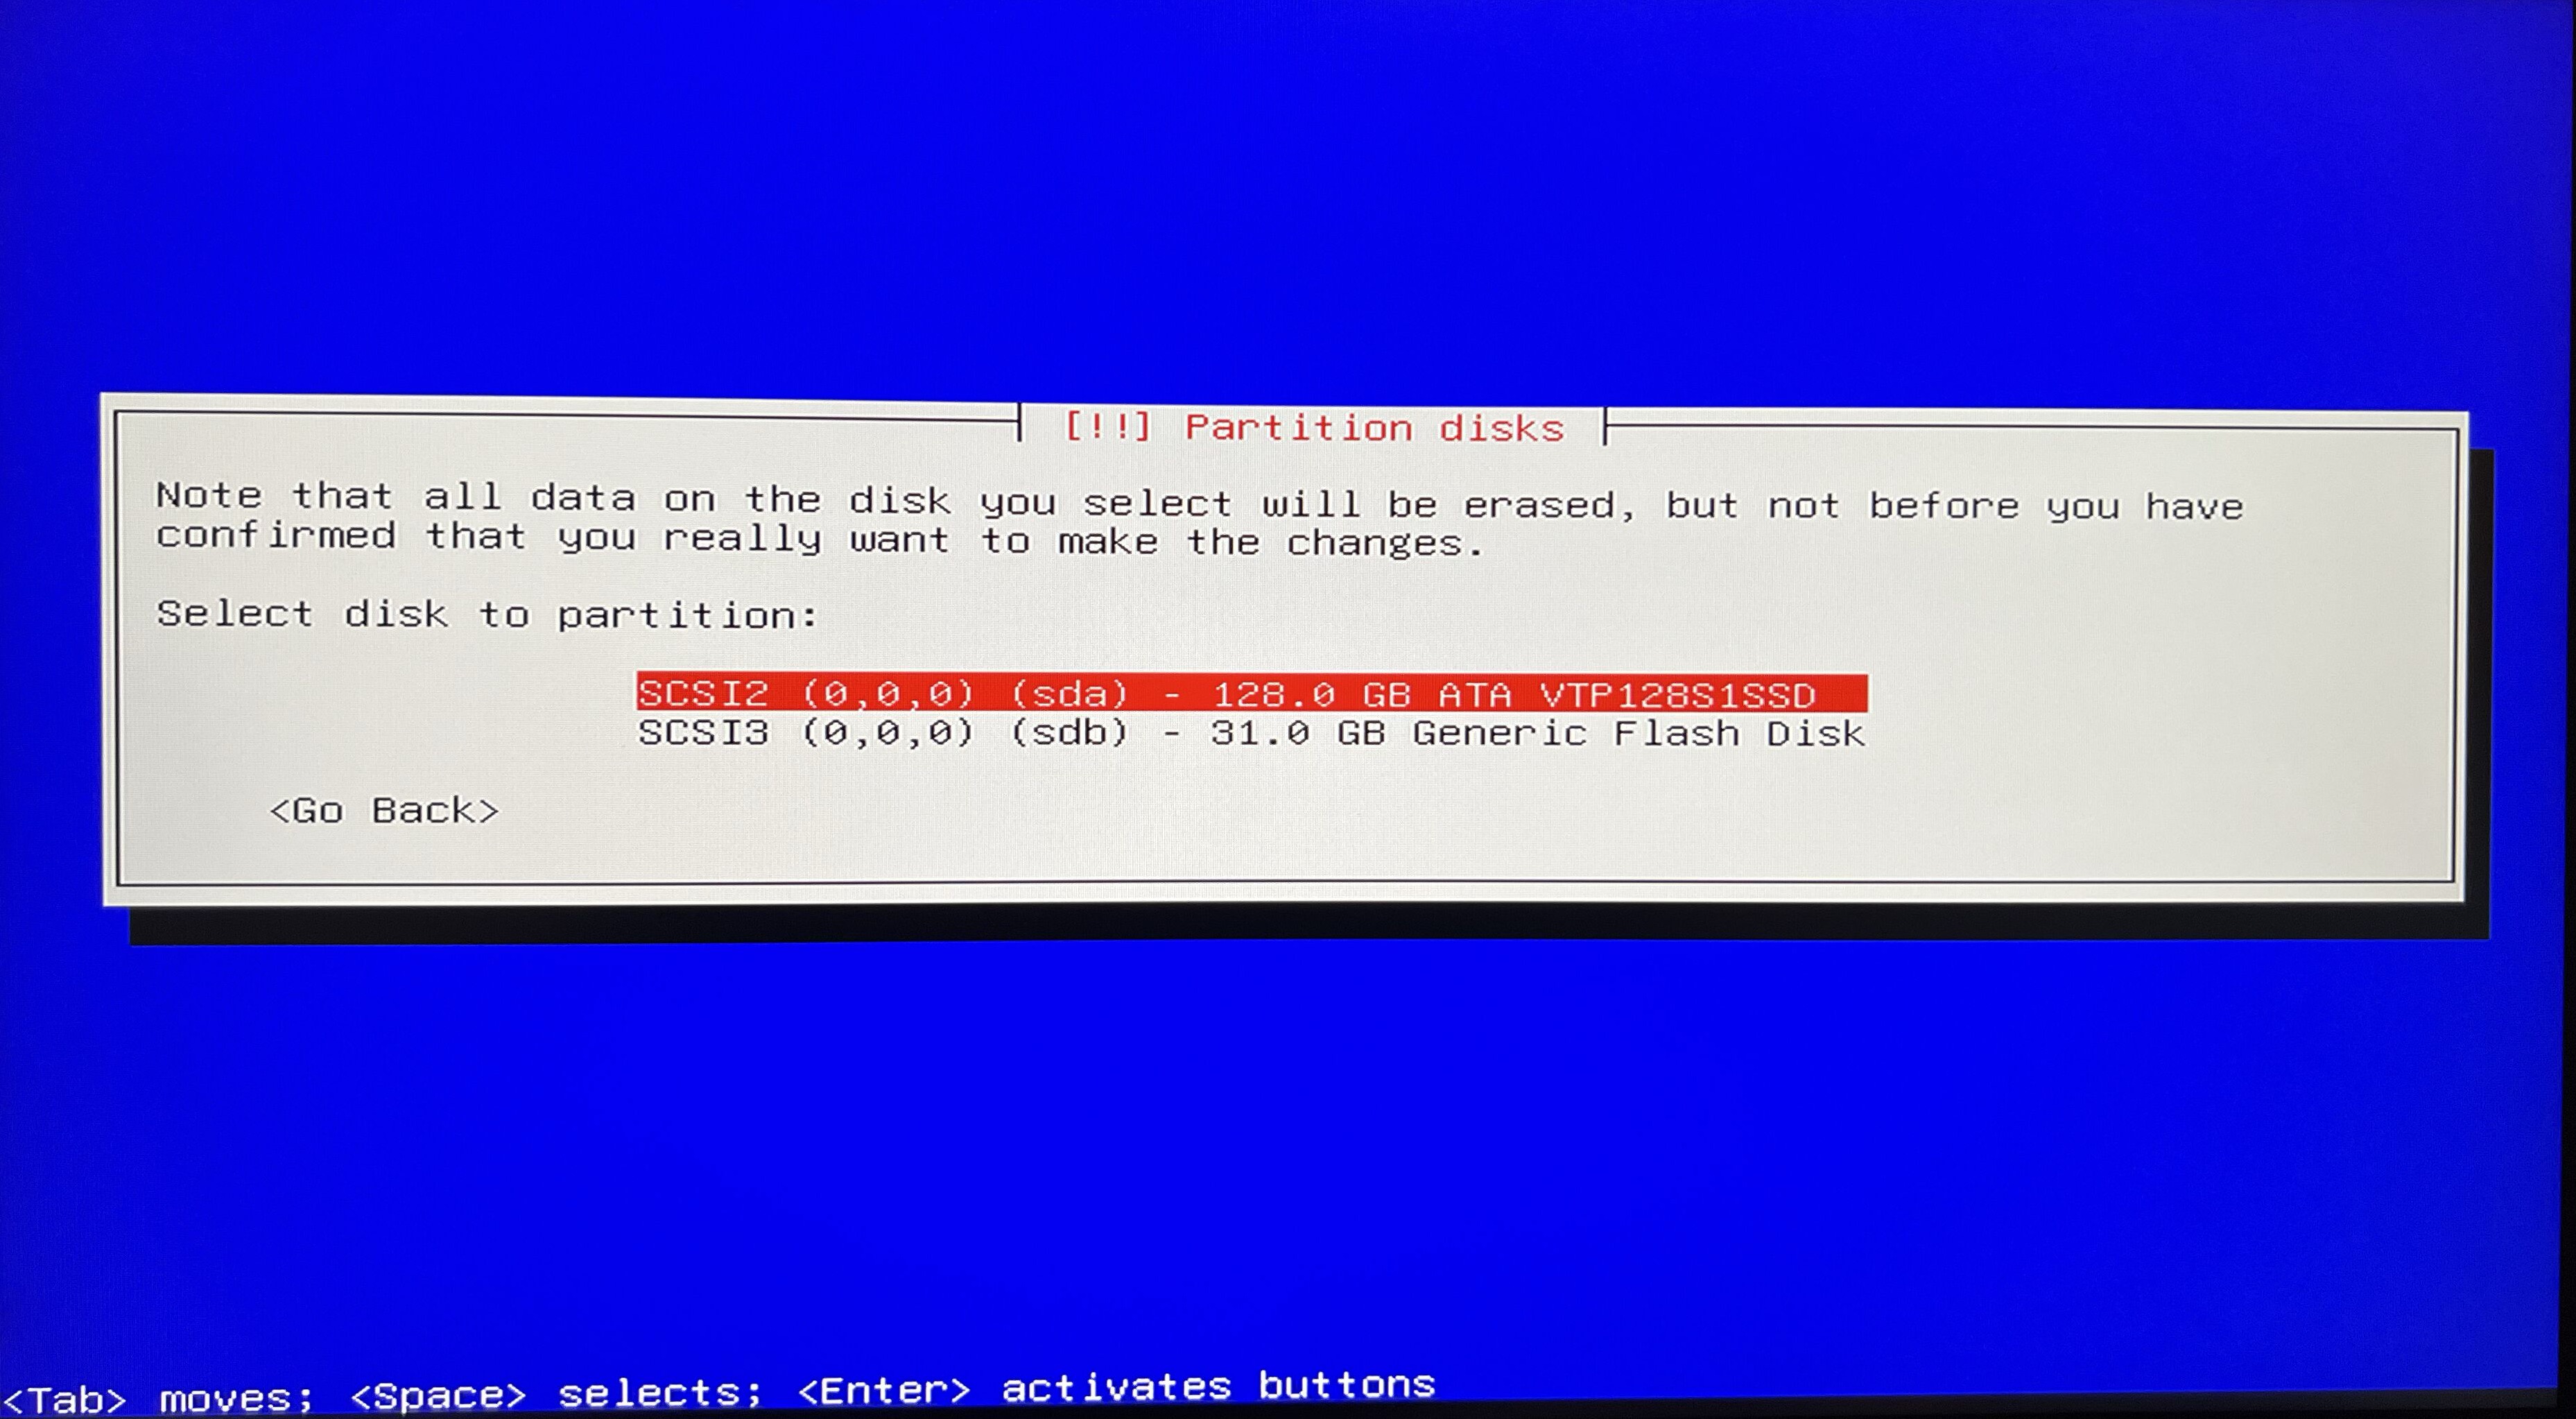
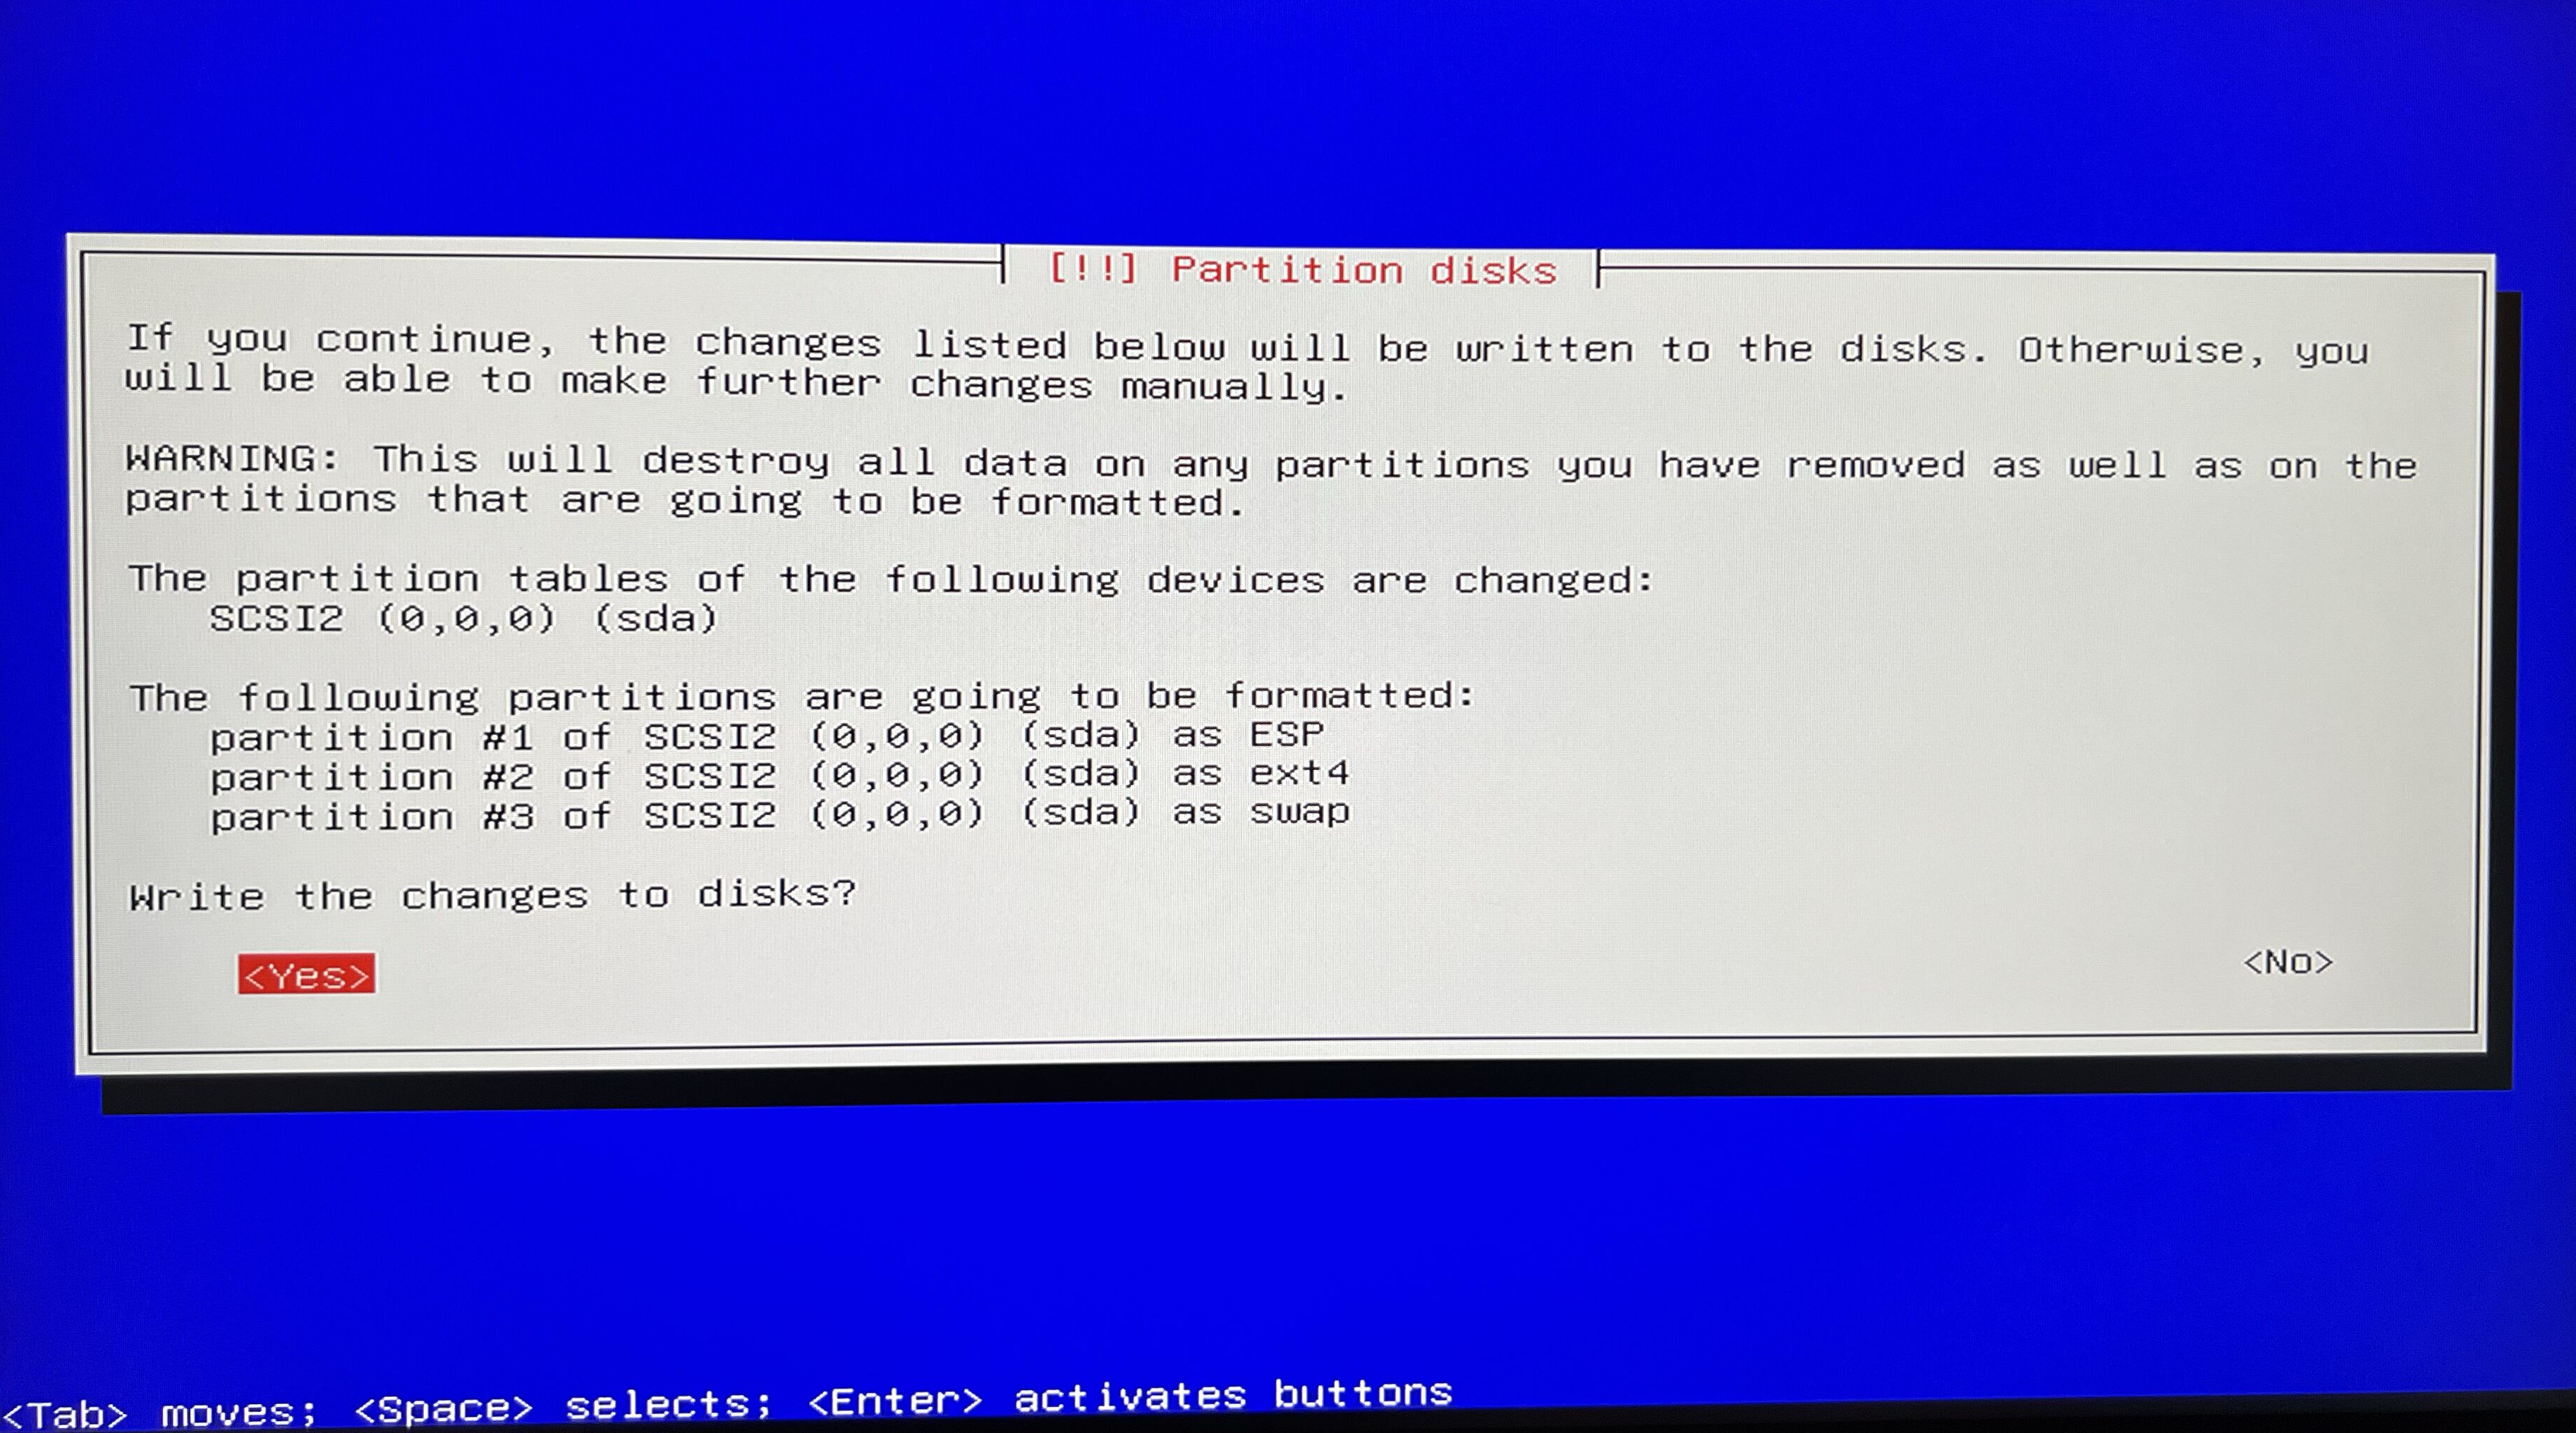
Let’s jump to next section and establish new discs partition.
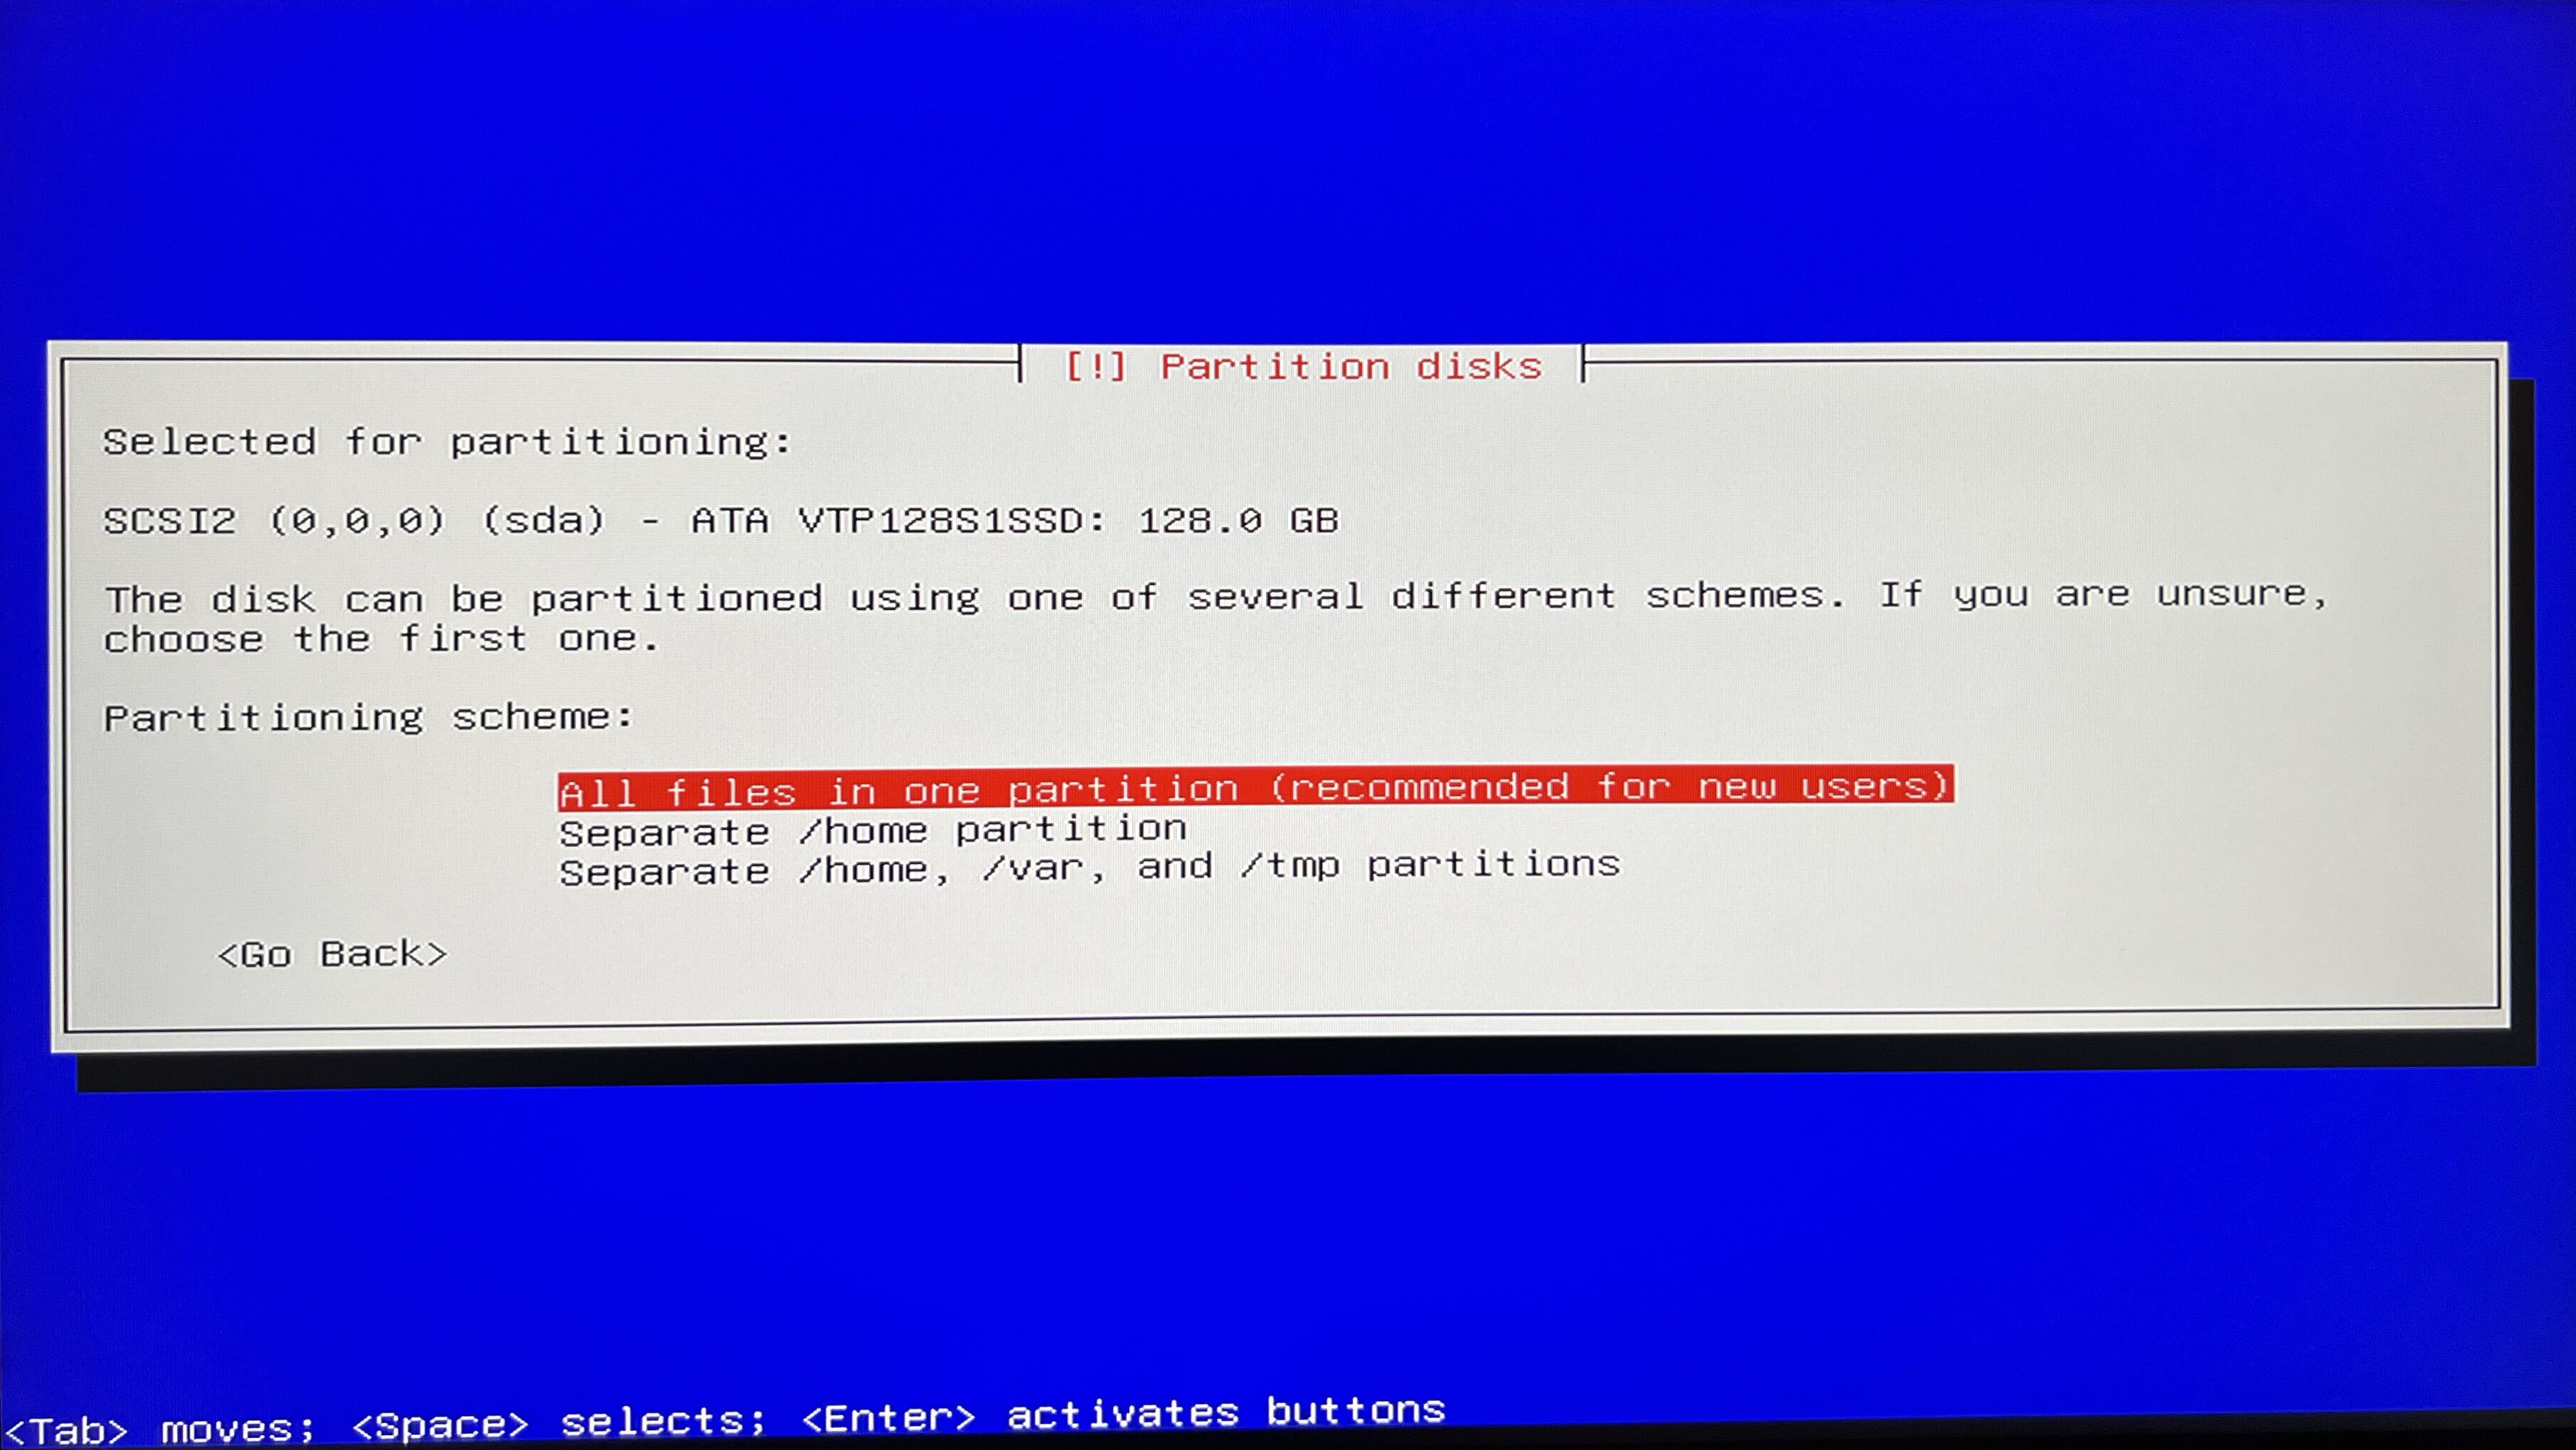
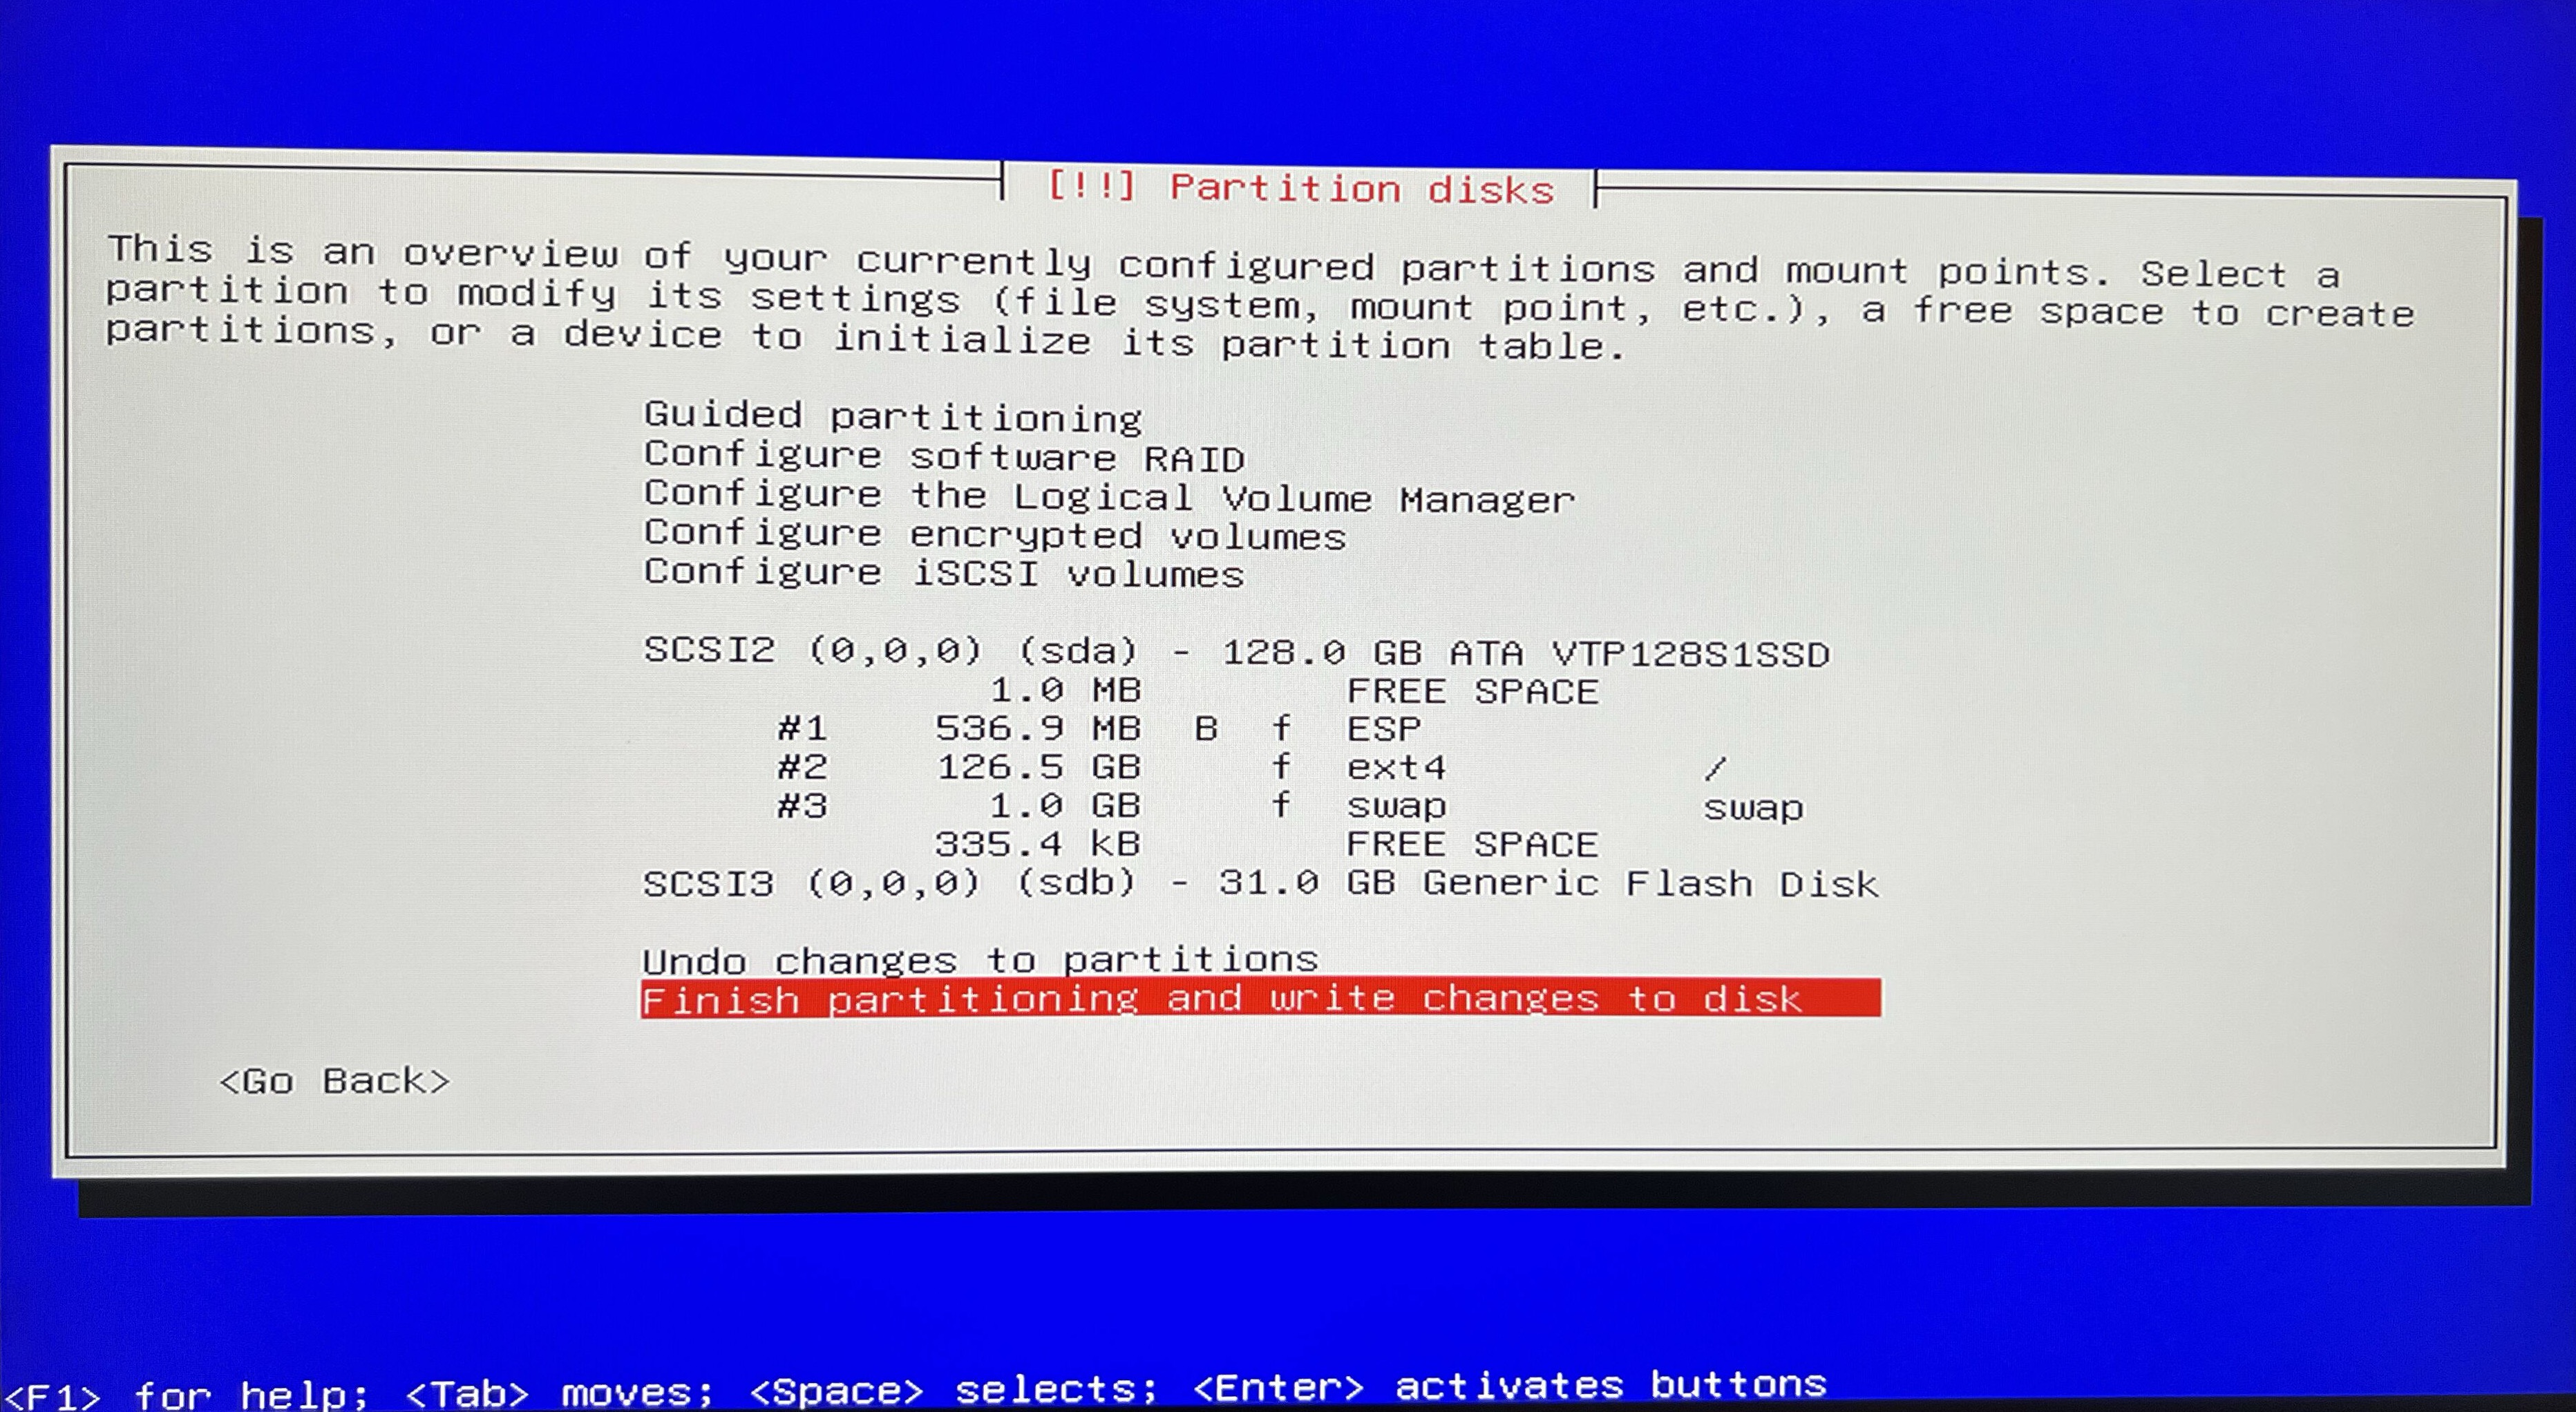
I will simplify the process to going with the Guided - use entire disc option and its defaults - as of the purpose of this article this will be sufficient.
swap partition. In this case, the minimum would be the RAM size, and it's recommended to double the RAM size for optimal performance.

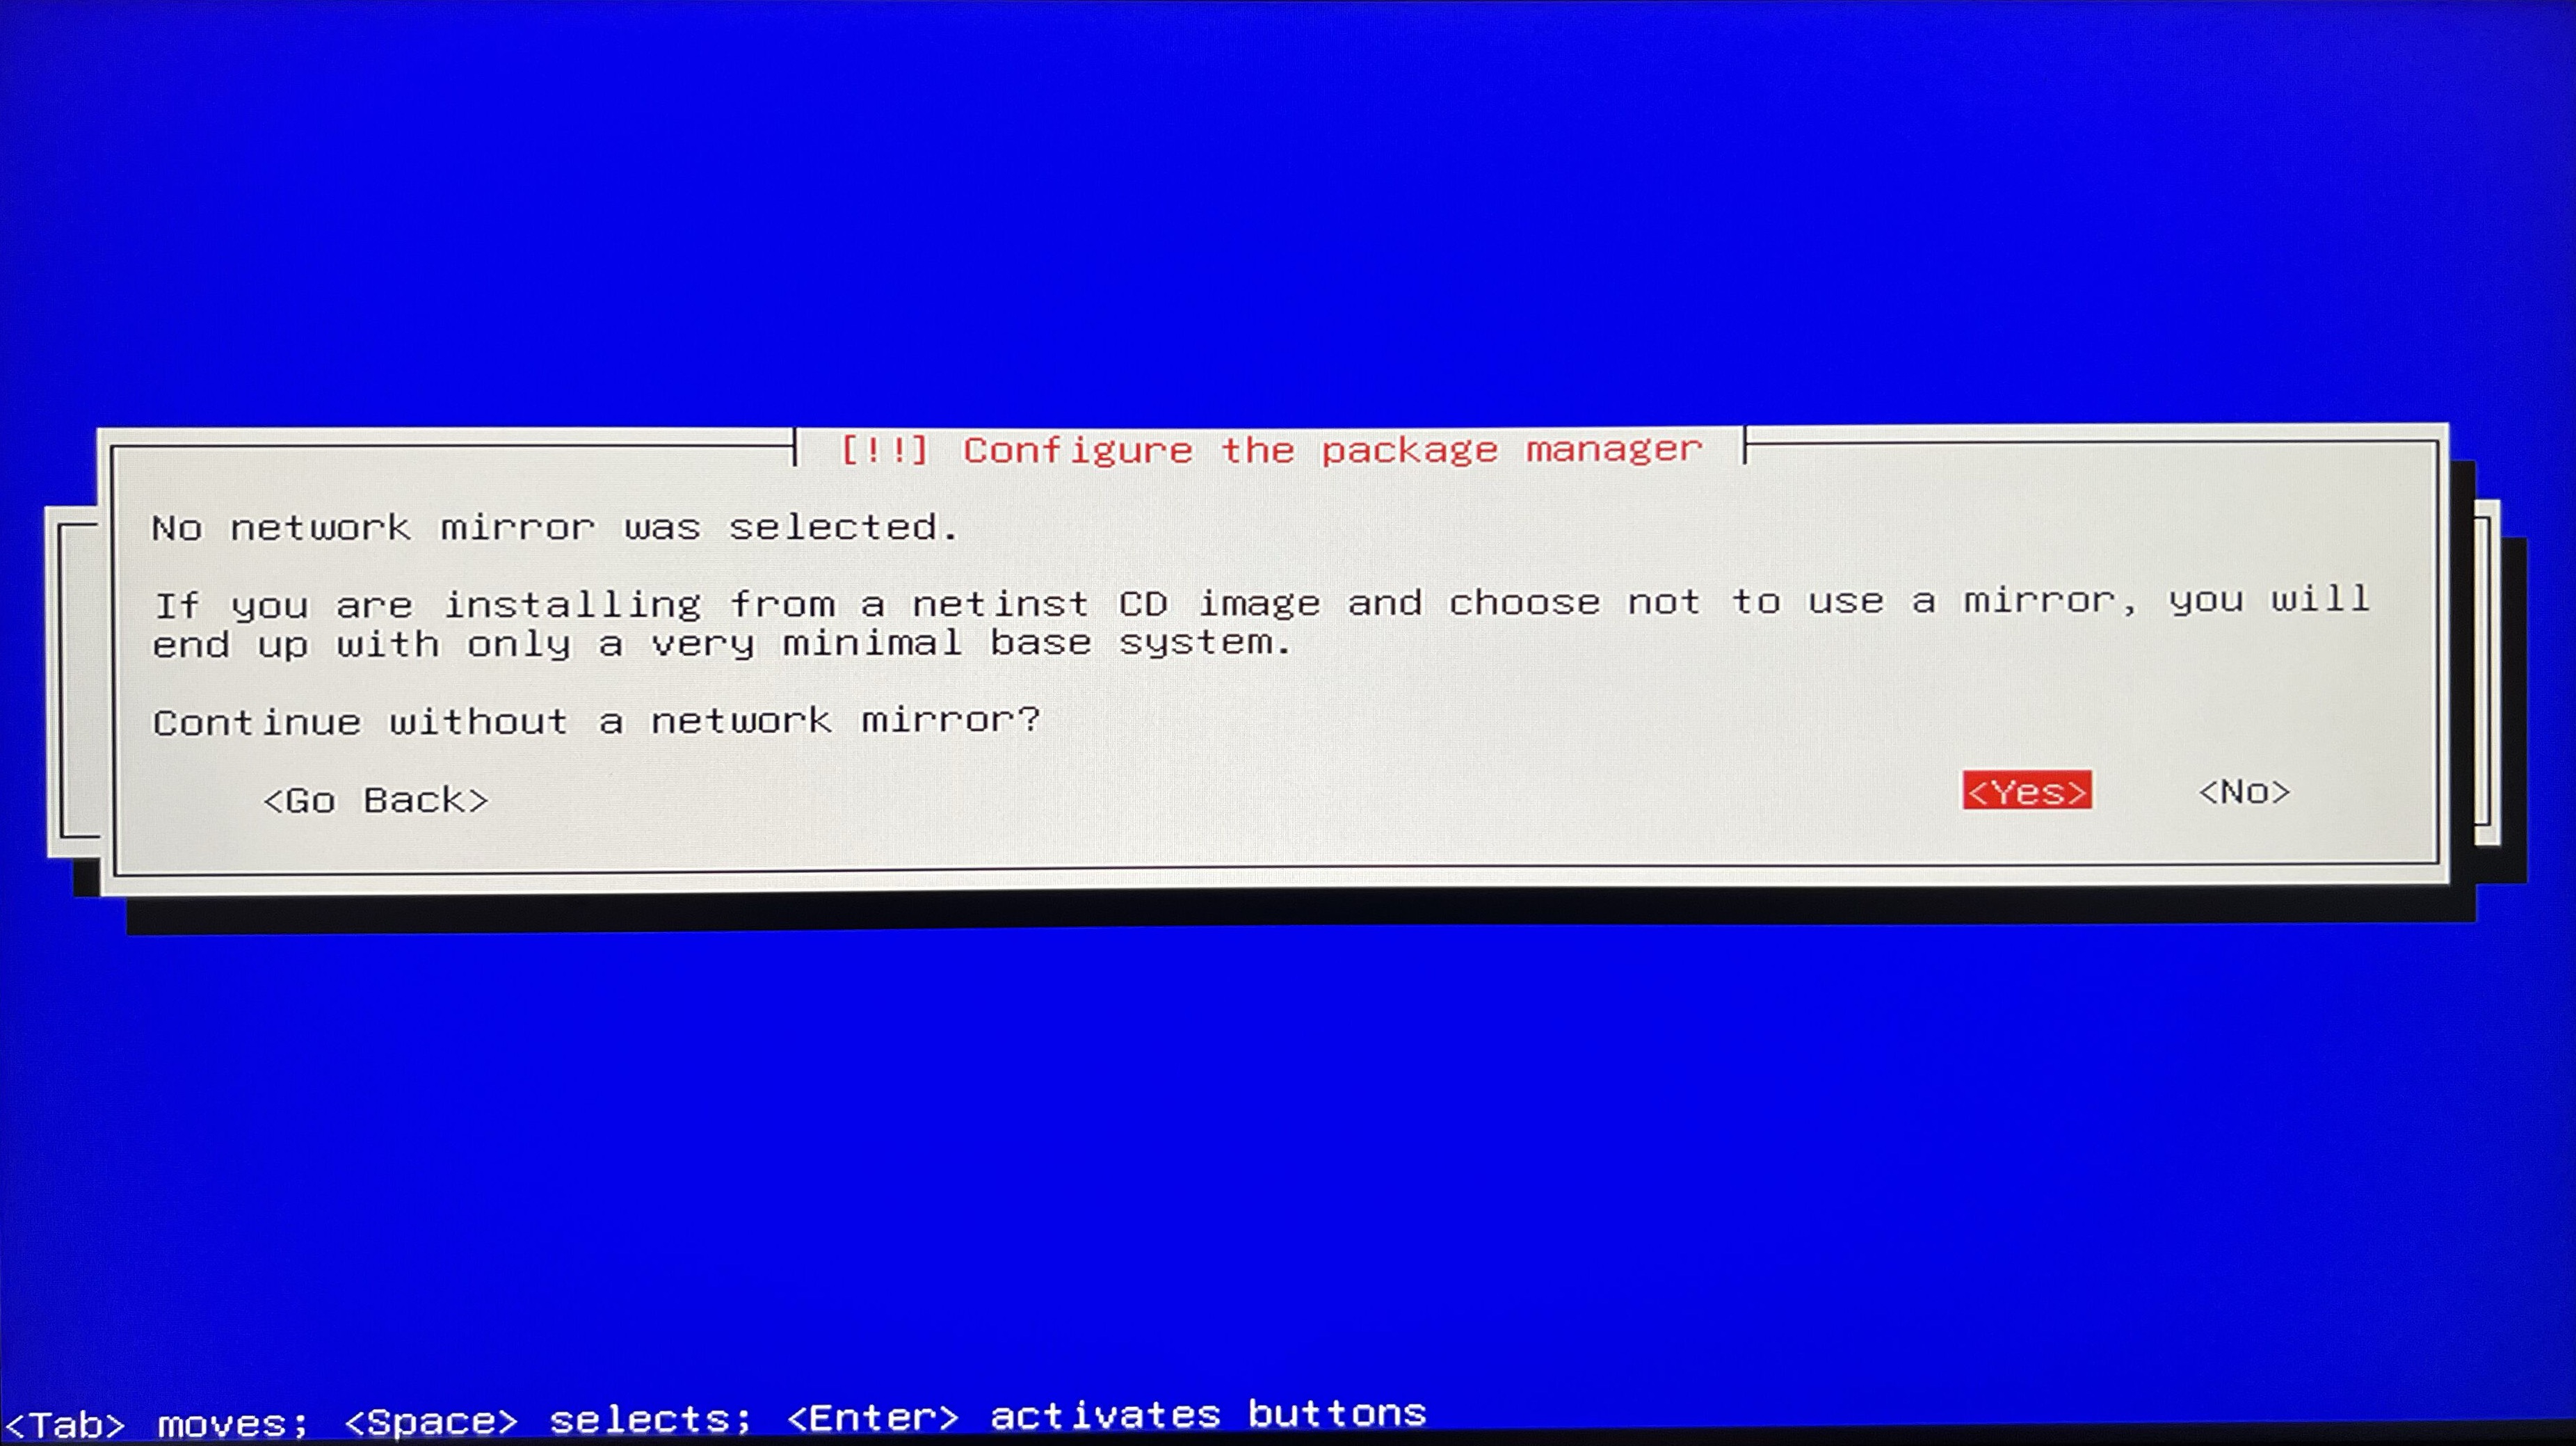
Configure package manager. Now we get question Continue without a network mirror? and for now I go with Yes. We will handle this later.
Configure popularity contest. I’ll choose No, although for the authors selecting this option would be benefitial to collect some metric data available at https://popcon.debian.org. We can change the mind later by running dpkg-reconfigure popularity-contest.

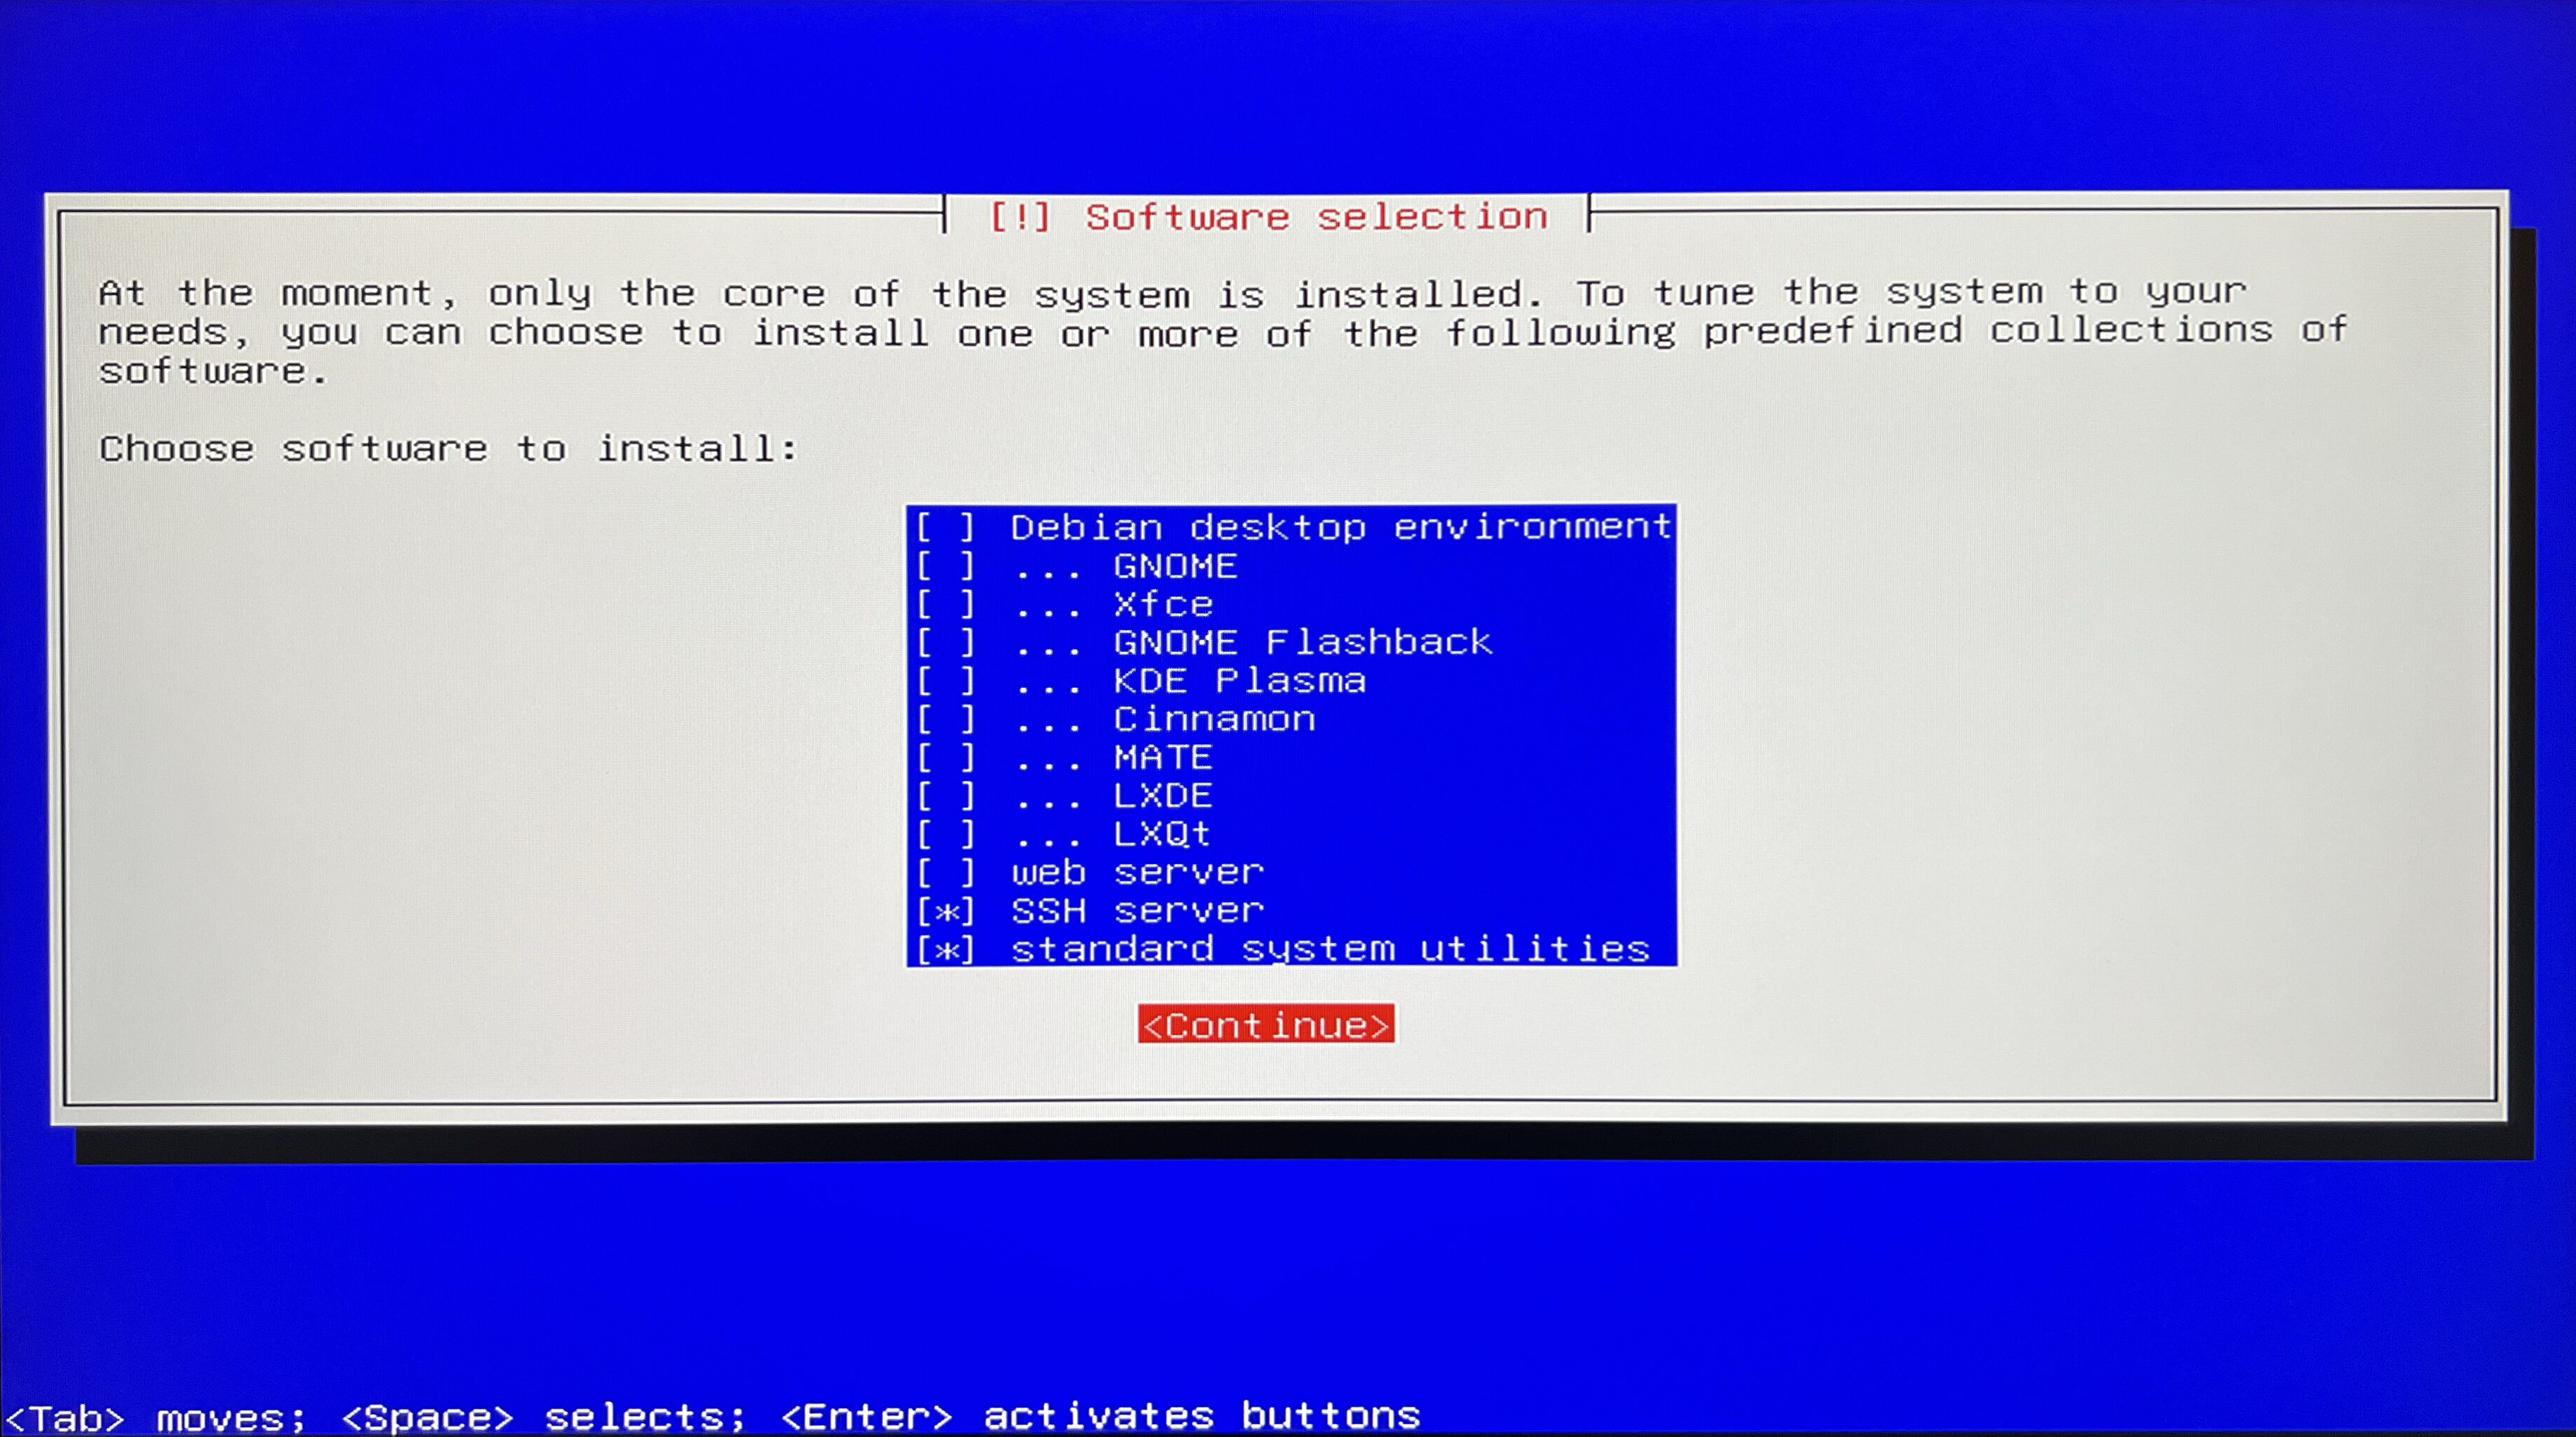
Software selection. Since we’re focusing on server configuration, we don’t need a graphical interface.
Important packages to select that will make our life easier are:
- SSH server - helpful for easily establishing the first connection
- Standard system utilities - pack of default programs
 We are now boot up again and we are ready for configuration.
Finish. Let’s now complete the installation. At this point we should take out our USB stick and then press Continue. After this the system will boot up and we are ready for next section - configuration.
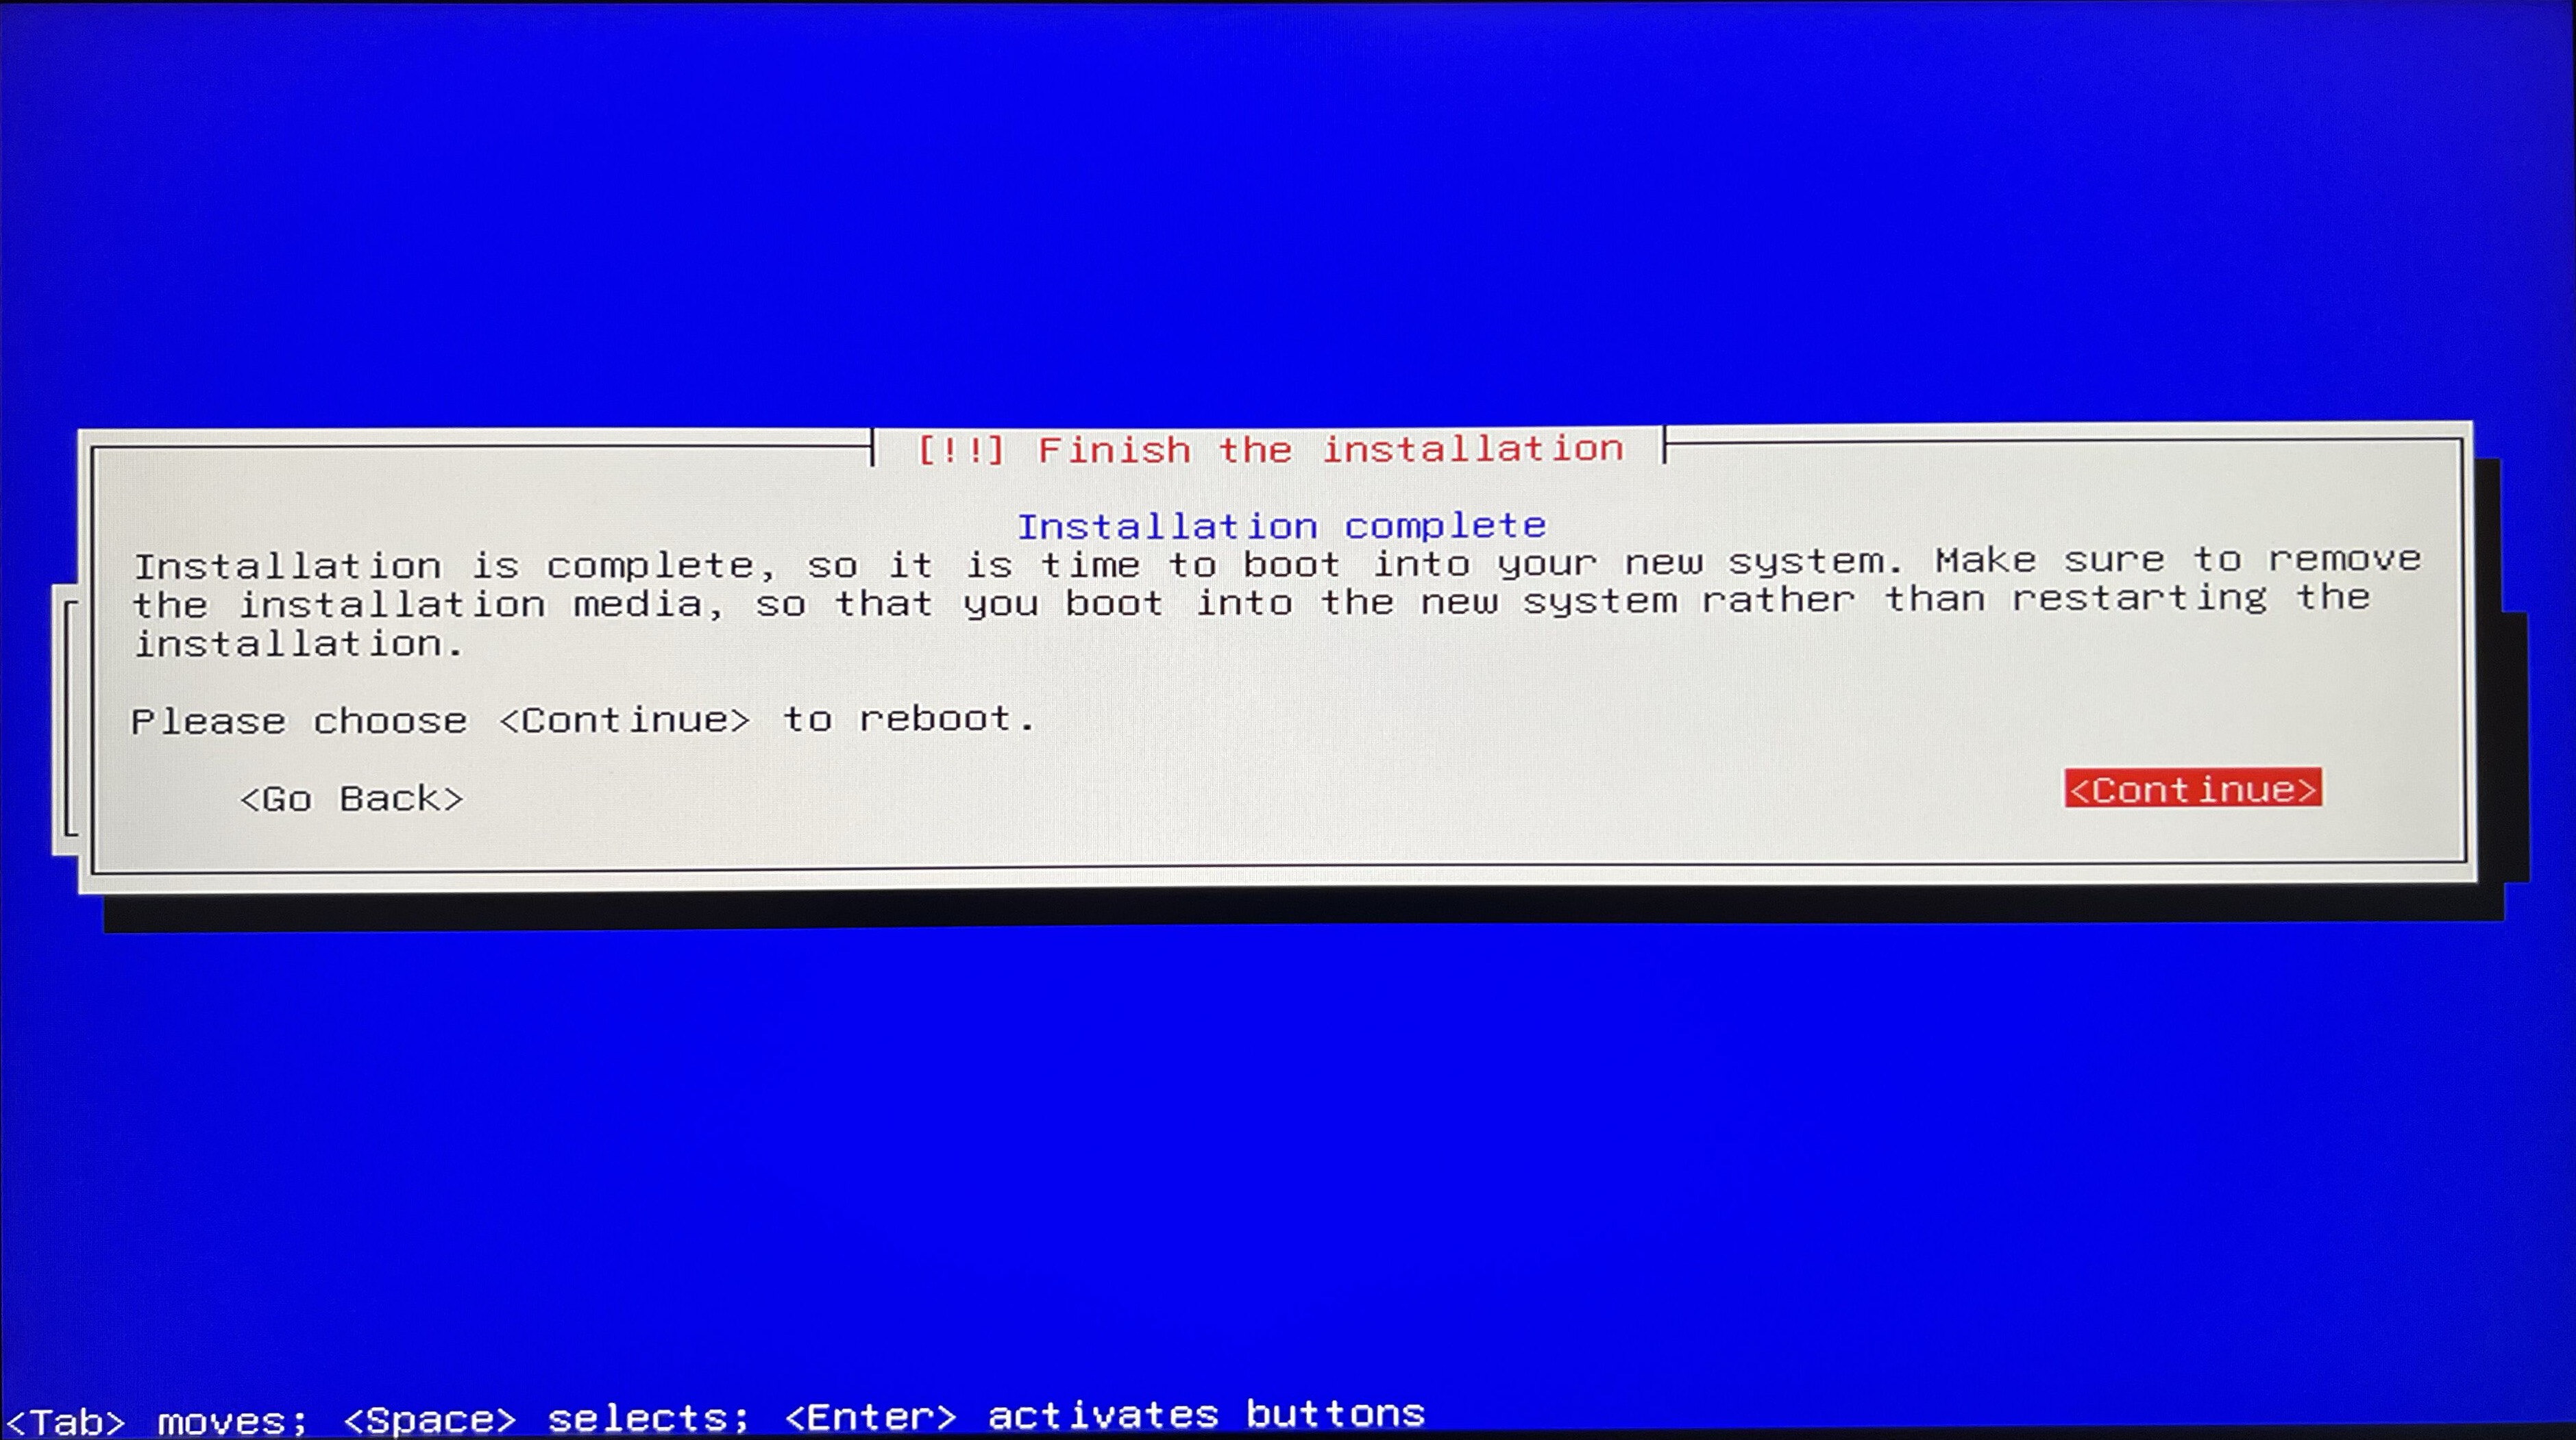
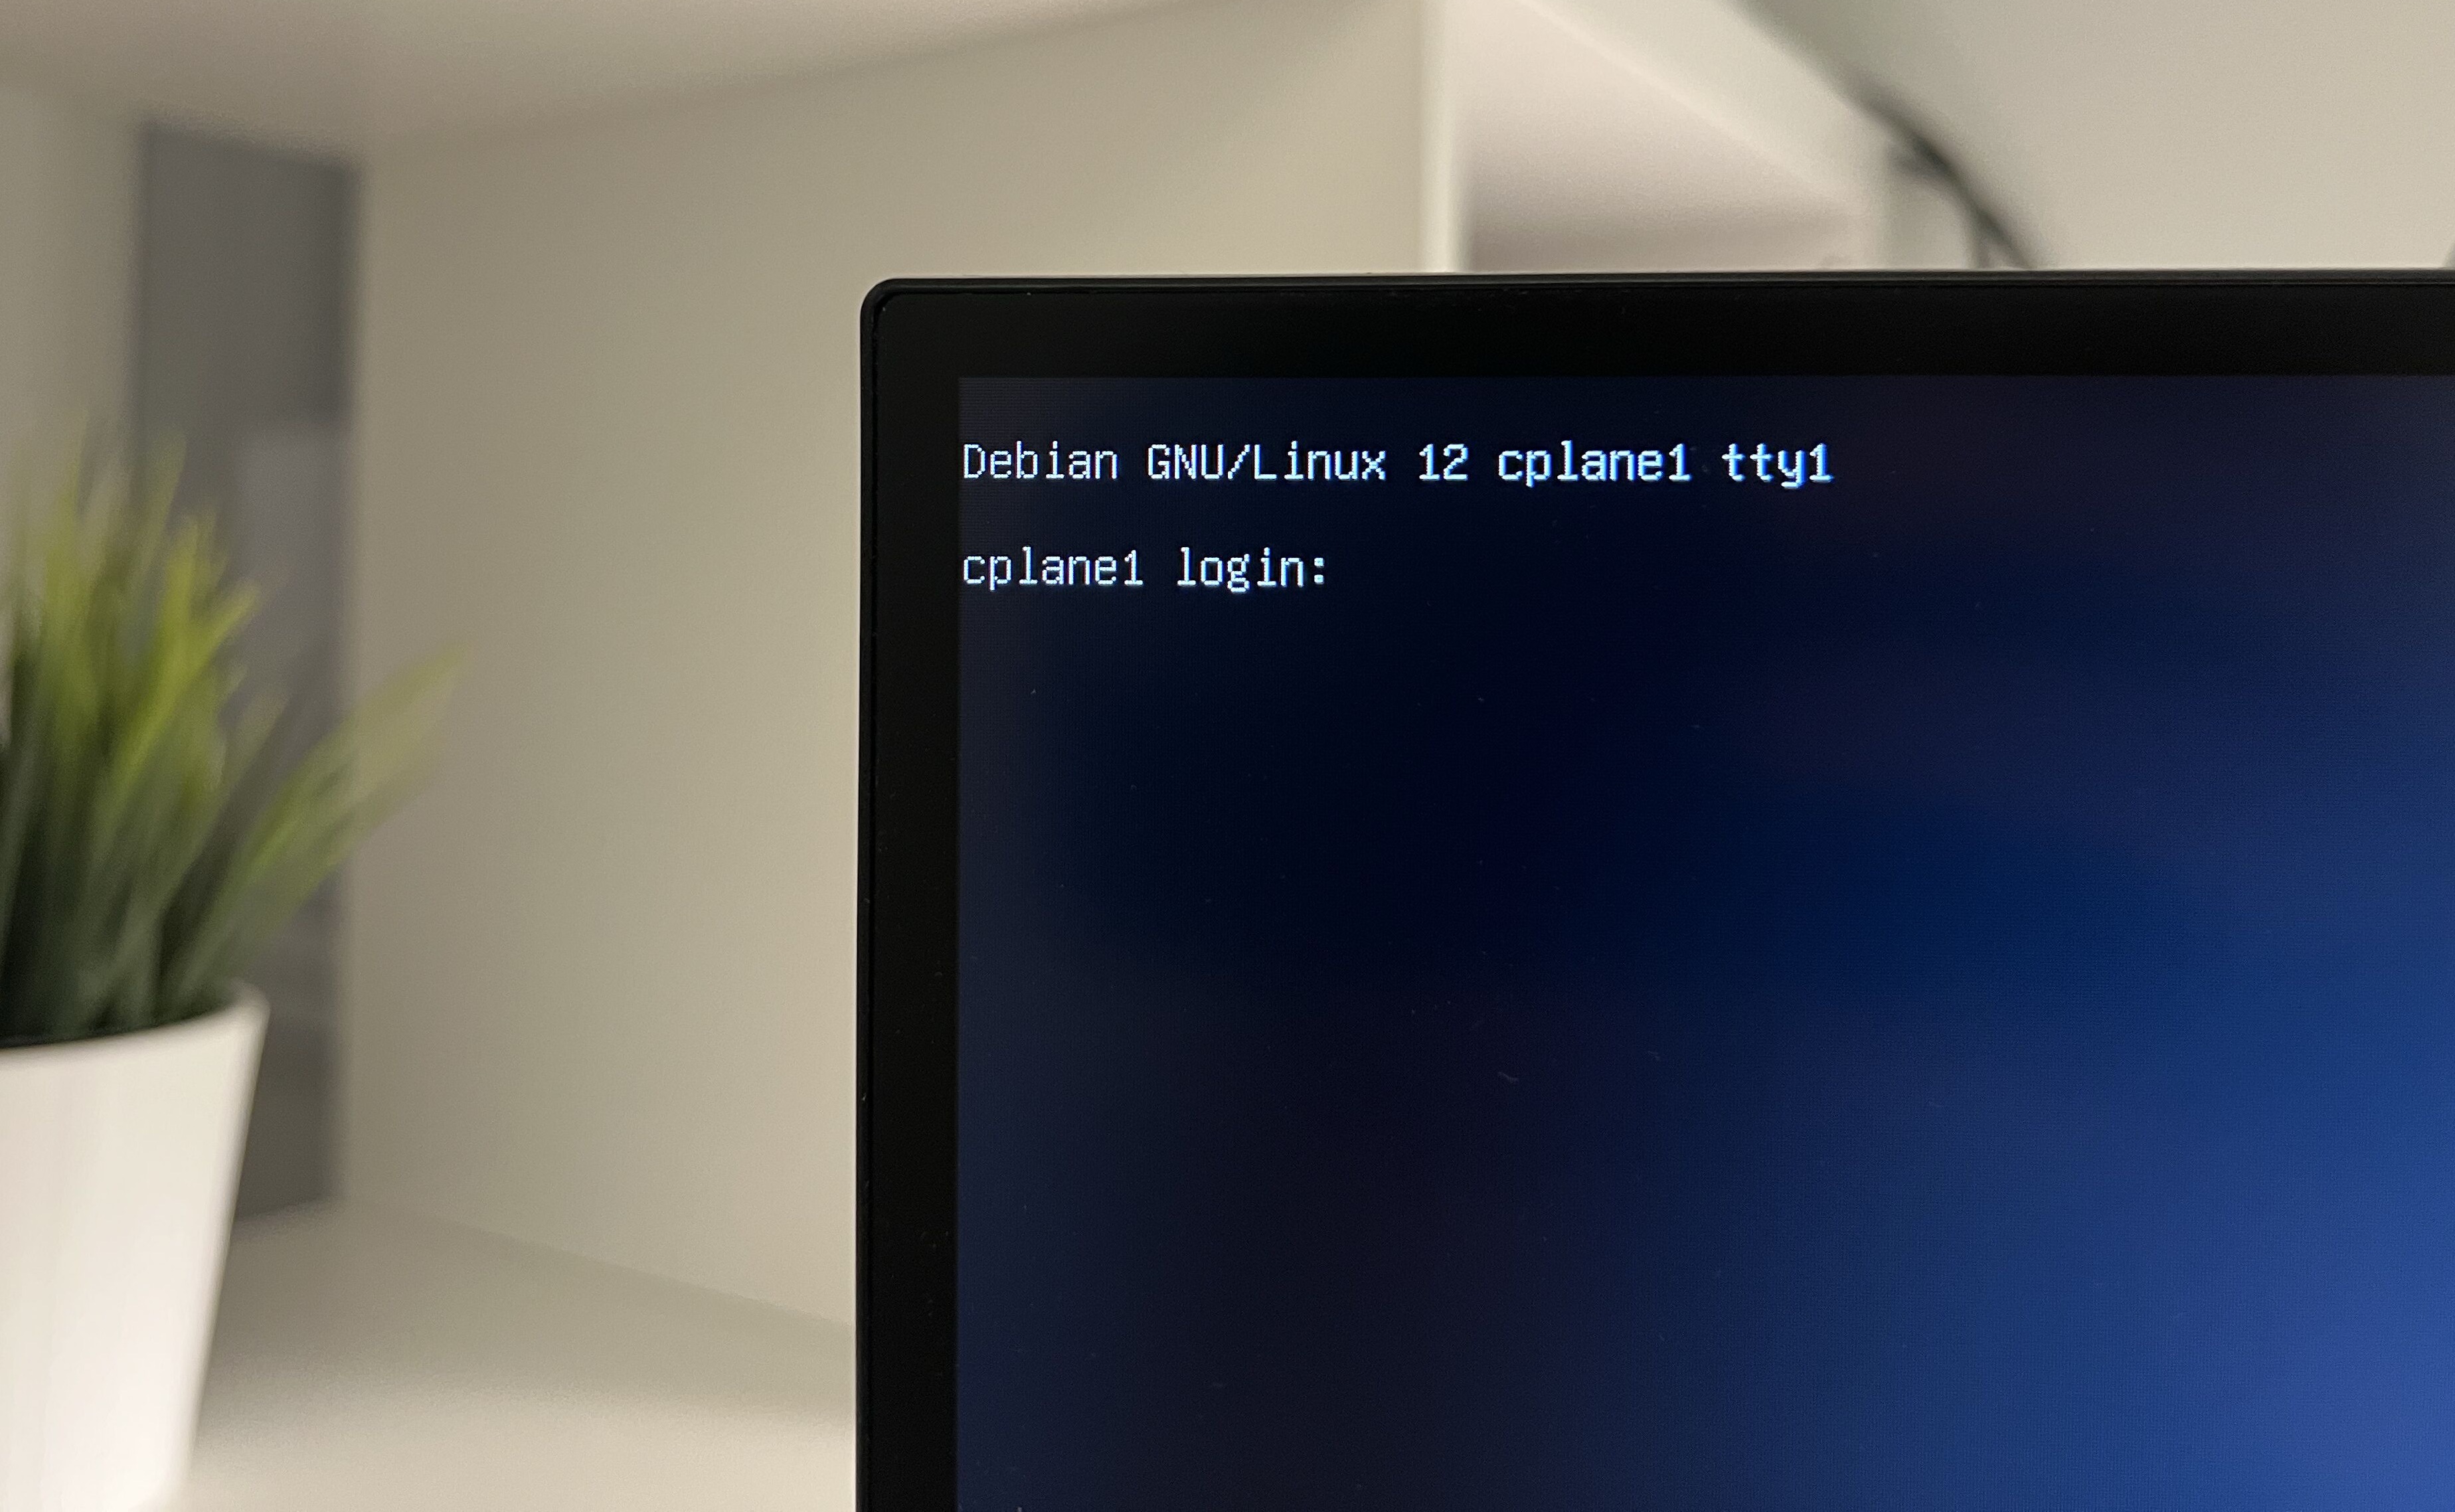
Finally we got the Debian login screen. Great!
Configuration
We come along come a long way already. Since we installed our system with preselected option to install SSH server we can login as our new user and can check the IP given by DHCP server with ip addr.
At this point technically if we know IP we can try using your laptop and SSH directly to it via ssh maciej@192.168.178.X and provide the password.
If not you can still use currently connected setup (monitor and keyboad) until we establish fixed IP adress.
Setup IP address
Depend on your resources there are 2 ways we want to setup IP address.
- Dynamic, via assigning static IP via router DHCP settings (you may need MAC address of your device)
- Static , via old school assigning static IP address
In this tutorial I will go with dynamic assign, although will show both ways if you decide going with static IP addresses.
Dynamic via router static IP
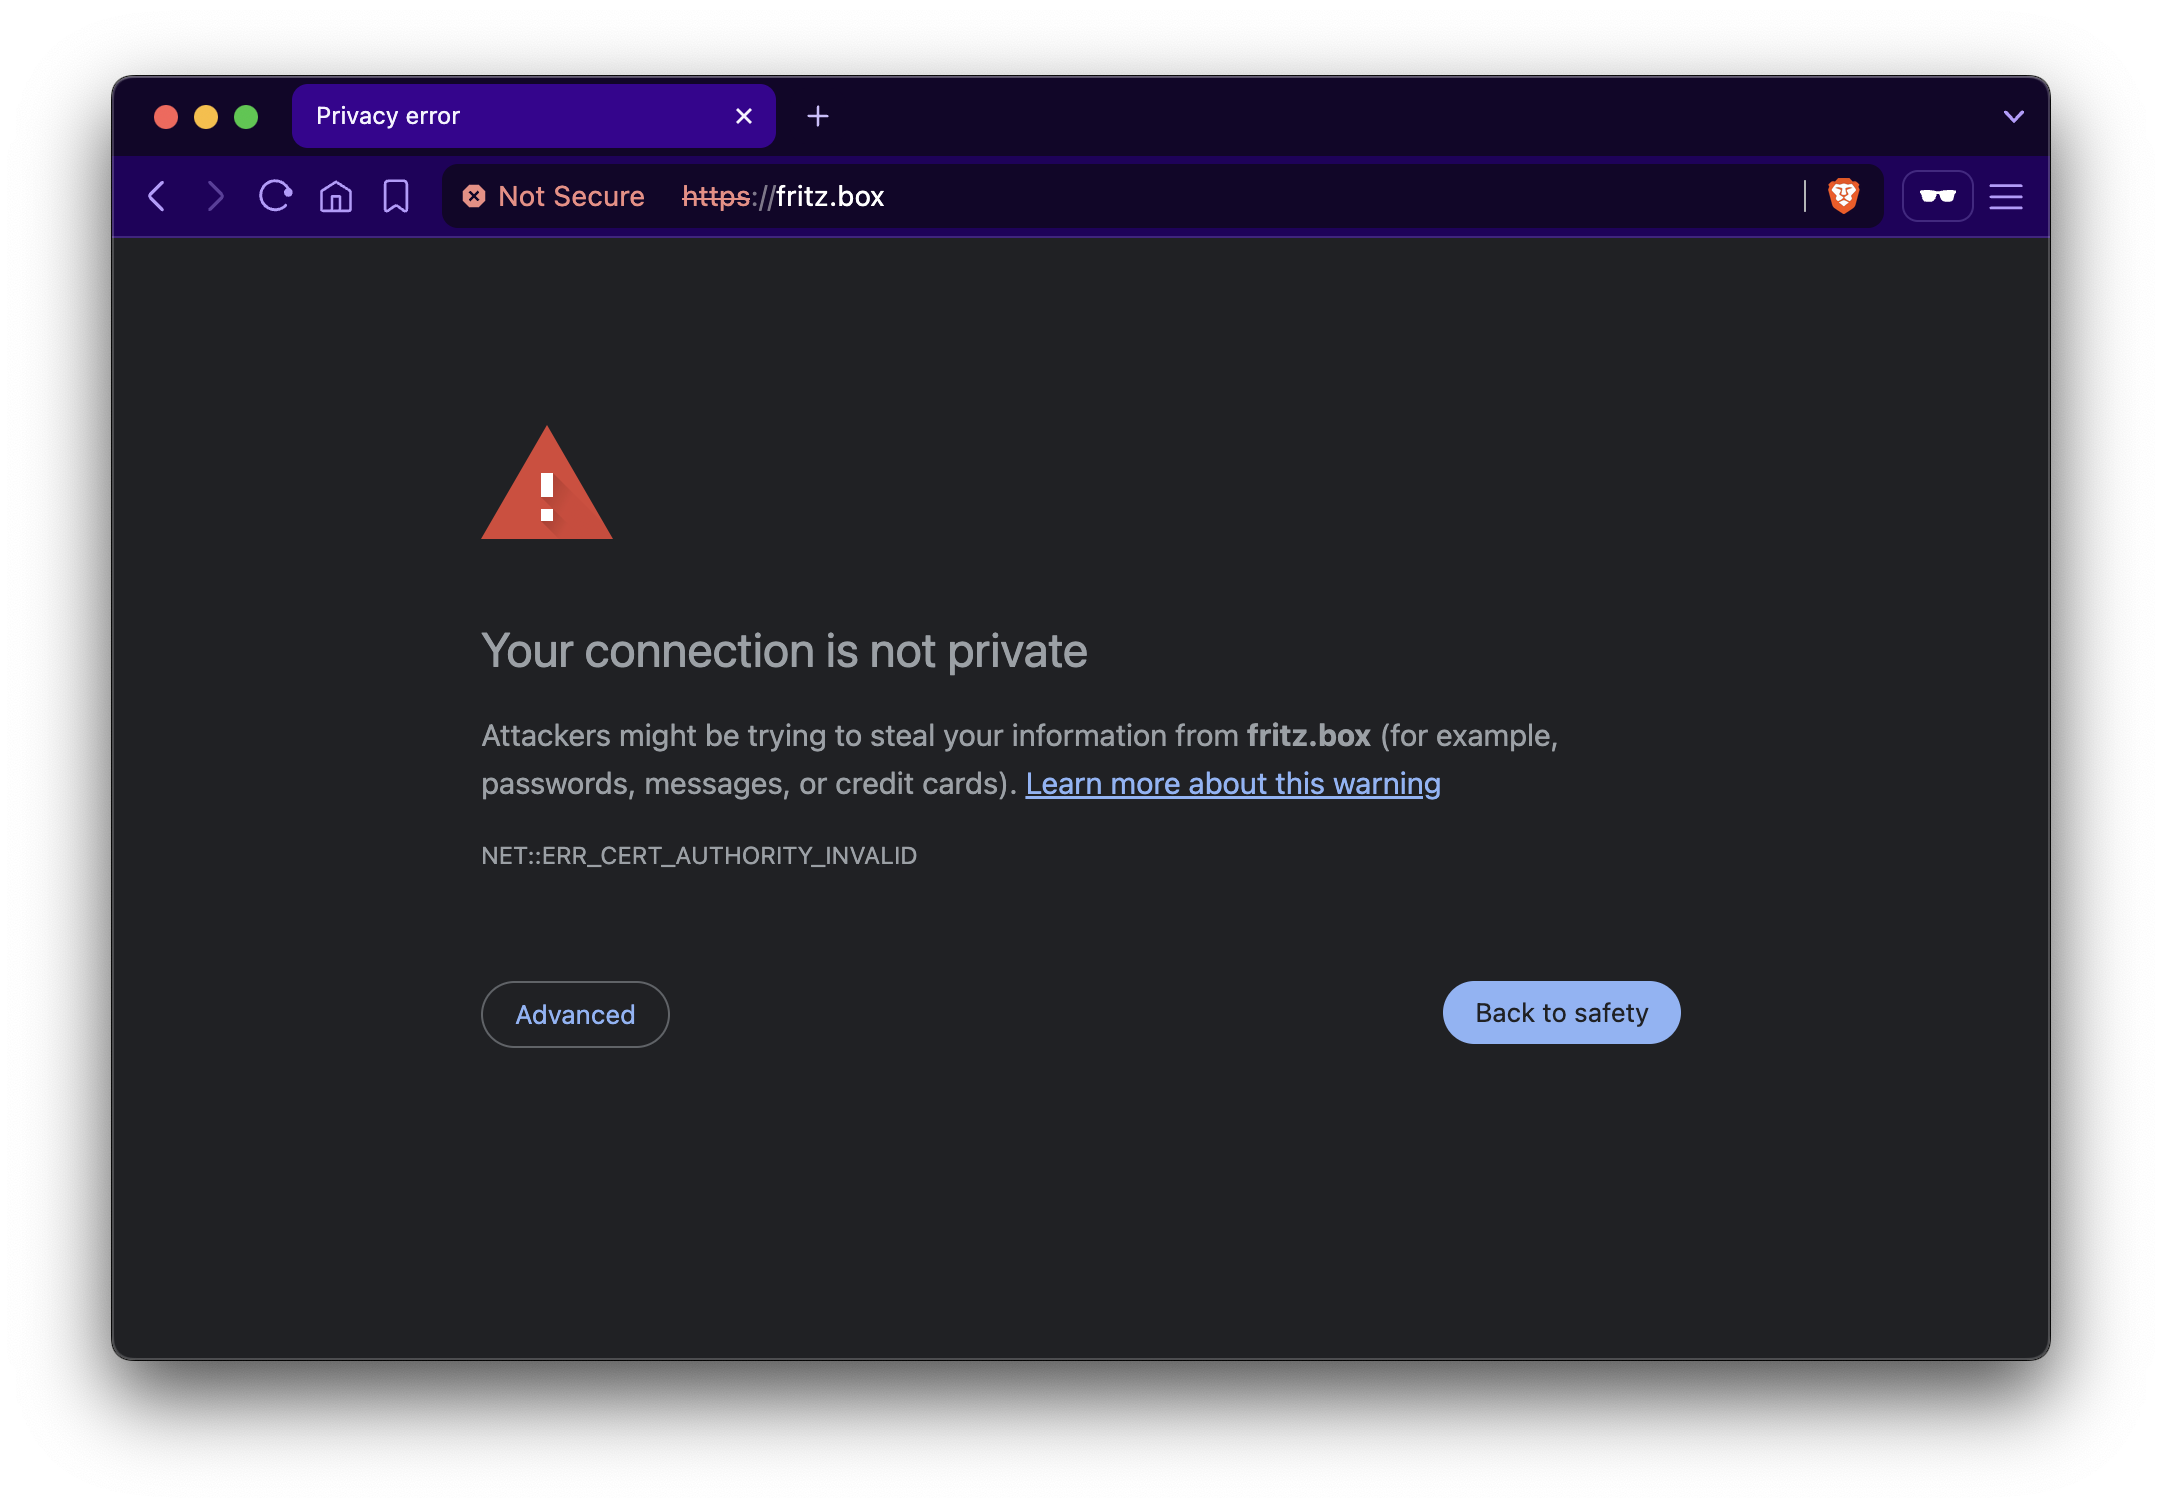
Using FritzBox, login to your router admin panel http://fritz.box/
At first you might get error with “Your connection is not private”. This is expected with local router configuration. Simply accept by click “Advanced”, and continue “Proceed to fritz.box (unsafe)”.
Let’s jump to configuration:
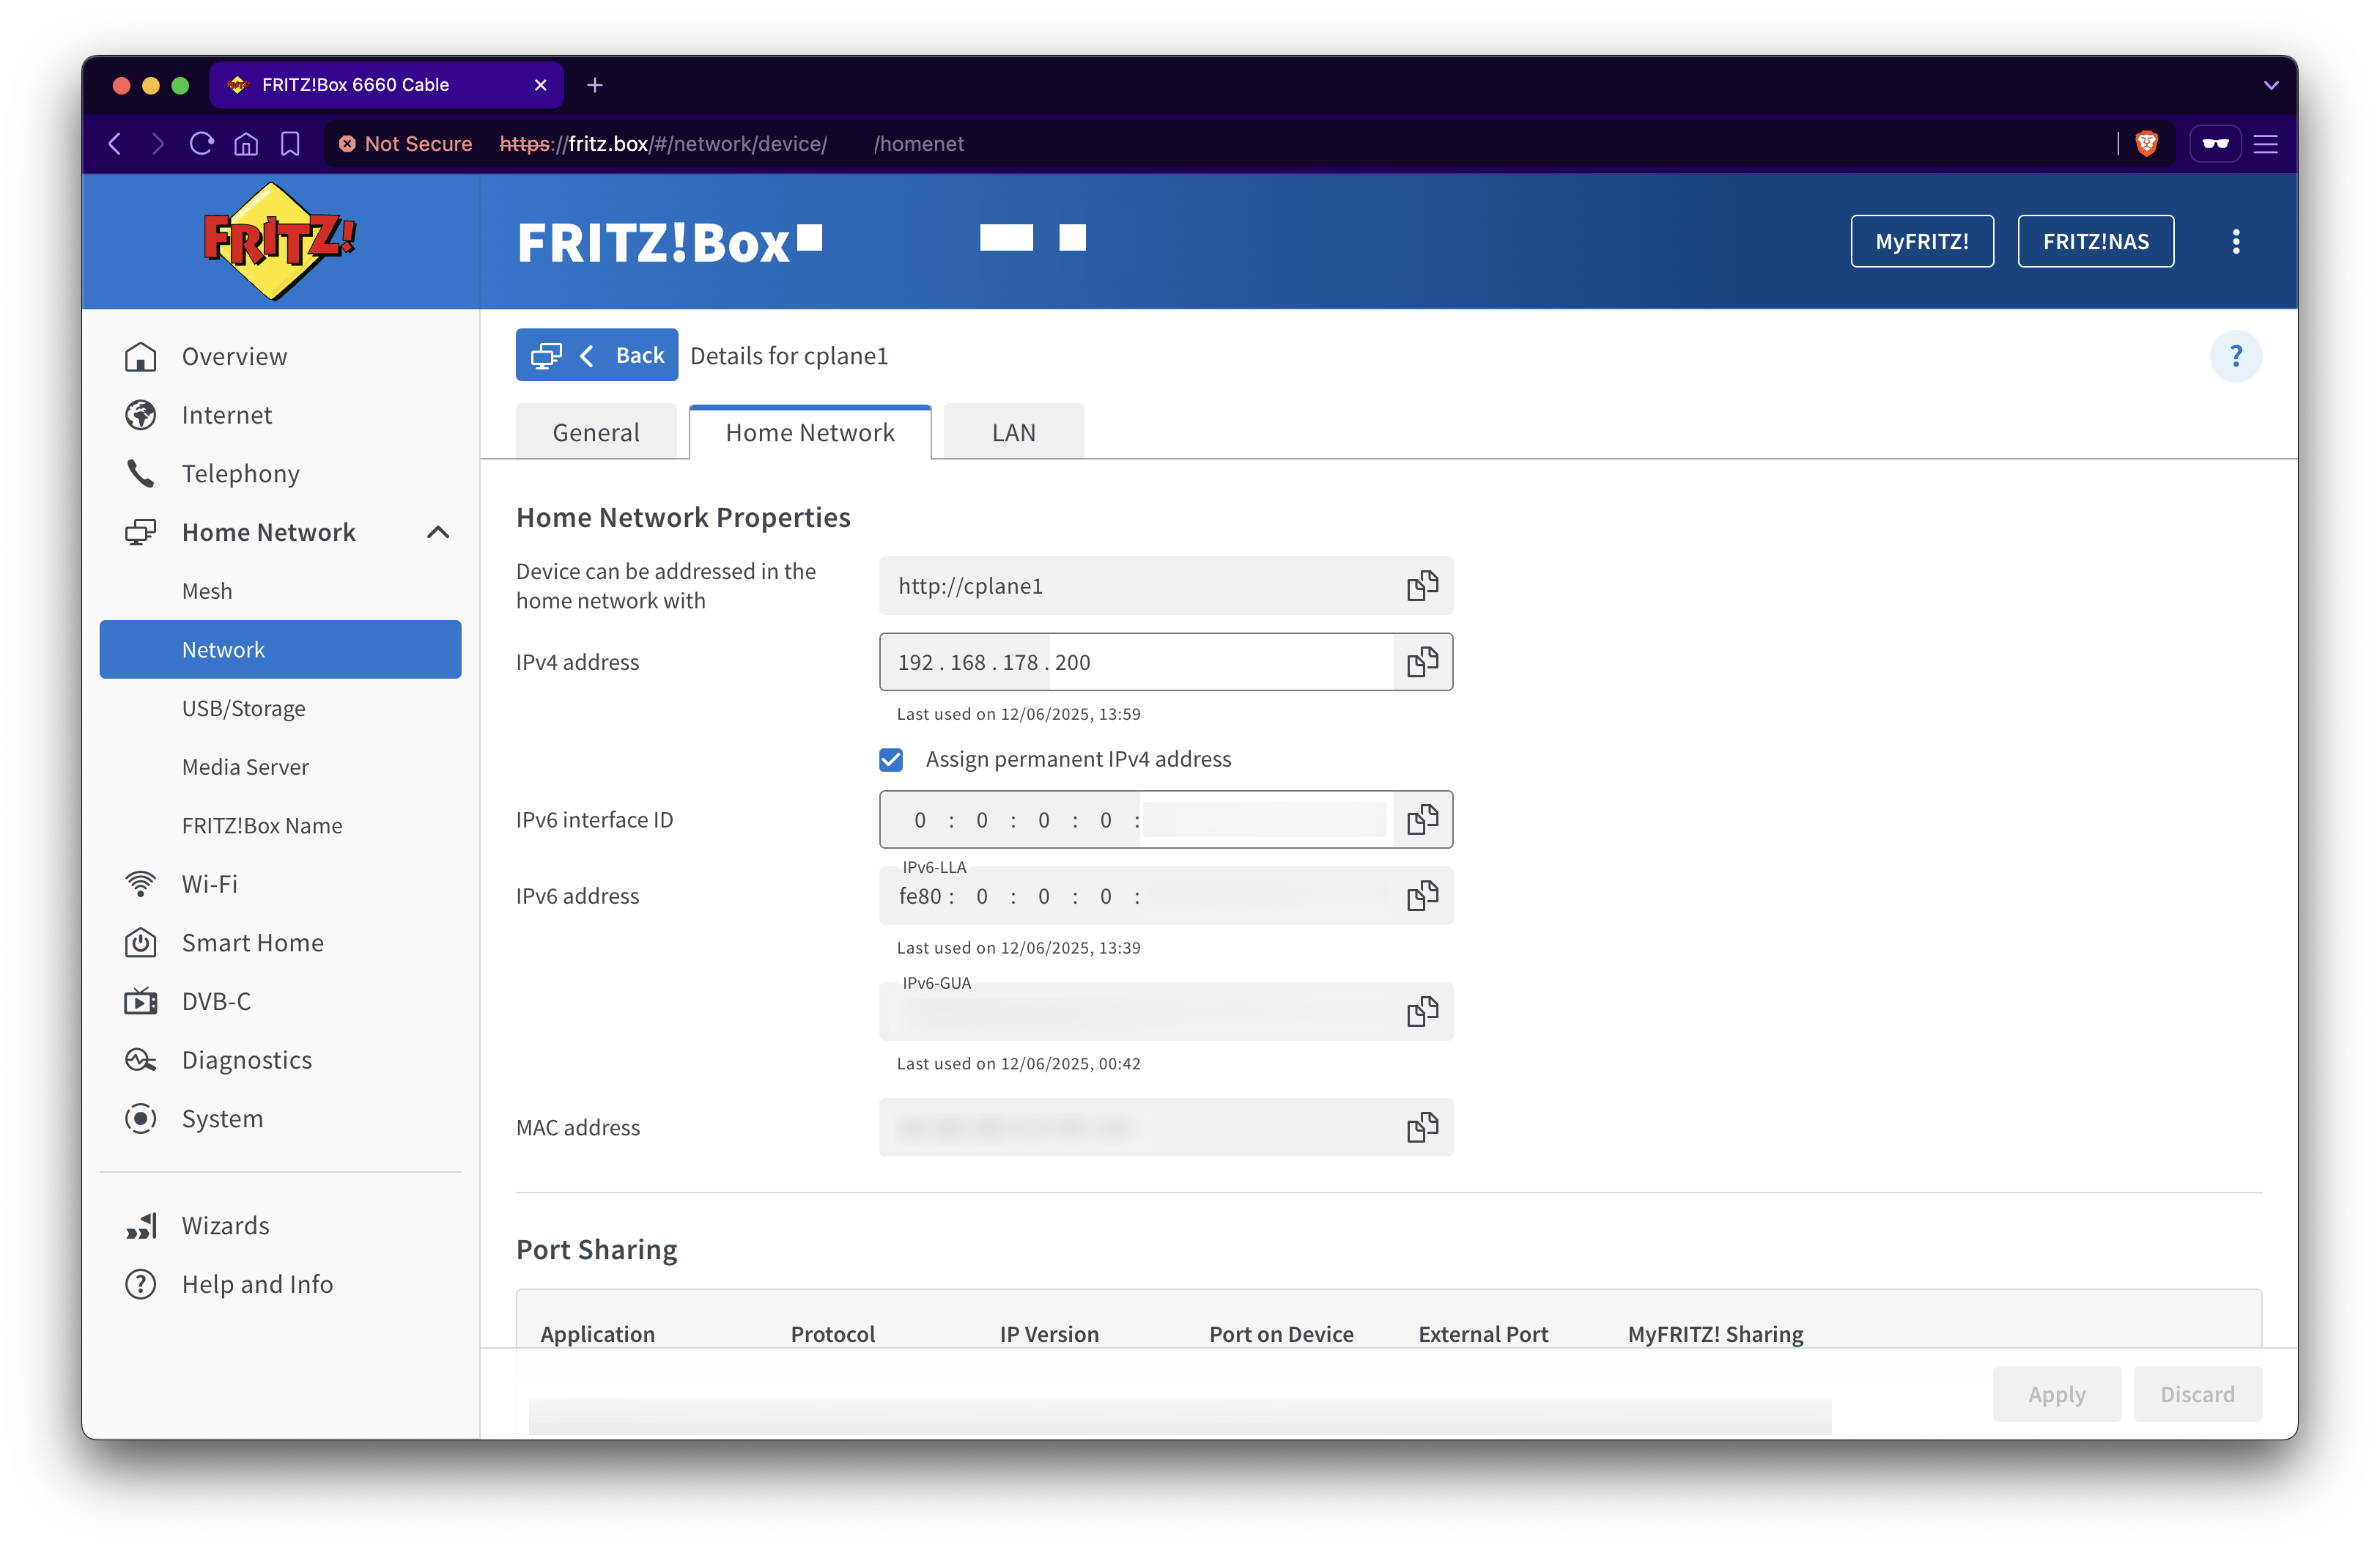
Go to Home Network and find and open cplane1 device.
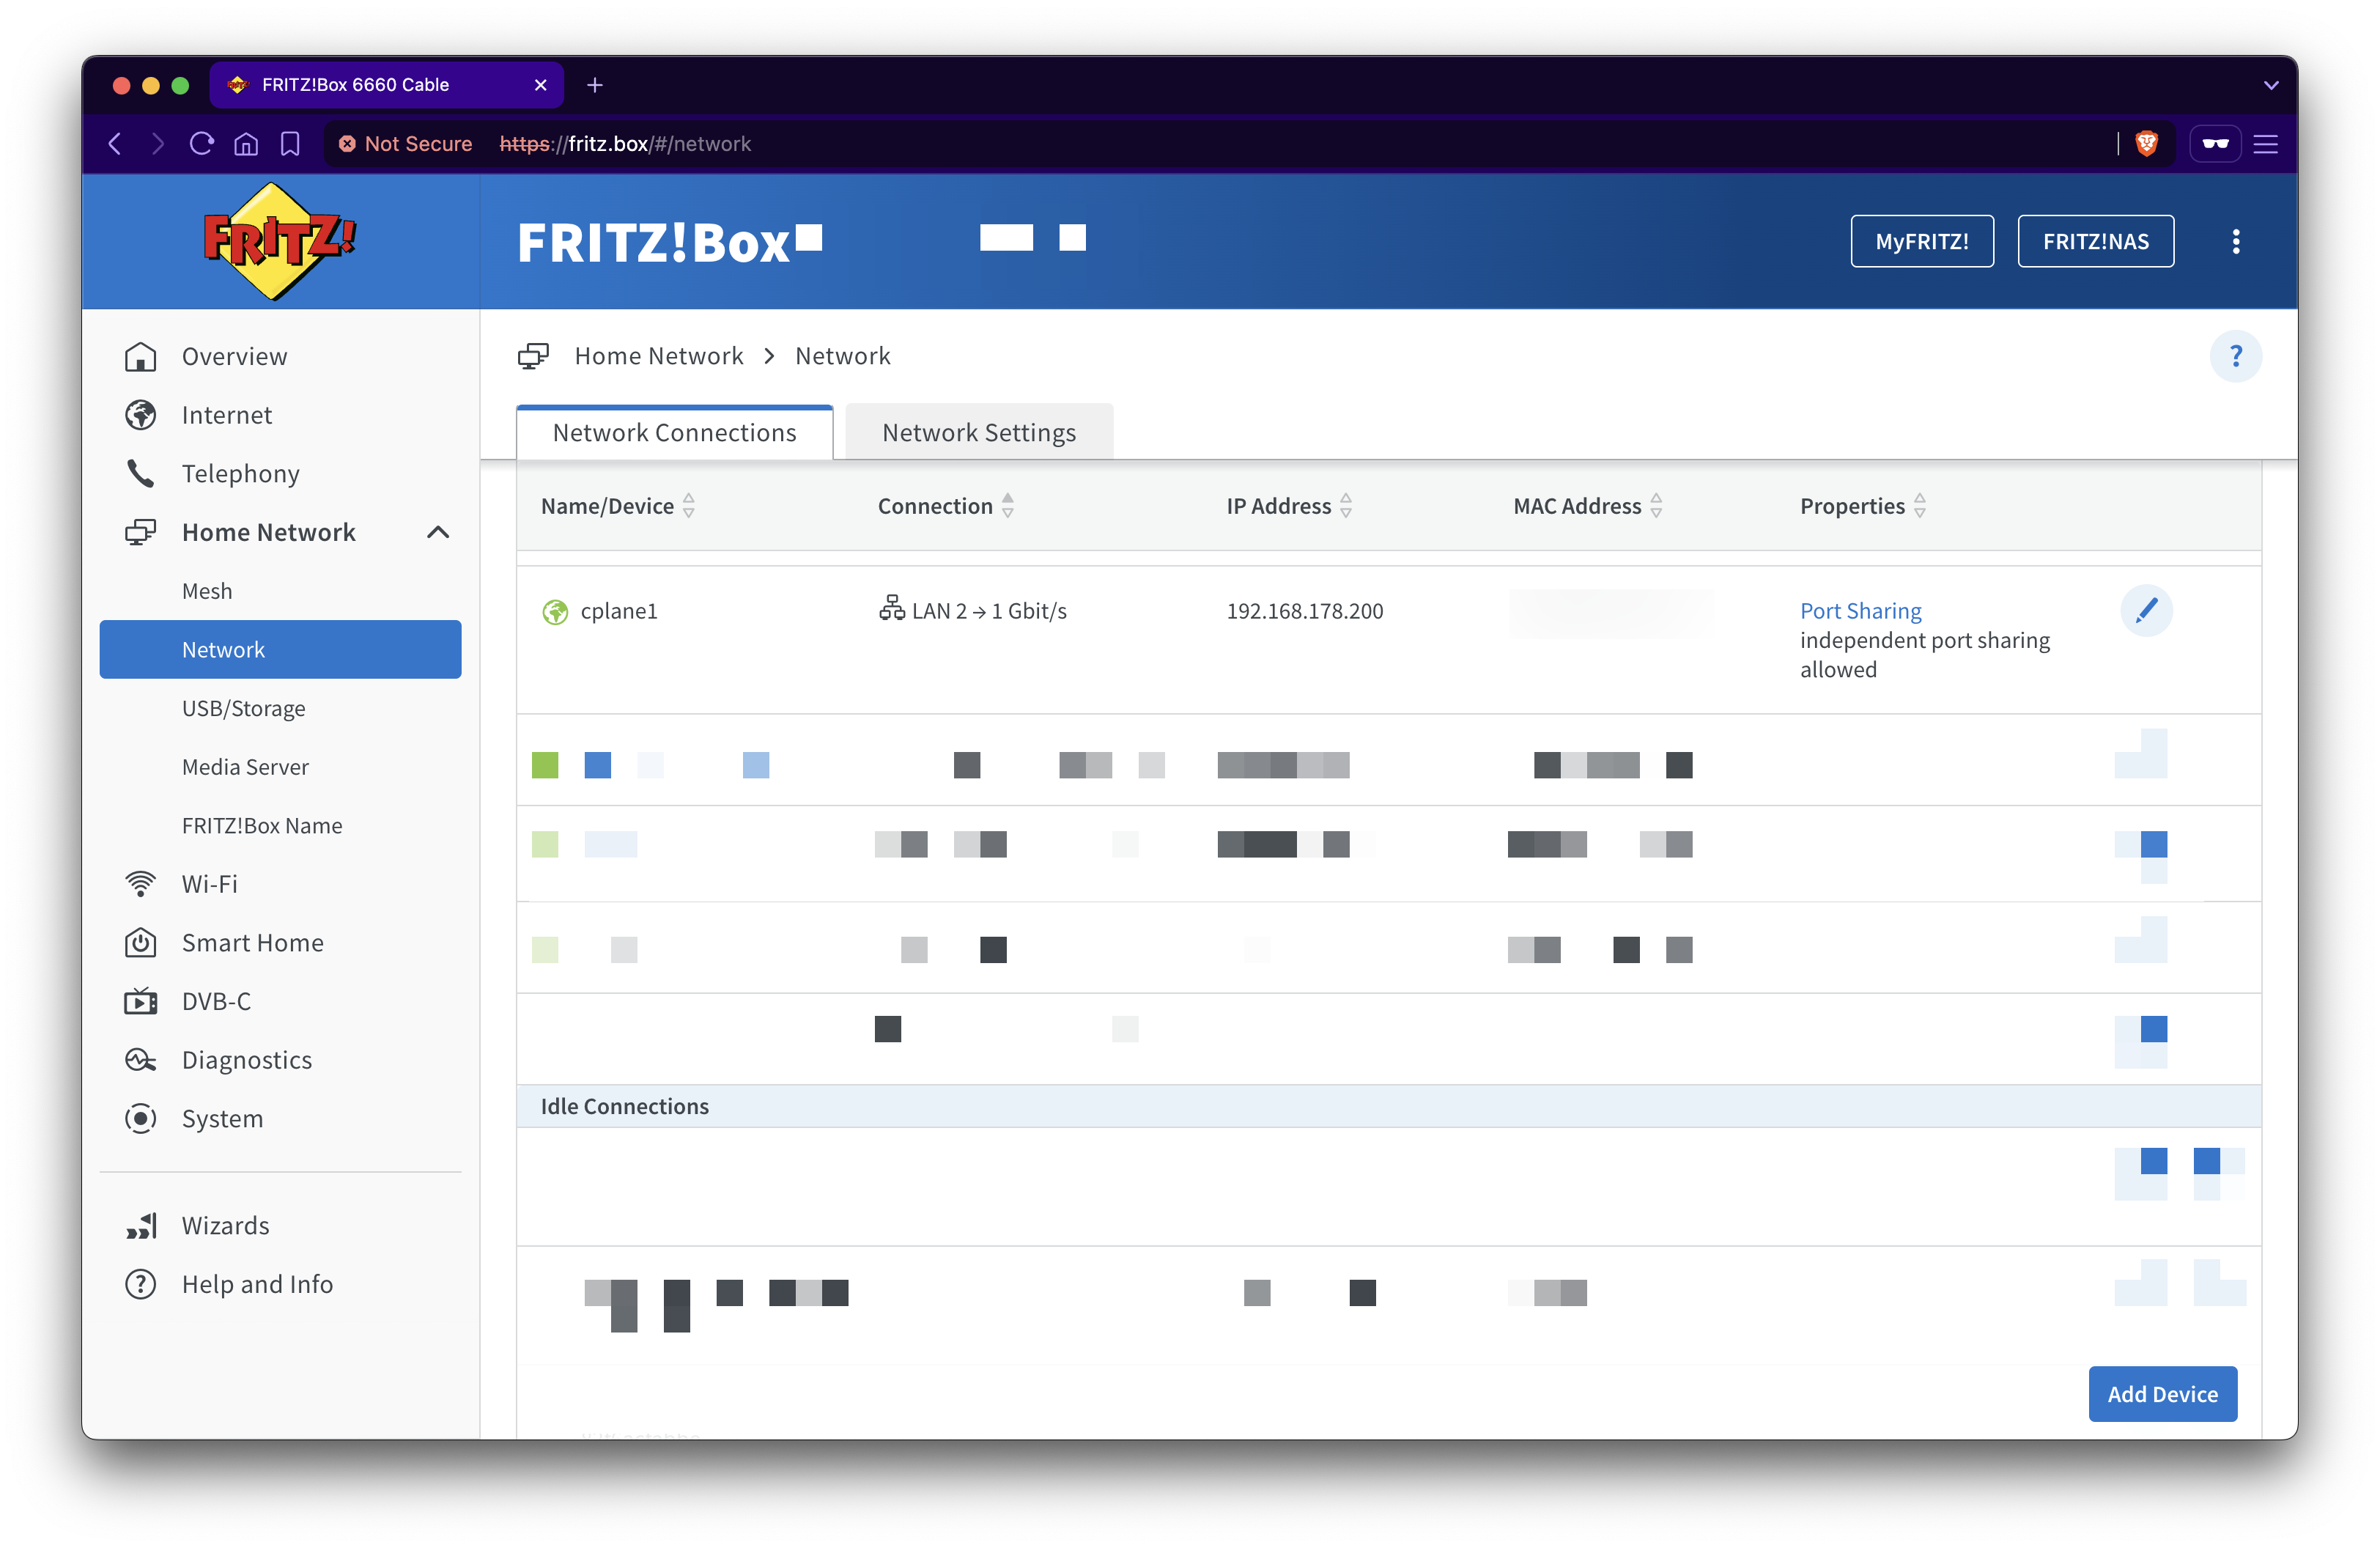
In tab Network, select desired IP, I used XXX.YYY.ZZZ.200 and enable Assign permanent IPv4 address.
If you cannot find it as have many devices you can check the MAC address after logging in with command ip addr (usually it come after word ether in some networks).
Static IP address
If you did not choose dynamic IP via router, you are must setup static IP address directly on the machine.
- Create backup
/etc/network/interfacesfile runningsudo cp /etc/network/interfaces /etc/network/interfaces.bak - Edit the
sudo vi /etc/network/interfaces - Configure static IP address for
enp0s5Ethernet interface: address192.168.178.249 - Add subnet mask:
netmask 255.255.255.0 - Set up default gateway IP:
gateway 192.168.2.254 - Finally add DNS resolver IP:
dns-nameservers 192.168.2.254 8.8.8.8 8.8.4.4
SSH service
During system installation we explicitly select an option to install SSH server, so after the installation, the PC should be reachable via SSH.
Let’s test it and login with our regular user using external laptop:
# from your laptop (or other control PC)
ssh maciej@192.168.178.200
If you can reach it, great this part is done and you can detach monitor and keyboard, as we can connect to PC via remote connection. Let’s jump to next section Update broken update.
Enable SSH
First thing we want to do is enable the remote connection via SSH. We should do this first because it will allow us to use our laptop’s terminal to connect to server, rather than using attached peripherals (monitors, keyboard).
At this point, our system is quite bare-bones. We probably don’t even have the sudo program installed. But no worries; we’ll take care of that later. Let’s first enable SSH. During installation, we explicitly select to install the SSH server, so the service should be working or we should be able to start it.
# after login to system, switch user to be root
su -

# check SSH status
systemctl status ssh

# enable SSH service
systemctl start ssh

logout
At this point we should be ready to login via SSH from our laptop. The port is 22 as we not change it and we may adapt this later.
# from your laptop (or other control PC)
ssh maciej@192.168.178.200
Success! You can now disconnect the monitor and keyboard, and focus on your laptop.
At this point, if you have more servers to configure, do it. You can reproduce same steps at this moment also for other machines but keep using different IP addresses . Later all together configuration can be perform on all machines at the same time with Ansible.
Update broken update
Using the ISO image have some downside in our approach, as the confiruation is meant to be pulled from mirror. We skipped this, but now will be much easier to enter respective entires (simply by pasting them. In the terminal that would not be possible)
# regular user does not have sudo permissions so change to root
$ su -

root@cplane1:~# apt update
Ign:1 cdrom://[Debian GNU/Linux 12.11.0 _Bookworm_ - Official amd64 DVD Binary-1 with firmware 20250517-09:52] bookworm InRelease
Err:2 cdrom://[Debian GNU/Linux 12.11.0 _Bookworm_ - Official amd64 DVD Binary-1 with firmware 20250517-09:52] bookworm Release
  Please use apt-cdrom to make this CD-ROM recognized by APT. apt-get update cannot be used to add new CD-ROMs
Reading package lists... Done
E: The repository 'cdrom://[Debian GNU/Linux 12.11.0 _Bookworm_ - Official amd64 DVD Binary-1 with firmware 20250517-09:52] bookworm Release' does not have a Release file.
N: Updating from such a repository can't be done securely, and is therefore disabled by default.
N: See apt-secure(8) manpage for repository creation and user configuration details.
If you see this above, most likely you must update you source list from /etc/apt/source.list.
root@cplane1:~# cat /etc/apt/sources.list
deb cdrom:[Debian GNU/Linux 12.11.0 _Bookworm_ - Official amd64 DVD Binary-1 with firmware 20250517-09:52]/ bookworm contrib main non-free-firmware
Edit file vi /etc/apt/sources.list, remove all, and paste something like this:
root@cplane1:~# cat <<'EOF' | tee /etc/apt/sources.list
deb https://ftp.debian.org/debian/ bookworm contrib main non-free non-free-firmware
# deb-src https://ftp.debian.org/debian/ bookworm contrib main non-free non-free-firmware

deb https://ftp.debian.org/debian/ bookworm-updates contrib main non-free non-free-firmware
# deb-src https://ftp.debian.org/debian/ bookworm-updates contrib main non-free non-free-firmware

deb https://ftp.debian.org/debian/ bookworm-proposed-updates contrib main non-free non-free-firmware
# deb-src https://ftp.debian.org/debian/ bookworm-proposed-updates contrib main non-free non-free-firmware

deb https://ftp.debian.org/debian/ bookworm-backports contrib main non-free non-free-firmware
# deb-src https://ftp.debian.org/debian/ bookworm-backports contrib main non-free non-free-firmware

deb https://security.debian.org/debian-security/ bookworm-security contrib main non-free non-free-firmware
# deb-src https://security.debian.org/debian-security/ bookworm-security contrib main non-free non-free-firmware
EOF
Now, we can update and ready to install software
root@cplane1:~# apt update

# upgrade existing packages
root@cplane1:~# apt upgrade -y
Configure sudo and privileges to User
In order to
root@cplane1:~# apt update

# install sudo
root@cplane1:~# apt install sudo -y

# add regular user 'maciej' to sudoers
root@cplane1:~# usermod -aG sudo maciej

# test if assigned
root@cplane1:~# groups maciej
maciej : maciej cdrom floppy sudo audio dip video plugdev users netdev

root@cplane1:~# exit

$ logout
If you are already logged as regular use (in my case is maciej) you have to logout and login again, so user sudoers group is properly picked.
Last thing we may want to do, is to include log sudo usage. Open sudo visudo and ensure this line is in the file. This will make sure to log all sudo commands to /var/log/sudo.log file.
Defaults logfile="/var/log/sudo.log"
From now on you can perform all actions, as regular user (maciej) with sudo privilages. When there will be a need to use particular root user I will show it with prompt for example root@cplane1:~#.
Configure Hostname and Timezone
In installation we setup this although to make this tutorial complete lets check it:
# test showing host
hostnamectl

# test showing time and date
timedatectl
If you anyway want to change it, you can do it with:
sudo hostnamectl set-hostname cplane1

sudo timedatectl set-timezone Europe/Berlin
Enable automatic updates
Depend on who is reading and how hardcore security freak might be. In this tutorial we want that our server perform some security patches automatically.
sudo apt install unattended-upgrades

# prompt to enable automatic updates
sudo dpkg-reconfigure --priority=low unattended-upgrades
Secure root account
Best practice is to disable login as root user, directly via SSH.
# check your regular user (with sudo privilages)
$ groups maciej

# diable login as root by removing password
sudo passwd -l root
Update default SSH port
Changing the default port for SSH can reduce risk for automated attacks. To do so, open vi /etc/ssh/sshd_config and update port to desired e.g.: 2222, but use different one if you prefer.
Restart SSH service:
sudo systemctl restart ssh
Activate SSH log
We usually want to monitor all activity with logging to our server:
# install rsyslog
sudo apt install rsyslog -y

# check if service is running
systemctl status rsyslog

# edit config
sudo vi /etc/rsyslog.confsudo vi /etc/rsyslog.conf
Make sure section below is uncommented:
auth,authpriv.* /var/log/auth.log
Restart service:
sudo systemctl restart rsyslog
Setup Firewall
sudo apt install ufw

# allow SSH connections (if you choose different please use it here)
sudo ufw allow 2222/tcp

# enable firewall
sudo ufw enable

# test status
sudo ufw status
Configure additional firewall services
# allow HTTP / HTTPS
sudo ufw allow http
sudo ufw allow https

# deny Telnet
sudo ufw deny 23

# allow Rsyslog
ufw allow 514/tcp
ufw allow 514/udp
IDS - Intrusion detection systems
Fail2Ban
Fail2Ban will project your server from the brute-force attacks by banning IP addresses after specified number of failed attempts.
# install
sudo apt install fail2ban -y

# copy config as local version
sudo cp /etc/fail2ban/jail.conf /etc/fail2ban/jail.local

# edit configuration
sudo vi /etc/fail2ban/jail.local
Fragment of jail.local
[sshd]
enabled  = true
mode     = normal
port     = ssh
logpath  = %(sshd_log)s
backend  = %(sshd_backend)s
maxretry = 5
Restart service:
sudo systemctl restart fail2ban
AIDE
AIDE stands for Advanced Intrusion Detection Environment and it monitors file system changes.
# install
sudo apt install aide -y

# initialize
sudo aideinit
It also should create a daily cron job to check system. You can examine it at /etc/cron.daily/aide.
Configure AppArmor
AppArmor is a security program that restrict programs capabilities.
# install
sudo apt install apparmor apparmor-profiles apparmor-utils -y

# enable
sudo systemctl enable apparmor
sudo systemctl start apparmor

# test status
sudo apparmor_status
Secure Nginx
# install
sudo apt install nginx -y
Edit sudo vi /etc/nginx/nginx.conf and disable showing server name and version
server_tokens off;
Install Certbot for Let’s Encrypt
# install
sudo apt install certbot python3-certbot-nginx -y

# obtain SSL certificate
sudo certbot --nginx
Monitor logs
We also may want to regularly review logs from suspicious activity. Let’s use logwatch
# install
sudo apt install logwatch -y

# edit cron job to mail
sudo vi /etc/cron.daily/00logwatch
Sample edited file /etc/cron.daily/00logwatch and replace the email you want.
#!/bin/bash

#Check if removed-but-not-purged
test -x /usr/share/logwatch/scripts/logwatch.pl || exit 0

#execute
/usr/sbin/logwatch --output mail --mailto john.doe@example.com --detail high
Custom MOTD when login
MOTD stands for “message of the day”. When we log to the system, by default Debian will greet us with something like:
Linux cplane1 6.1.0-35-amd64 #1 SMP PREEMPT_DYNAMIC Debian 6.1.137-1 (2025-05-07) x86_64

The programs included with the Debian GNU/Linux system are free software;
the exact distribution terms for each program are described in the
individual files in /usr/share/doc/*/copyright.

Debian GNU/Linux comes with ABSOLUTELY NO WARRANTY, to the extent
permitted by applicable law.
Last login: Thu Jun 12 16:48:47 2025 from 192.168.178.162
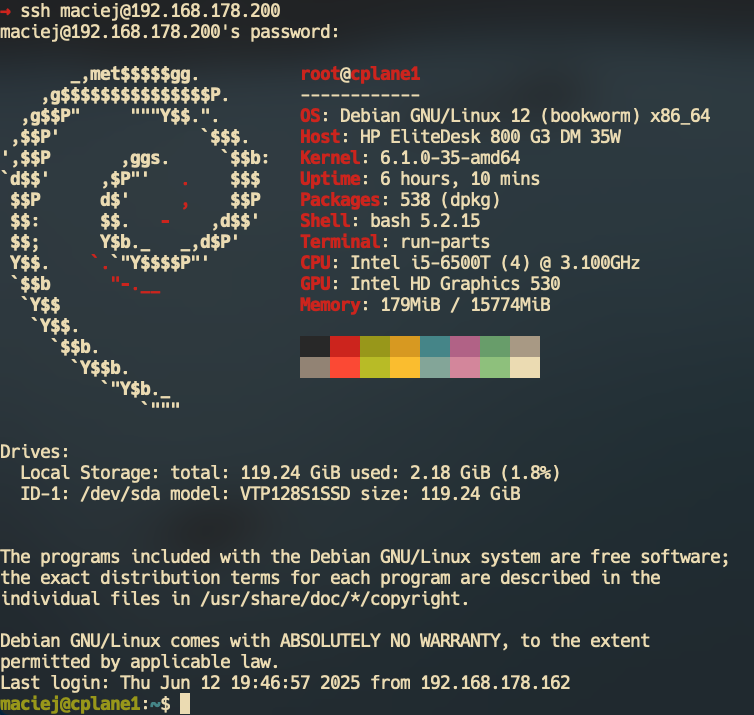
We can do a bit better and provide bit more initial information for us especially if we log in after being some time away. Let’s use neofetch and inxi to help us display few things.
# install
sudo apt install neofetch inxi -y
# list of available files
$ ls -al /etc/update-motd.d/
total 16
drwxr-xr-x  2 root root 4096 Jun 12 17:00 .
drwxr-xr-x 81 root root 4096 Jun 12 19:23 ..
-rwxr-xr-x  1 root root   23 Apr  4  2017 10-uname
-rwxr-xr-x  1 root root  165 Dec 31  2022 92-unattended-upgrades

# file 10-uname is not interesting, so let's remove it and create our file
sudo rm -rf /etc/update-motd.d/10-uname

# create new file 01-custom
sudo tee /etc/update-motd.d/01-custom >/dev/null <<'EOF'
#!/bin/sh
printf "\n"
/usr/bin/neofetch

inxi -D
printf "\n"
EOF

# apply executing privileges to script
sudo chmod +x /etc/update-motd.d/01-custom
With that we finally have nice looking and informative start screen.
Update default editor
The default editor in Debian 12 is nano. I much more prefer vim so I will set it up as default
system editor.
# show current editor
sudo update-alternatives --display editor

# install vim
sudo apt -y update
sudo apt -y install vim

# update to vim
sudo update-alternatives --set editor /usr/bin/vim.basic
Ansible
To configure many futher actions easier, we need to install ansible. Debian 121 has all packges in standard repository simply do:
# install ansible
apt install ansible sshpass -y
Shell
Change shell can be also a productive boost for you. I like to use zsh therefore here will also drop recommendation to install it:
# install zsh
sudo apt update && sudo apt install zsh

# change the default shell to zsh
chsh -s $(which zsh)
oh-my-zsh
When talking about zsh I have to suggest you also installing oh-my-zsh
sh -c "$(curl -fsSL https://raw.githubusercontent.com/ohmyzsh/ohmyzsh/master/tools/install.sh)"
Finalization
Woooohooo! This was a long ride but it was worth it! Now you have system Hope you enjoy the tutorial will leave a comment what you like and what see improved. Thank you for staying with me and as alwyas until next time.
Reference
- https://sec-tech.org/how-to-harden-a-freshly-installed-debian-server-a-comprehensive-step-by-step-guide/
- https://thelinuxcode.com/partition-disks-while-installing-debian-12-bookworm/
- https://medium.com/@zehan9211/how-to-fix-debian-12-bookworm-update-error-395a3d6d4ab7
- https://linuxways.net/debian/fix-sudo-command-not-found-debian-12/#post-24005-bookmark=id.x2pttty01825
- https://cloudybarz.com/custom-motd-in-linux-debian/
- https://www.putorius.net/custom-motd-login-screen-linux.html